Quantum 103 - Player Character
Overview
Quantum 103 introduces a character that moves using a character controller. It also provides instructions for getting started with writing gameplay code in Quantum.
Character Entity setup
Create a new character controller entity in the Game scene (Quantum > 3d > Character Controller Entity). Name it PlayerCharacter and set the transform of the object to (2, 2, 0).
Note that this entity comes with the PhysicsCollider3D enabled and a CharacterController3D component added in the EntityPrototype MonoBehaviour.
- The CharacterController3D controls the movements of the character. The config field provides a configuration to tweak the behavior of the character controller. The default configuration can be found in ``Resources/DB/Configs`. For this tutorial the default configuration will be used.
- Unlike the Unity CharacterController, character controllers in Quantum don't act as colliders. The PhysicsCollider3D component acts as the collider of the entity and matches the size of the visual sphere.

Often it is required to give entities access to data that is shared between entities and unlike component data not specific a single entity. In Quantum this is done via asset config files. The config files can either be created by code or defined on ScriptableObjects in Unity. The character controller has a config file which stores information about how the character controller moves and interacts.
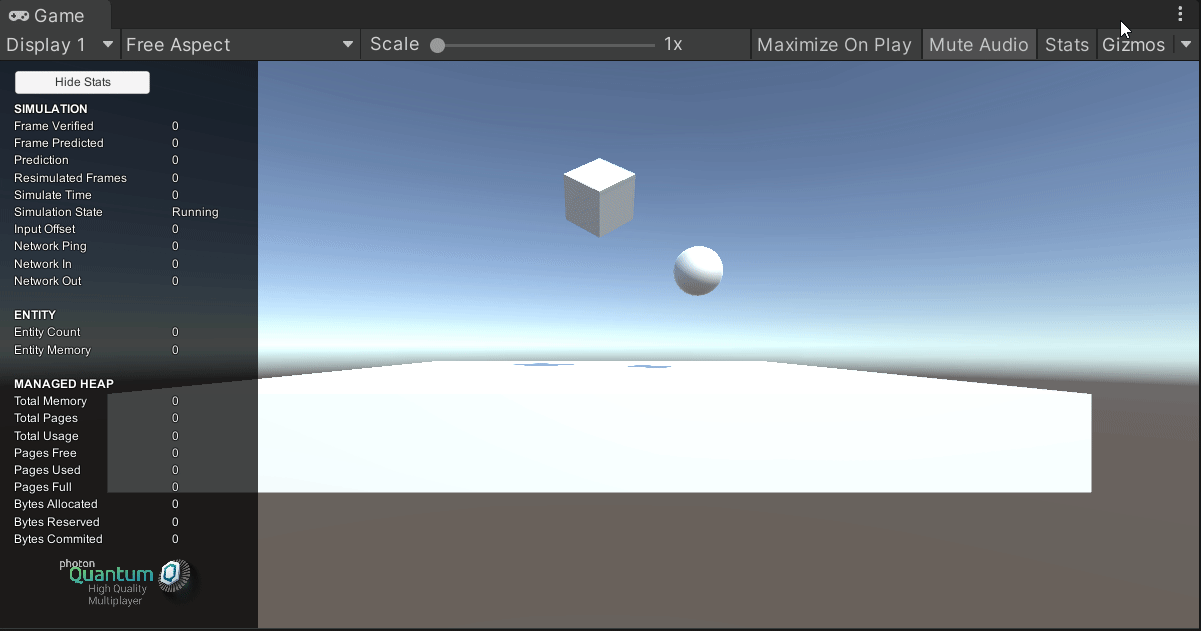
Press play mode. As you can see the entity does not move yet and is not affected by gravity. A code implementation is needed to make the character controller work.
Open quantum code project
Gameplay in Quantum is written in the quantum_code c# project. To open the project, open a new instance of Visual Studio or Rider.
- In Visual Studio select
Open a project or solution. - In Rider select
Open. Find and select the .sln file in thequantum_codefolder.
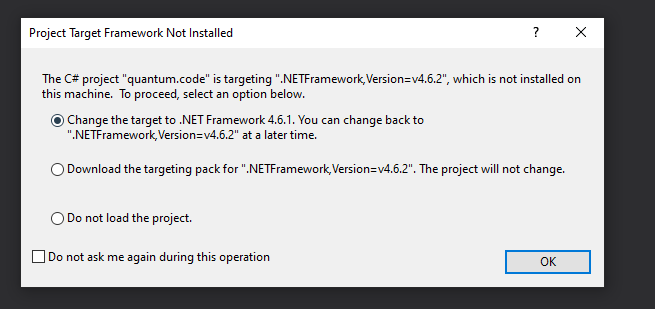
When using Visual Studio a popup might appear instruction you to upgrade the .NET framework version. Choose to download the recommended version.
When using Rider. Press ctrl + shift + b after opening the solution. If a window with an error message appears follow the instruction and download the .NET Framework Targeting Pack from Microsoft.
You are now ready to start writing gameplay code.
Gameplay Code
Right click on the quantum_code project file in the solution explorer and choose Add > New Directory. Name the directory Platformer.
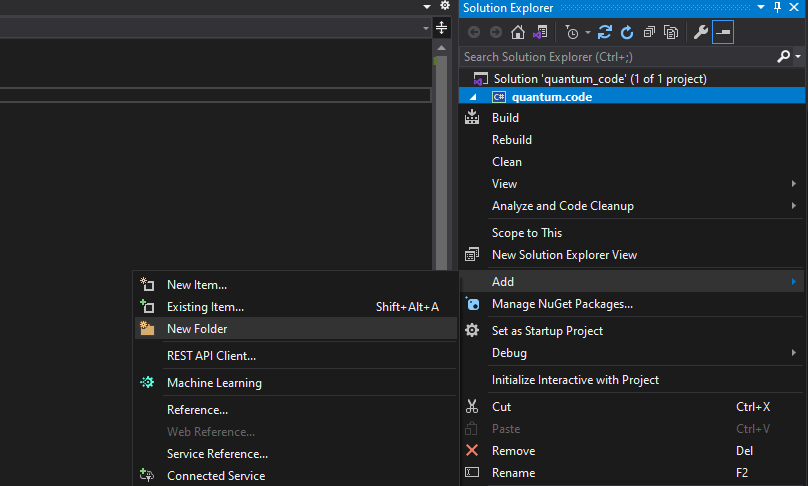
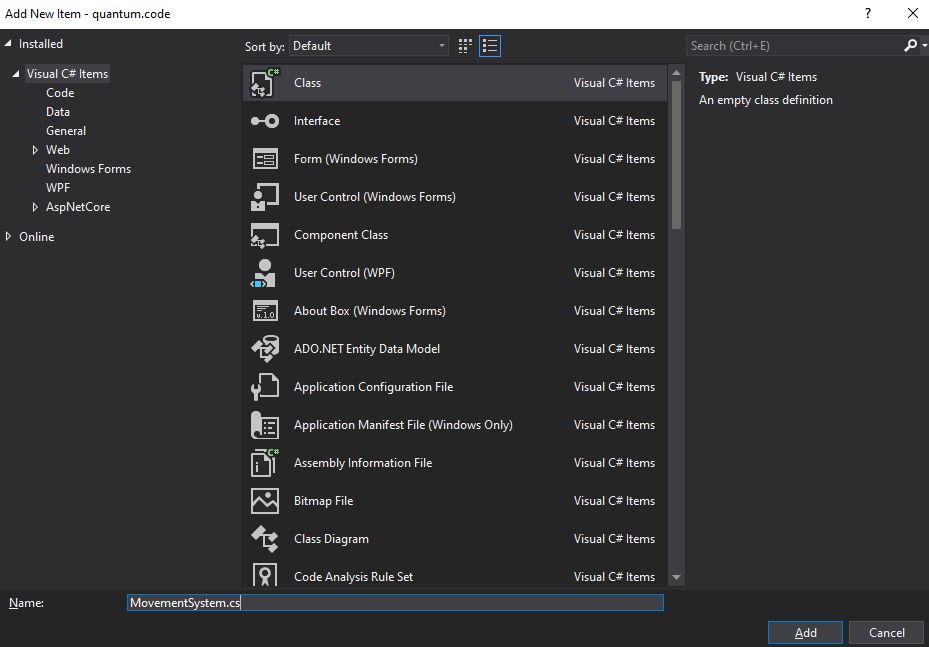
Now right-click the newly created Platformer folder. Choose Add > Class. And in the popup select Class again, set the name to MovementSystem.cs and click the Add button.
A class file containing the following text has been created:
C#
namespace Quantum.Platformer
{
    class MovementSystem
    {
    }
}
The most common pattern in ECS to write gameplay code is to have a system iterate over a collection of entities which contain a list of components. With the Quantum ECS this can be achieved using a system main thread filter.
First add a filter struct to the MovementSystem class:
C#
public struct Filter
{
    public EntityRef Entity;
    public CharacterController3D* CharacterController;
}
Each filter must always contain a EntityRef field and any numbers of component pointer fields to filter for. Always use pointers for the component types in the filter.
Add the public and unsafe keywords to the class and have it inherit from the SystemMainThreadFilter<MovementSystem.Filter> class:
C#
public unsafe class MovementSystem : SystemMainThreadFilter<MovementSystem.Filter>
Add an override of the abstract Update function with the following code:
C#
public override void Update(Frame f, ref Filter filter)
{
    // note: pointer property access via -> instead of .
    filter.CharacterController->Move(f, filter.Entity, default);
}
The update function runs once on each frame for each entity that has all the components in the filter. The frame parameter represents the current frame on which the system runs and gives access to the complete game state for that specific frame.
This code simply calls the move function of the character controller and passes the default zero vector into it. This means the character controller does not attempt to move in any direction but the entity will be affected by gravity.
However this code will not run yet. For a system to run it needs to be registered in the SystemSetup.cs file. Open the file and add the following to the using declarations.
C#
using Quantum.Platformer;
After that add the following line under the user systems go here comment.
C#
// user systems go here
new MovementSystem(),
Finally comment out the lines adding the Core.CullingSystem2D, the Core.PhysicsSystem2D and the
Core.NavigationSystem. The game created in this series will not use them.
The SystemSetup file should look like this:
C#
using Photon.Deterministic;
using System;
using System.Collections.Generic;
using System.Linq;
using System.Text;
using Quantum.Platformer;

namespace Quantum {
  public static class SystemSetup {
    public static SystemBase[] CreateSystems(RuntimeConfig gameConfig, SimulationConfig simulationConfig) {
            return new SystemBase[] {
        // pre-defined core systems
        // new Core.CullingSystem2D(),
        new Core.CullingSystem3D(),

        // new Core.PhysicsSystem2D(),
        new Core.PhysicsSystem3D(),

        Core.DebugCommand.CreateSystem(),

        // new Core.NavigationSystem(),
        new Core.EntityPrototypeSystem(),
        new Core.PlayerConnectedSystem(),

        // user systems go here
        new MovementSystem(),
      };
    }
  }
}
The systems in the SystemSetup are executed in the exact order in which they are listed in.
There is one last step left to finish the movement implementation. Since the quantum_code project is a separate project it has to be built. Press build (ctrl + shift + b).
IMPORTANT: Whenever you make a change to the quantum_code project you have to build afterwards for the changes to work in the Unity project.
Return to the Unity Editor and enter play mode. The character sphere is now affected by KCC gravity, but it does not react yet to keyboard inputs.
Input
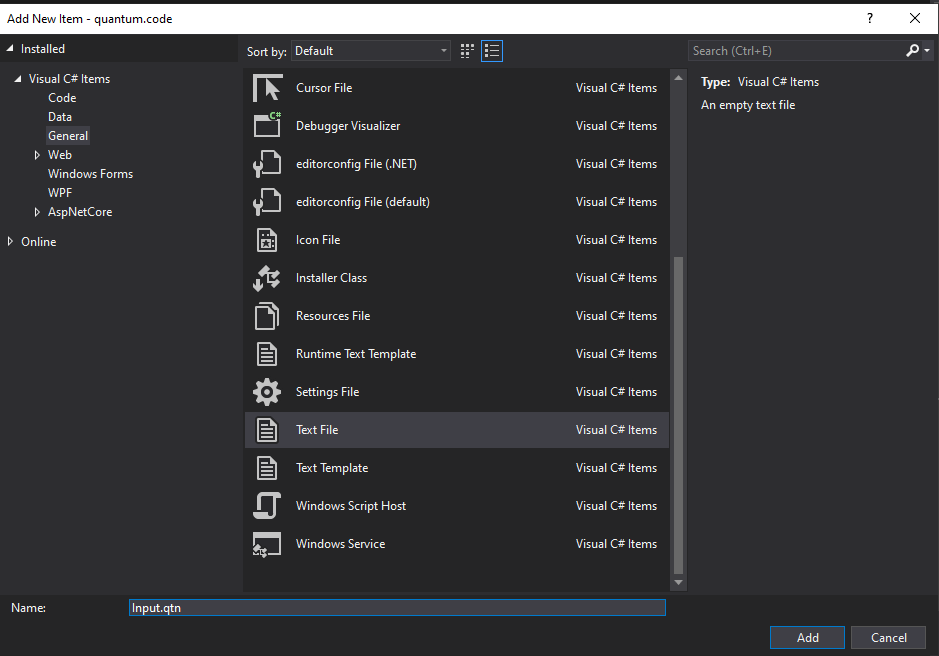
Right-click the Platformer folder. Choose Add > New Item. A new Window pops up, select Visual C# Items > General > Text File and name the file Input.qtn and click the Add button.
Qtn files are Quantum specific files using the Quantum Domain Specific Language (DSL). The syntax of the DSL is similar to C#. The DSL is used to define the entity component data and the input data. The gameplay systems are in C#.
Add the following to the Input.qtn file:
C#
input
{
    button Jump;
    FPVector2 Direction;
}
The input is a special keyword in Quantum. Quantum uses input sync so only the input and not the game state are sent over the network. The input defined here is the data that will be sent over the network and used as inputs for the gameplay simulation.
Note: Input is sent every tick and is used for inputs that change frequently and affect the real time gameplay. Examples are movement and button presses. For irregular rare inputs which don't need prediction, use commands.
The FPVector2 type is the Quantum equivalent to the Unity Vector2 type. Quantum uses fixed point (FP) instead of floats to guarantee that the simulation is deterministic across devices. The direction vector will be filled with the horizontal and vertical input axis later.
The jump button will be used to make the player jump. The button type is a Quantum specific type and should be used for all button inputs. Do not use booleans for button inputs. They use more bandwidth.
Now that we have our input defined press build (ctrl + shift + b). This runs the DSL compiler and makes the input available in C# classes.
Note: To add syntax highlighting support for DSL files to your IDE, follow the guide here.
Updating the Movement System
Now that input is available open the MovementSystem and replace the code in the Update function with the following code.
C#
public override void Update(Frame f, ref Filter filter)
    {
        // gets the input for player 0
        var input = *f.GetPlayerInput(0);

        if (input.Jump.WasPressed)
        {
            filter.CharacterController->Jump(f);
        }

        filter.CharacterController->Move(f, filter.Entity, input.Direction.XOY);
    }
Connecting Unity Inputs
Open the Photon/QuantumDemo/Game/Scripts/LocalInput script in the Unity project. This script is responsible for collecting Unity inputs and passing them into the Quantum engine. Replace the code in the script with the following:
C#
using Photon.Deterministic;
using Quantum;
using UnityEngine;

public class LocalInput : MonoBehaviour
{
    private void Start()
    {
        QuantumCallback.Subscribe(this, (CallbackPollInput callback) => PollInput(callback));
    }

    public void PollInput(CallbackPollInput callback)
    {
        Quantum.Input input = new Quantum.Input();

        // Note: Use GetButton not GetButtonDown/Up Quantum calculates up/down itself.
        input.Jump = UnityEngine.Input.GetButton("Jump");

        var x = UnityEngine.Input.GetAxis("Horizontal");
        var y = UnityEngine.Input.GetAxis("Vertical");

        // Input that is passed into the simulation needs to be deterministic that's why it's converted to FPVector2.
        input.Direction = new Vector2(x, y).ToFPVector2();

        callback.SetInput(input, DeterministicInputFlags.Repeatable);
    }
}
Now when you enter play mode again the character can move using the WASD keys and jump using the space key.