2 - Fusion Setup
Overview
Part 2 explains how to download and setup Fusion for the existing project.
SDK Download and Account
The latest SDK releases can be found on our Fusion SDK & Download page in these docs. Check the "Requirements" section for the package and when you update later on, this is where you find the change list.
You must be logged in to a Photon Account to download the SDKs, so sign in when prompted or register a new account here.
Import the Package
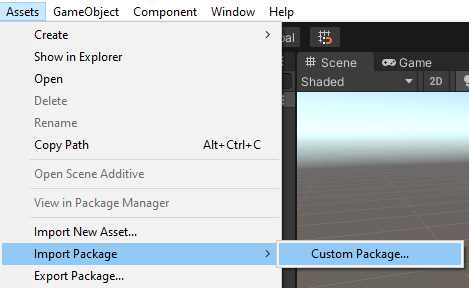
Once downloaded you are ready to import the .unitypackage file. You can drag and drop it into the "Project" panel or import it via the menu: Assets > Import Package > Custom Package.
The import should be quick and error free.
When presented with the welcome window, choose the “Advanced” option, as this tutorial will guide you through all the steps you need to take.
Create an AppId
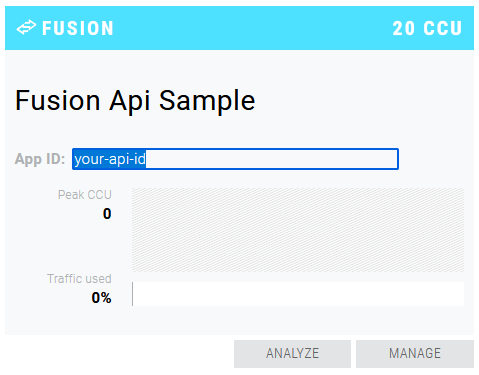
Once the import is finished, the Fusion Hub panel opens and the Welcome page asks you to enter an AppId.
AppIds look like this cab92e97-f9c5-4373-9199-c8ece033bb63 (invalid example) and are used to identify your project as "App". The AppId binds your builds with a fitting server side setup and splits your players from others.
For this tutorial, create a new App and AppId. Open the Photon Dashboard and click on Create a New App.
Pick Fusion in the Select Photon SDK drop-down. Pick Fusion 2 in the Select SDK Version dropdown that became visible for the Fusion selection.

Fill out the rest of the form and create the app.
Project Setup
To finish the setup for this tutorial, copy and paste your Fusion 2 AppId into the project.
Switch to the Unity Editor and paste the AppId into the Fusion App Id field in the Fusion Hub Welcome tab.

Congratulations! The project is now ready to use Fusion.
Next: Essential Forecast Vehicle Physics Tutorial 3 - Setting Up the Scene
Back to top