Project Setup
This page will guide you through the process of setting up a project from scratch, including the .NET Realtime SDK. It will show examples for regular .NET and for UWP.
Preparation
The first step you have to do is to download the .NET Realtime SDK. You can do this on the SDKs download page. Note: downloading any SDK requires you to be signed in. Creating an Exit Games Account is free and without any obligation to purchase any Exit Games products.
After downloading the SDK, extract the archive's content. This SDK already includes a Visual Studio solution and some example projects, which you can take a look at, too. We will be interested in the library files in the libs folder and the folder PhotonLoadbalancingApi.
Note: The terms Realtime API and LoadBalancing API refer to the same code. The former is the new name but we did not want to break existing projects with renaming the folders.
Creating and setting up the Visual Studio project
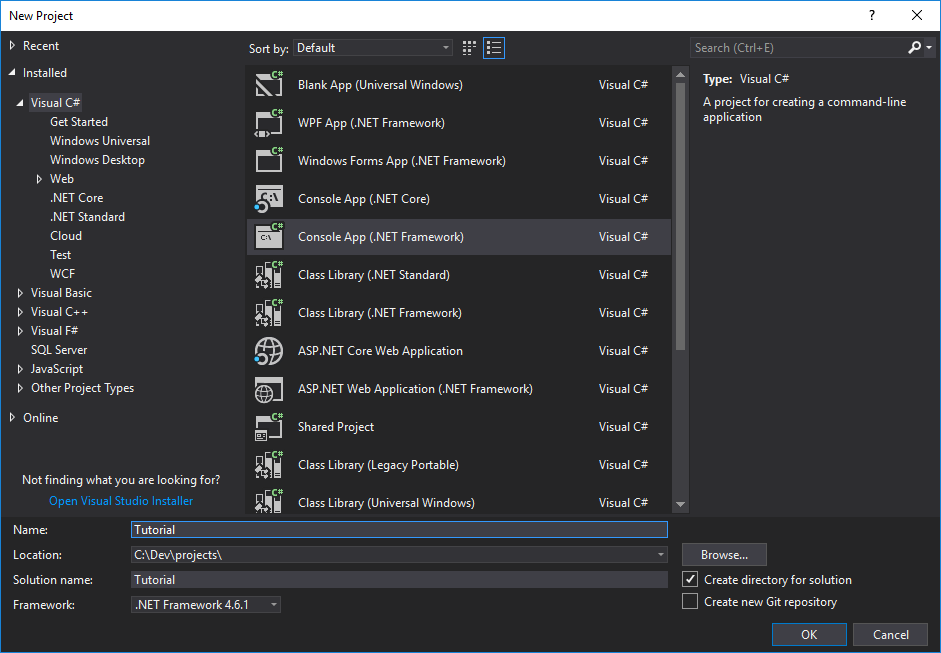
Next we want to set up our own Visual Studio project and start working with Photon. To do so, we start Visual Studio (in our example we are using Visual Studio 2017) and create a new project under File/New/Project.... This opens up the New Project dialog where we select Console App (.NET Framework) under Visual C#. This will create a new solution with an almost empty project.
Afterwards we navigate to our previously extracted .NET Realtime SDK archive and go into /libs/Debug/. There are multiple folders for different .Net variants. Unless we want to target .Net 3.5, we select the netstandard2.0 folder and copy it into a new Libs directory, which we add to our .NET project on the fly.
Back in Visual Studio we right-click on References in our project and select Add Reference.... A new dialog opens up where we click on the Browse button, navigate first to our solution and project folder and then into Libs and the folder we just copied. In this folder we select the dll file (the only that shows up) and click on the Add button. We can close the Reference Manager window by clicking OK. You will notice that this step has added an entry to the project's references which starts with Photon.
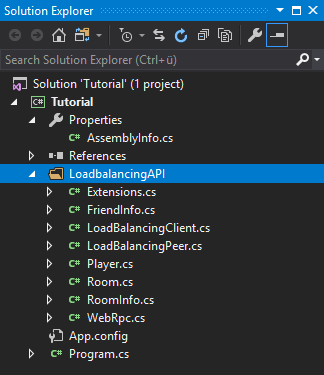
Next we want to add a new folder to the project. We therefore right-click on our project in the Solution Explorer and select Add/New Folder. This will create a new folder in our project, which we name LoadbalancingAPI. Now we right-click on that new folder and select Add/Existing Item.... In the new dialog we navigate to our extracted archive again and select all .cs files in the PhotonLoadbalancingApi folder and click on the Add button. This will copy the selected files to the new LoadbalancingAPI folder in our project.
We are now ready to start developing our application. To see how this works, you can continue reading here.
Creating and setting up the Visual Studio project for UWP
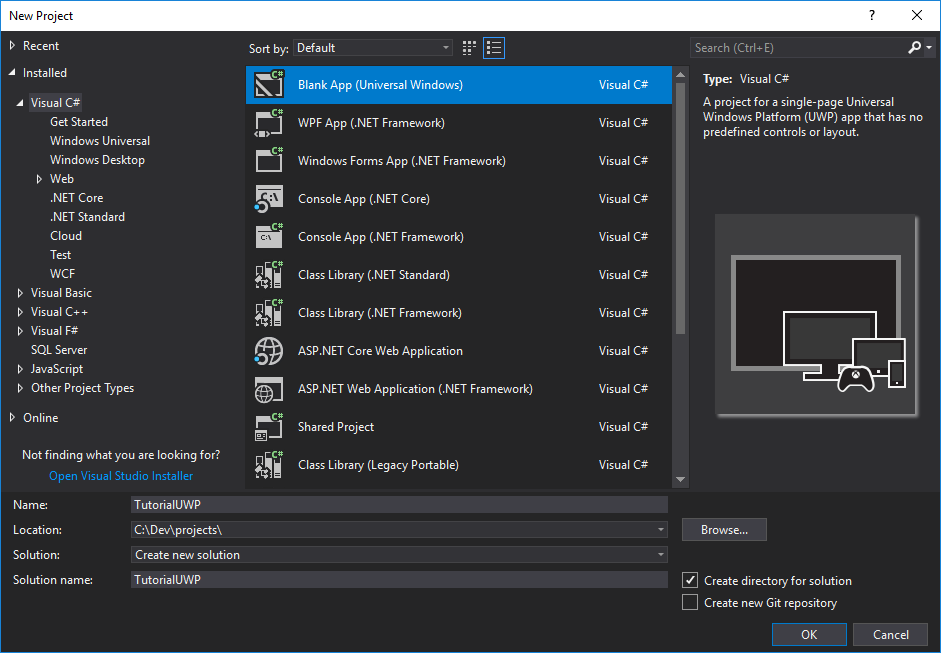
Creating and setting up the project for UWP is similar to regular .NET. Here we will start with creating a new project again. We open up the New Project dialog again, but this time we select Blank App (Universal Windows). This will create a new solution with an almost empty UWP project.
Afterwards we have to copy the libraries again. Therefore we navigate to the extracted archive and go into /libs/Debug/. For UWP, we select the metro folder and copy it into a new Libs directory, which we add to our .NET project on the fly. If we target recent UWP versions, the netstandard2.0 folder can be used alternatively.
Back in Visual Studio we right-click on References in our project and select AddReferences.... The Reference Manager opens up and we navigate into the copied folder to add the dll. After closing the Reference Manager by clicking on OK, we notice that this step has added Photon to the project's references.
Next we want to add the PhotonLoadbalancingApi again. Therefore we create a new folder in our project and call it LoadbalancingAPI. After right-clicking on this new folder, we select Add/Existing Item... to open up the dialog. In this new dialog we navigate to our extracted archive again, select all .cs file in the PhotonLoadbalancingApi folder and click on the Add button. This will copy the selected files to the new LoadbalancingAPI folder in our UWP project.

After this step we are ready to start developing our application.
Back to top