Getting Started
Project Setup
Each download is a complete Unity project.
- Unzip the downloaded package and open the project folder with Unity
6000.3.18f1. - Create a Fusion 2 AppId following Creating a Fusion 2 AppId.
- Open
Tools > Fusion > Realtime Settingsand paste the AppId into theApp Id Fusionfield of the selectedPhotonAppSettingsasset.
The Shared Authority project ships the Simple KCC addon in Assets/Photon/FusionAddons/SimpleKCC.
The Client Host project installs the addon as a Unity package from the Photon UPM Git repository, see Packages/manifest.json.
The Unity Package Manager needs a Git client on the machine to download the package when the project opens for the first time.
Running in Editor
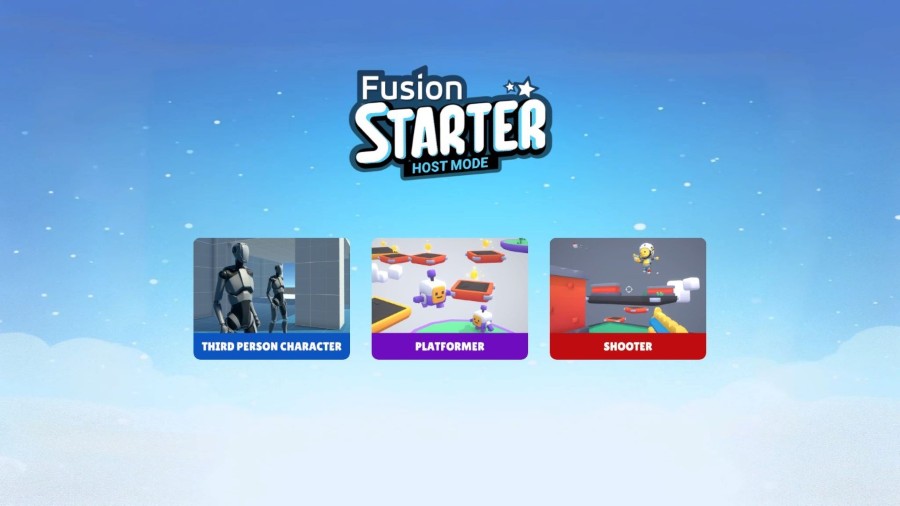
All examples start from the main menu scene, each example scene also runs on its own.
- Open the scene
Assets/00_MainMenu/00_MainMenu.unityand enter Play Mode. - Select
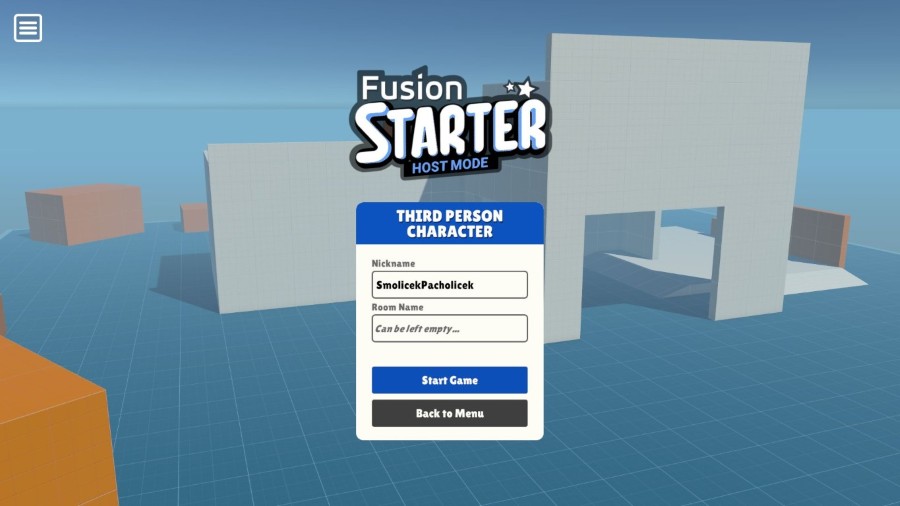
THIRD PERSON CHARACTER,PLATFORMERorSHOOTER. - The game menu opens with a generated nickname and an empty
Room Namefield, change the nickname and enter a room name to play with others. - Press
Start Game, the menu closes when the session runs. - Press
EscorEnterduring play to open the game menu again, it offersDisconnectandBack to Menu.
To open an example directly, open Assets/01_ThirdPersonCharacter/01_ThirdPersonCharacter.unity, Assets/02_Platformer/02_Platformer.unity or Assets/03_Shooter/03_Shooter.unity and enter Play Mode, the game menu appears right away.
An empty room name joins a random session of the same example or creates a new one.
For a quick offline test in the editor enable Force Single Player on the UIGameMenu object of the scene, the game then starts without a connection.
Controls
Keyboard and Mouse
W,A,S,Dor the arrow keys - MoveMouse- Look aroundSpace- JumpLeft Shift- Sprint, Third Person Character and Platformer onlyLeft Mouse Button- Fire, Shooter onlyEscorEnter- Open or close the game menu
Gamepad
Left Stick- MoveRight Stick- Look aroundSouth Button- JumpLeft Stick Press- Sprint, Third Person Character and Platformer onlyWest Button- Fire, Shooter only
Touch
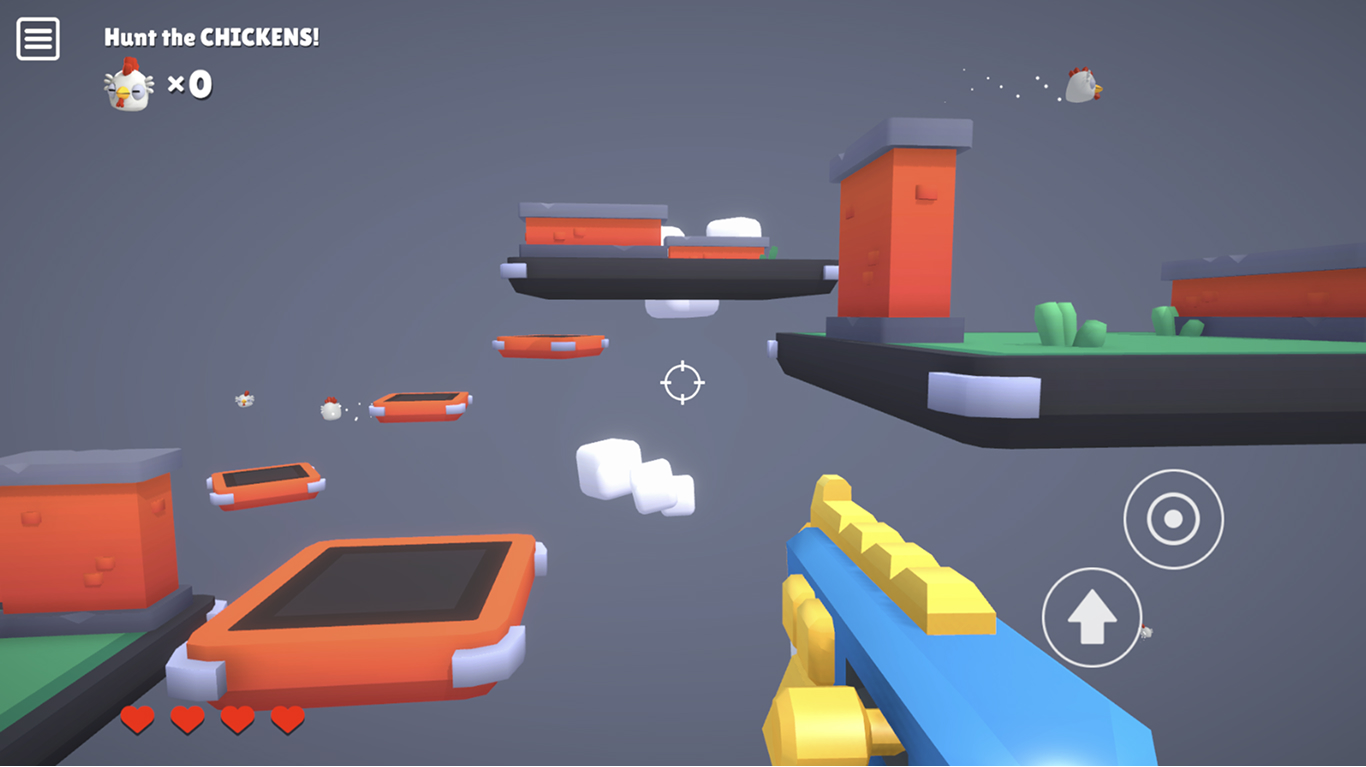
The on-screen controls appear on mobile platforms while the game menu is closed.
Left half of the screen- Drag the stick to moveRight half of the screen- Drag to look aroundJumpbutton - JumpDouble tapon the right half of the screen - JumpFirebutton - Fire, Shooter onlyMenubutton in the top left corner - Open or close the game menu
Building and Testing Multiplayer
The build settings of the project list the four scenes in this order: 00_MainMenu, 01_ThirdPersonCharacter, 02_Platformer and 03_Shooter.
Keep the order, UIMainMenu loads the examples by build index and UIGameMenu hands the active scene to the NetworkRunner by build index.
To test multiplayer, run a build next to the Unity Editor, start several builds on one machine or install the build on several devices.
Enter the same room name on every client and press Start Game.
Clients are only matched together when they use the same AppId, AppVersion and region and when they start the same example.
In the Shared Authority project UIGameMenu starts the NetworkRunner with GameMode.Shared, every client joins the session and controls its own player.
In the Client Host project UIGameMenu starts the NetworkRunner with GameMode.AutoHostOrClient, the first client of a session becomes the host and later clients connect to it.