Download and Install
Obtaining Thunder
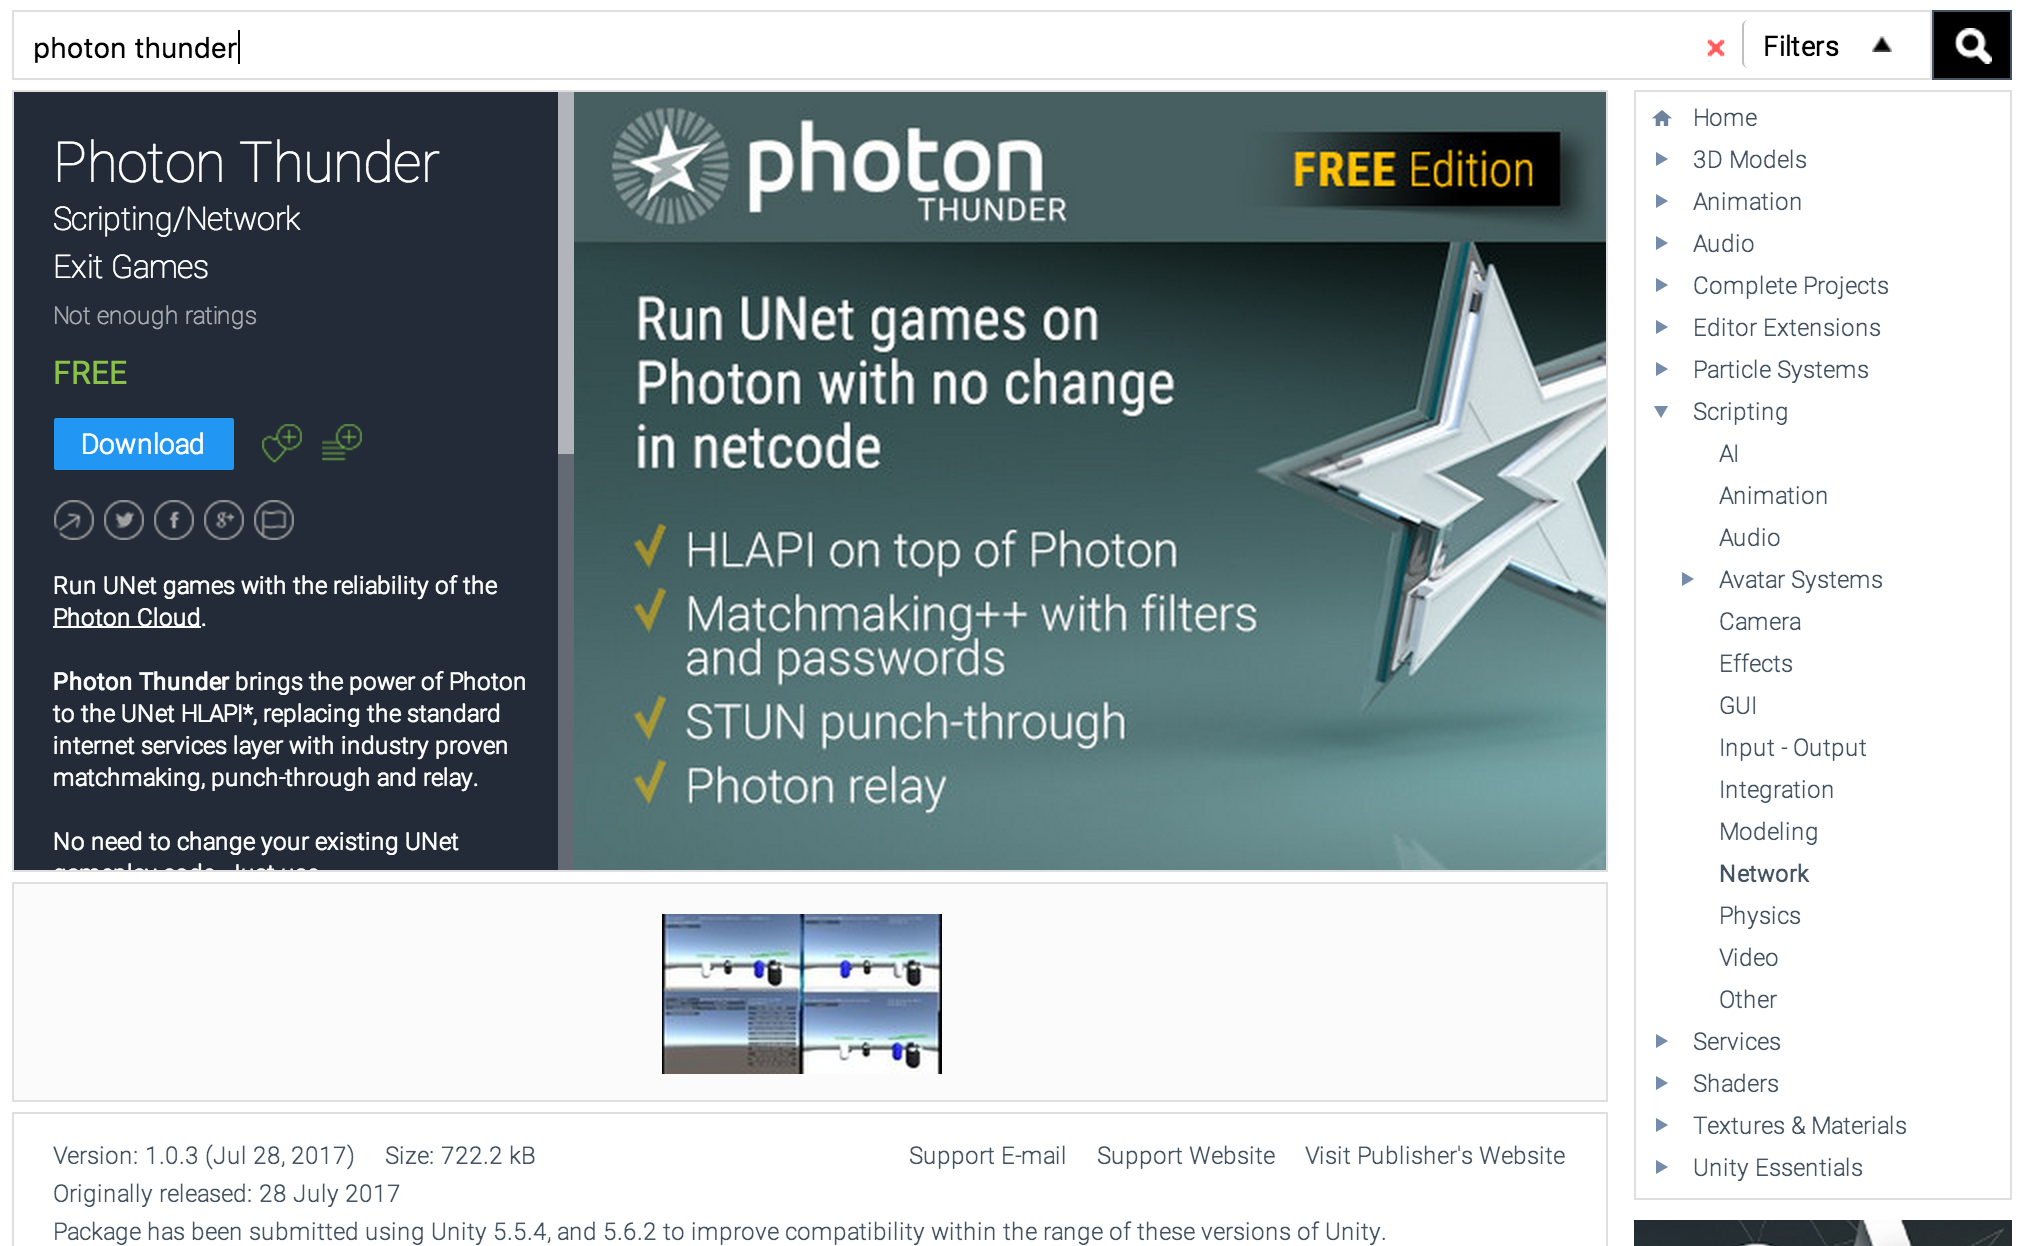
The Photon Thunder SDK and demo game can be obtained for free from the Unity Asset Store by following this link.
You can also search “Photon Thunder” directly from Unity within the Asset Store tab (Ctrl+9 on Win, Cmd+9 on Mac).

Then you can import Photon Thunder into a new or existing project directly from Unity.

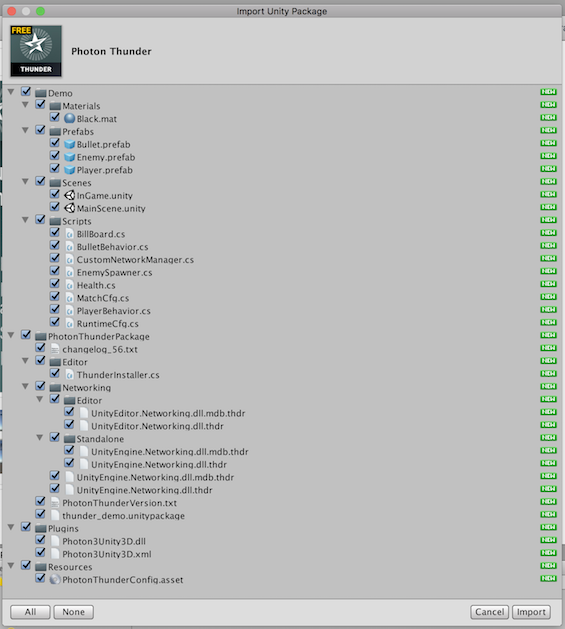
What's in the package:
Photon Thunder is organised into four (4) folders:
- Demo (optional): assets and scripts for the demo game project;
- PhotonThunderPackage (required): Thunder libraries and installation scripts. Do not delete as it is needed in the case you want to revert UNet to its original state;
- Plugins (required): Photon Loadbalance runtime library, that's used as transport layer for Thunder;
- Resources (required): holds the PhotonThunderConfig file. You'll need to fill it with your Photon application ID, among other settings.
Install
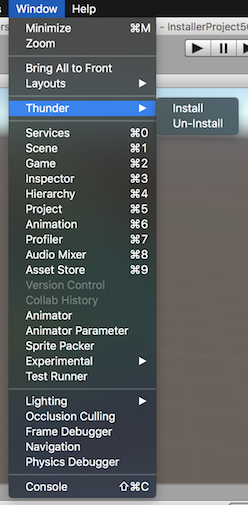
Thunder adds a new item (Thunder) to Unity's menu bar under the Window group:

To start the installation process, you can just click at the Install menu item shown above.

The installation script will make a backup of the original UNet library and replace* it with Photon Thunder. A restart of the Unity Editor is needed so the engine can load the new networking libraries.
*Notice that Photon Thunder replaces UNet for the affected Unity Editor as a whole, so all projects using that copy of the engine will be referencing Thunder instead of Unity's original UNet.
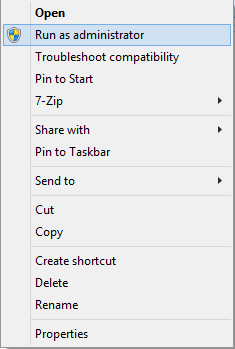
*If you run into problems during the installation, it should be because you are running the Unity Editor without administrator privileges. You can select the application with the right button mouse and click on "Run as administrator" option, as show below:

Uninstall
Running Window/Photon Thunder/Uninstall restores the original Unet libraries and removes Thunder.
