Running Photon Thunder
Getting a Photon Account and Creating an App ID
To create your Photon Account and obtain a new App ID just follow the instructions found here.
How to set App ID on Thunder
After you create an App ID for your new multiplayer game, you need to tell Thunder to use it when connecting to Photon.
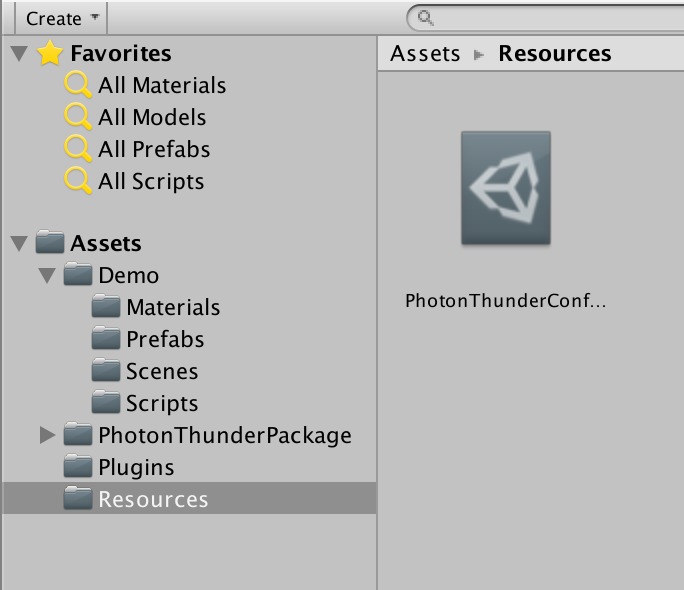
Go to Unity's Project View and click on the PhotonThunderConfig file found on Assets → Resources (shown below).
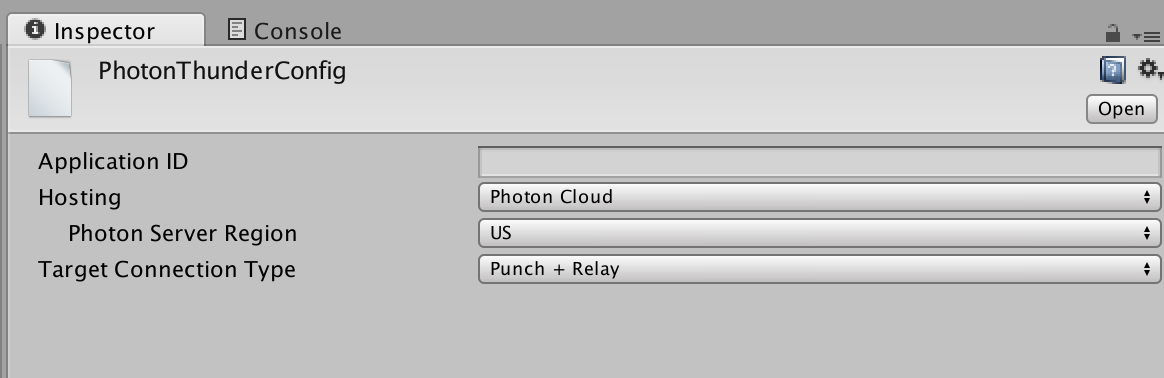
Then you can type your newly created Photon App ID into the text field shown in the Inpector View.
You can also set Hosting type (Photon Cloud or Self Hosted Photon Server), default Photon Cloud Region and the enabled connection types (Punch+Relay or Relay Only).
Running the Sample Game
After installation and setup are done, you can now run the included sample game.
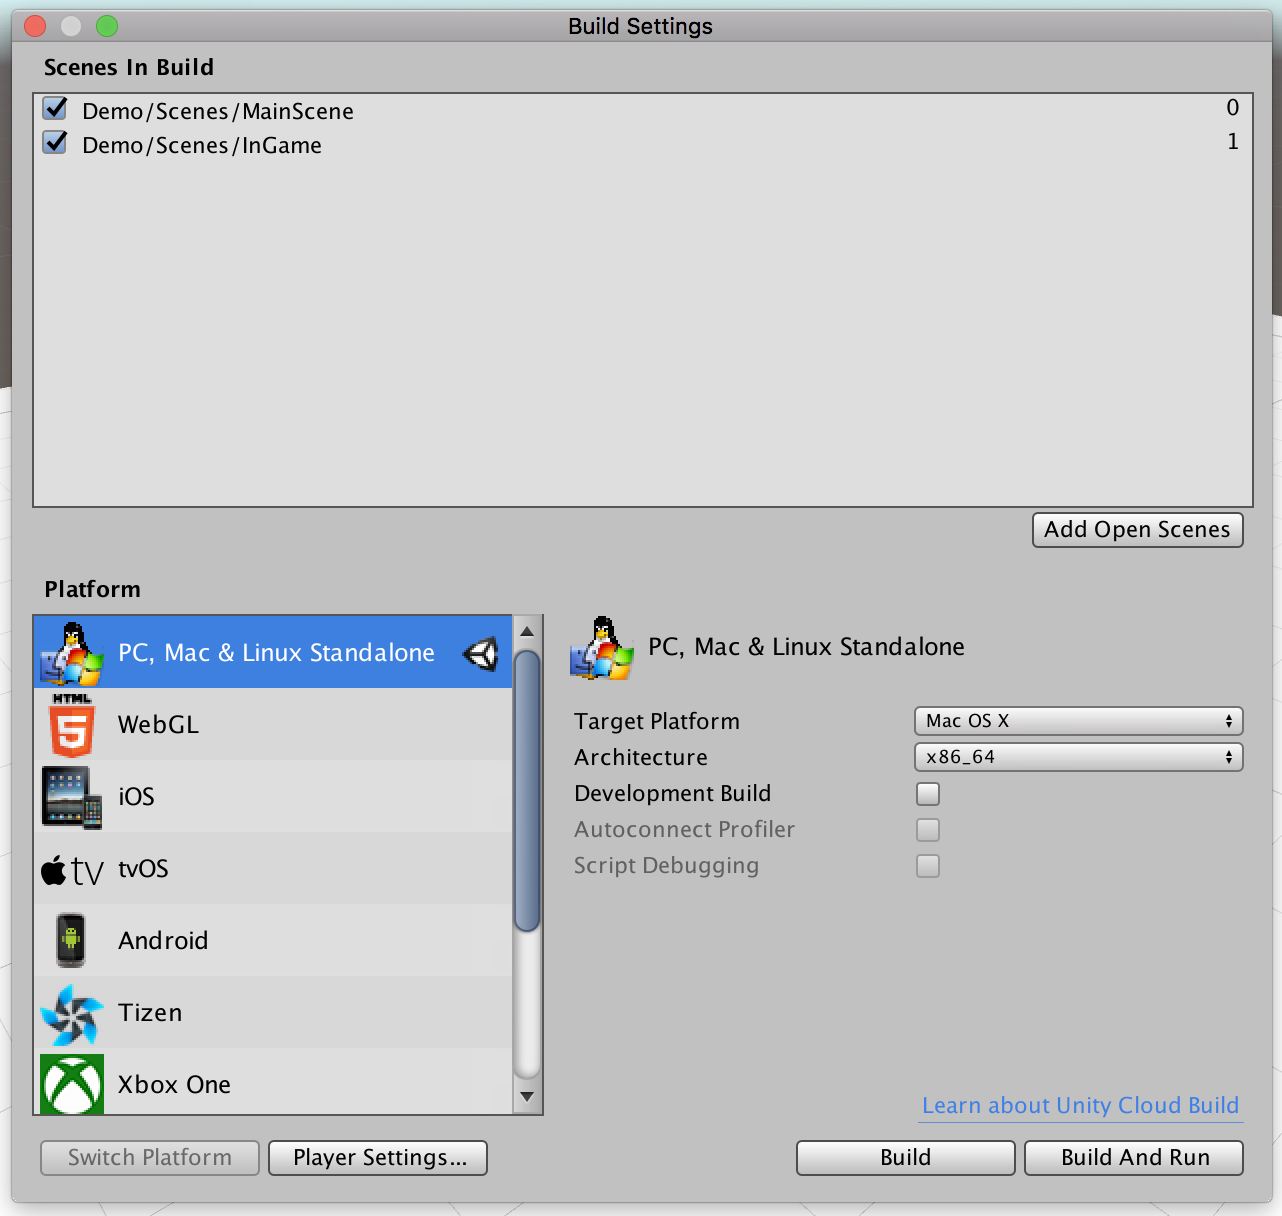
First step is to add its two scenes (MainScene and InGame) to Unity's Build Settings as shown below:
After both scenes are added, load the MainScene and then click the Play Button (Ctrl+P on Win, Cmd+P on Mac) to run the sample.
The screenshot below shows the game running at the main menu.
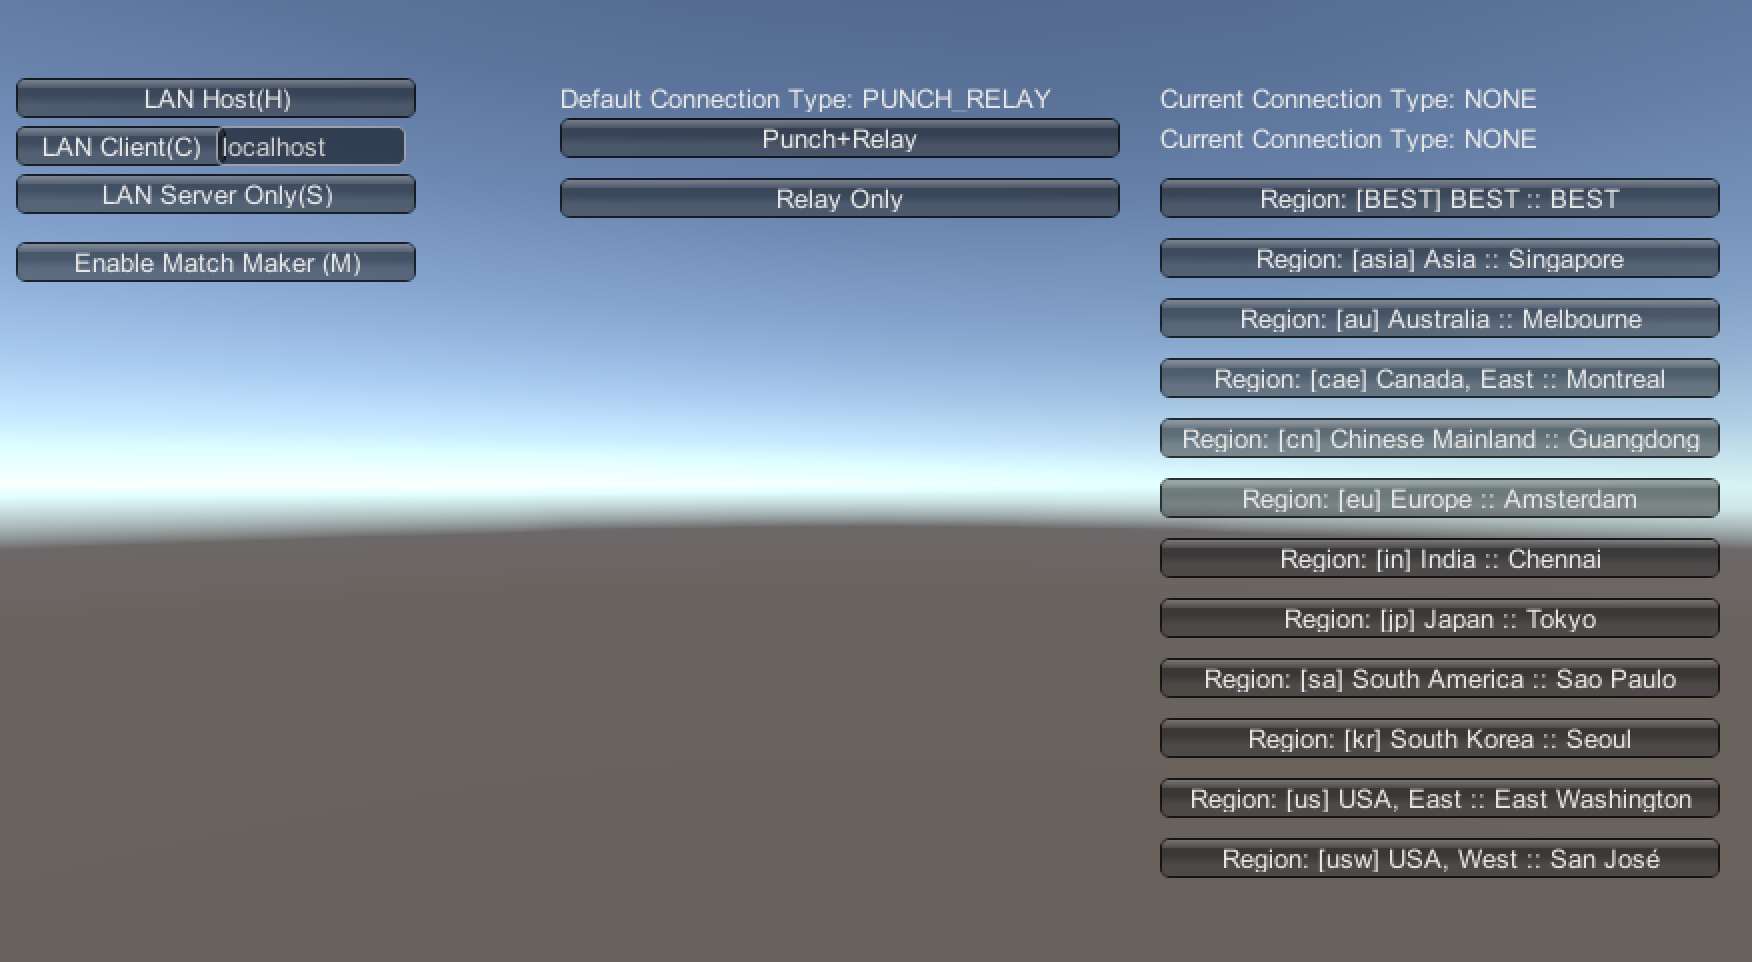
Notice that with Photon Thunder you can also have LAN games without the need for internet.
We won't focus on that, since it works just like normal UNet, and proceed to explain how internet matches work.
Hosting an Internet Match
Clicking on Enable Match Maker you will tell Photon Thunder to connect to the Photon matchmaking lobby servers.
At this moment, the game will stablish a connection with either the Photon Cloud Region Servers or the Custom Photon Server set within the resource config file (explained in the previous section), and join its main lobby.
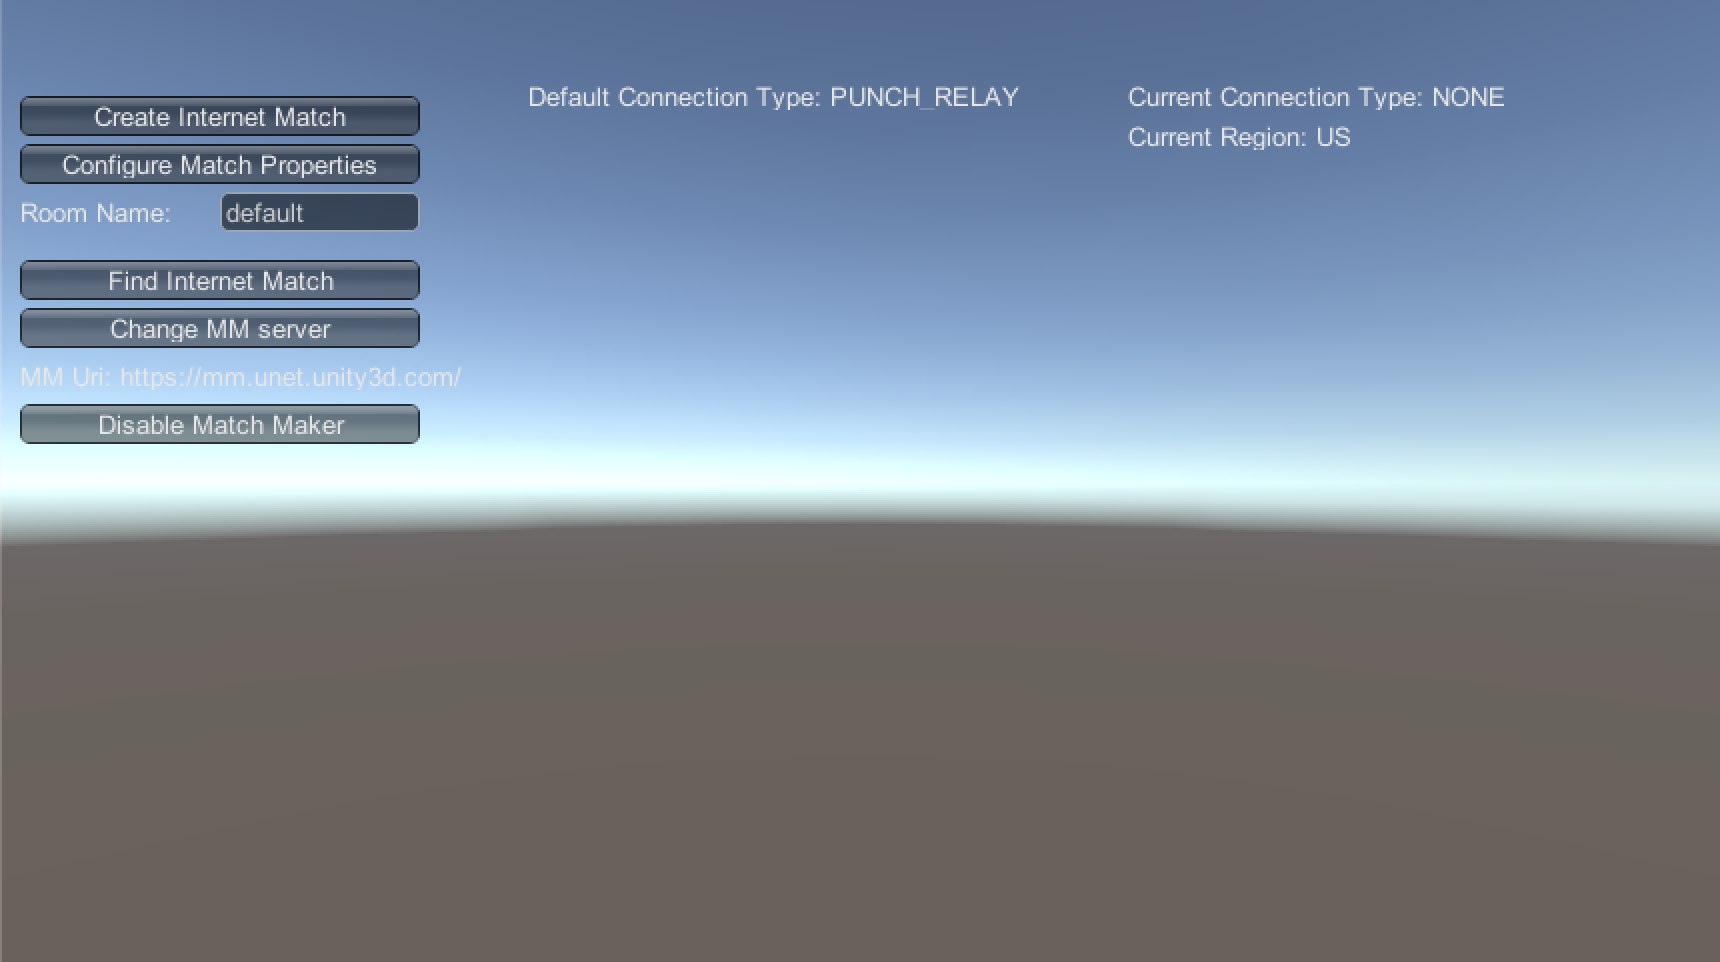
Click Create Internet Match **to start a UNet host instance (you can also set the match/room name by typing in the correspondent input field above).
After the game is created, Unity will load the InGame scene.
Now the match is created and published to Photon, so other players connected to the same lobby can join it and play.

Joining an Internet Match
You can run another instance of the game to look for the newly created match by clicking on Find Internet Match **after the matchmaker is enabled into that instance as well (connected to Photon lobby).
That shall result in the screen shown below, with a list of rooms to join (in the case the single default one created a few moments ago).
You can click at Join Match:[match name] and Thunder will proceed with the connection process.
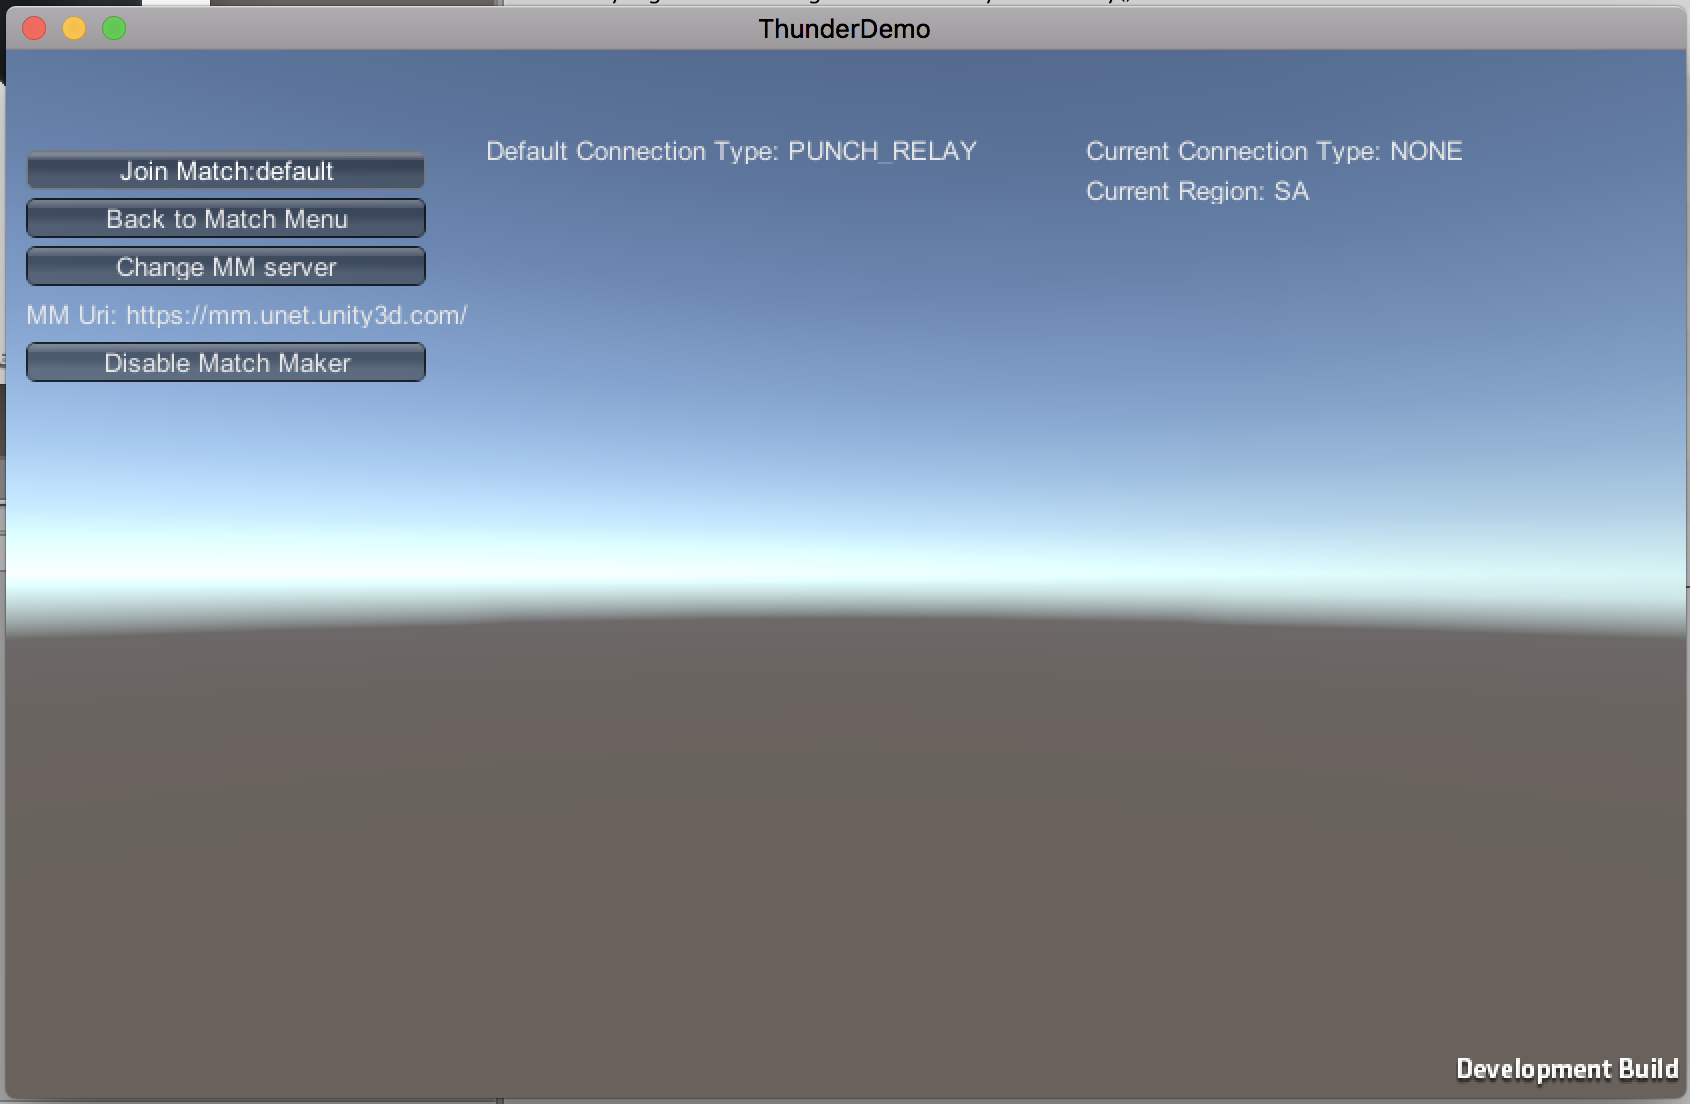
Once the process was completed, the new client will also load the InGame scene and appears on the screen of all connected players.
From there you can walk using the Arrow Keys and shoot using the Space Bar. Have Fun!
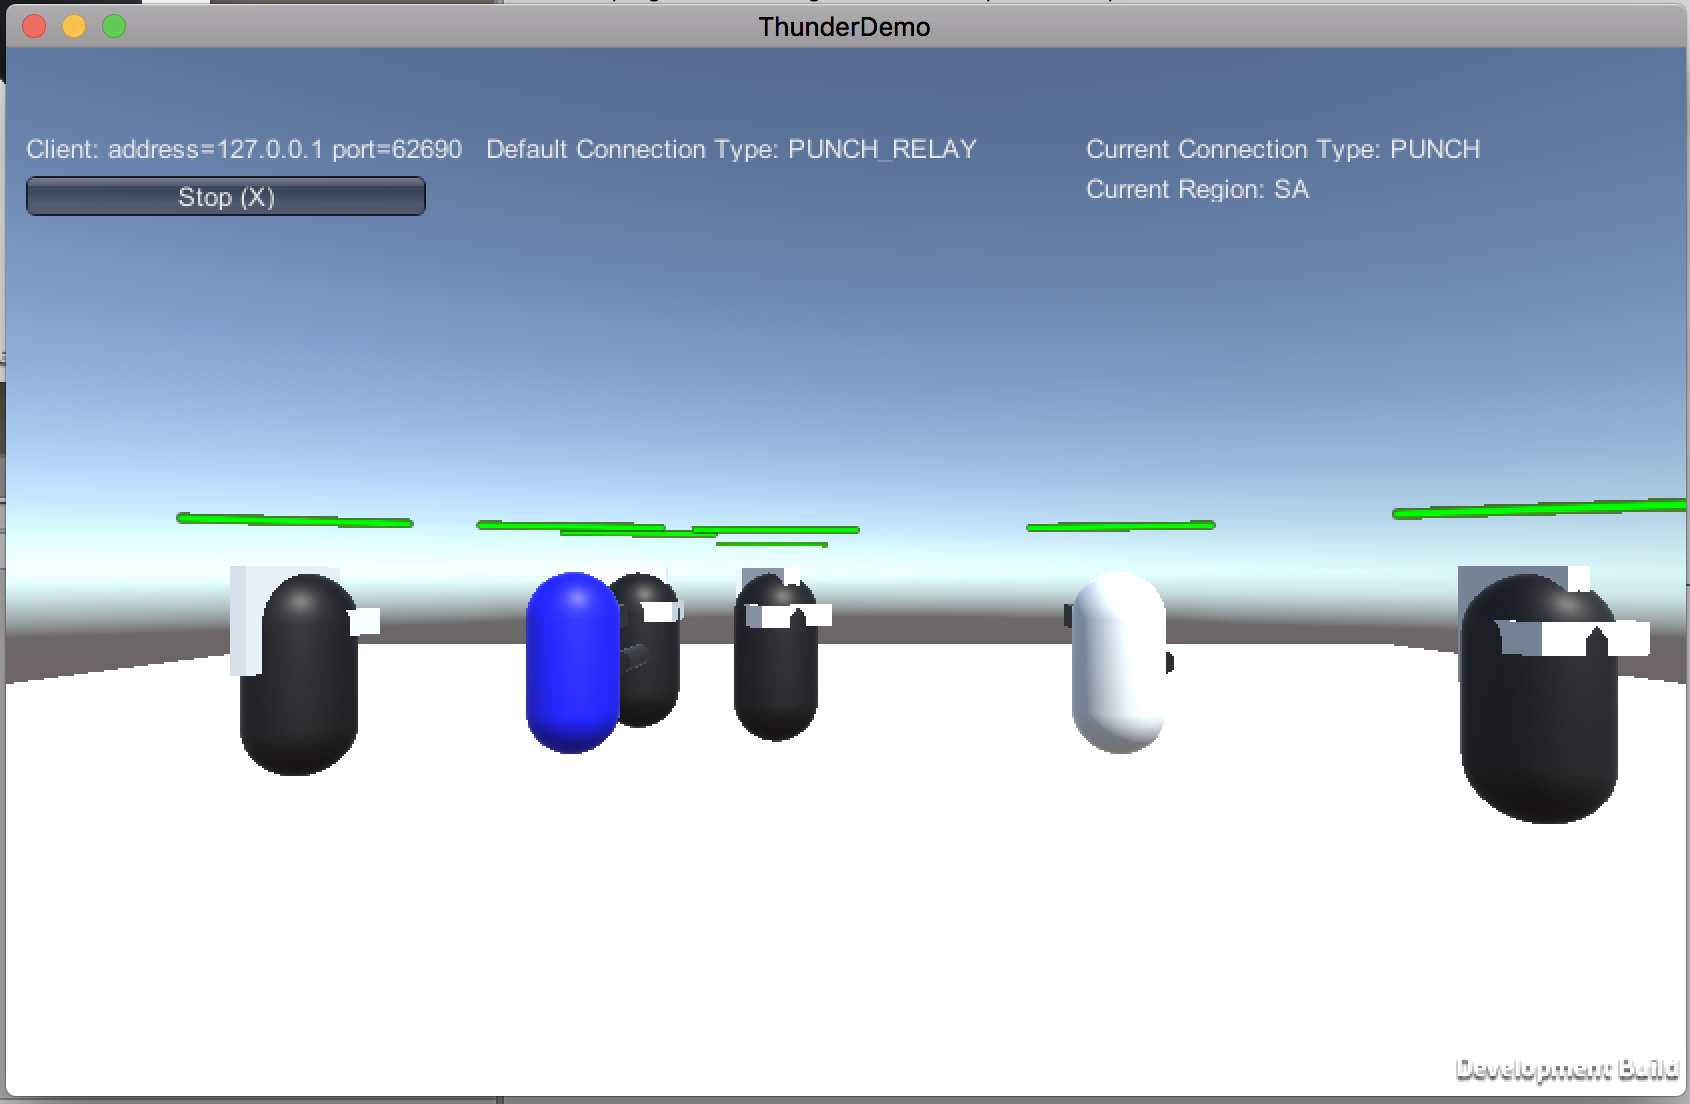
Notice that some UI labels show the connection type that was possible to stablish with the match host.
If enabled, Photon Thunder will always try to punchthrough first, and use relay only in the case punch fails.
If you set Thunder to only use relay though, punchthrough won't be tried and Photon relay servers will be used from the beginning.