Getting Started
Project Setup
- Unzip the downloaded package and open it in Unity 6000.3.18f1 or later.
- Create a Fusion 2 AppId following Creating a Fusion 2 AppId.
- Fill in the Fusion 2 AppId in the Fusion Hub window (menu
Tools > Fusion > Fusion Hub).
The project installs the Simple KCC, FSM and Fusion Inspector addons as Unity packages from the Photon UPM Git repository, see Packages/manifest.json.
The Unity Package Manager needs a Git client on the machine to download the packages when the project opens for the first time.
Running in Editor
- Open and play the
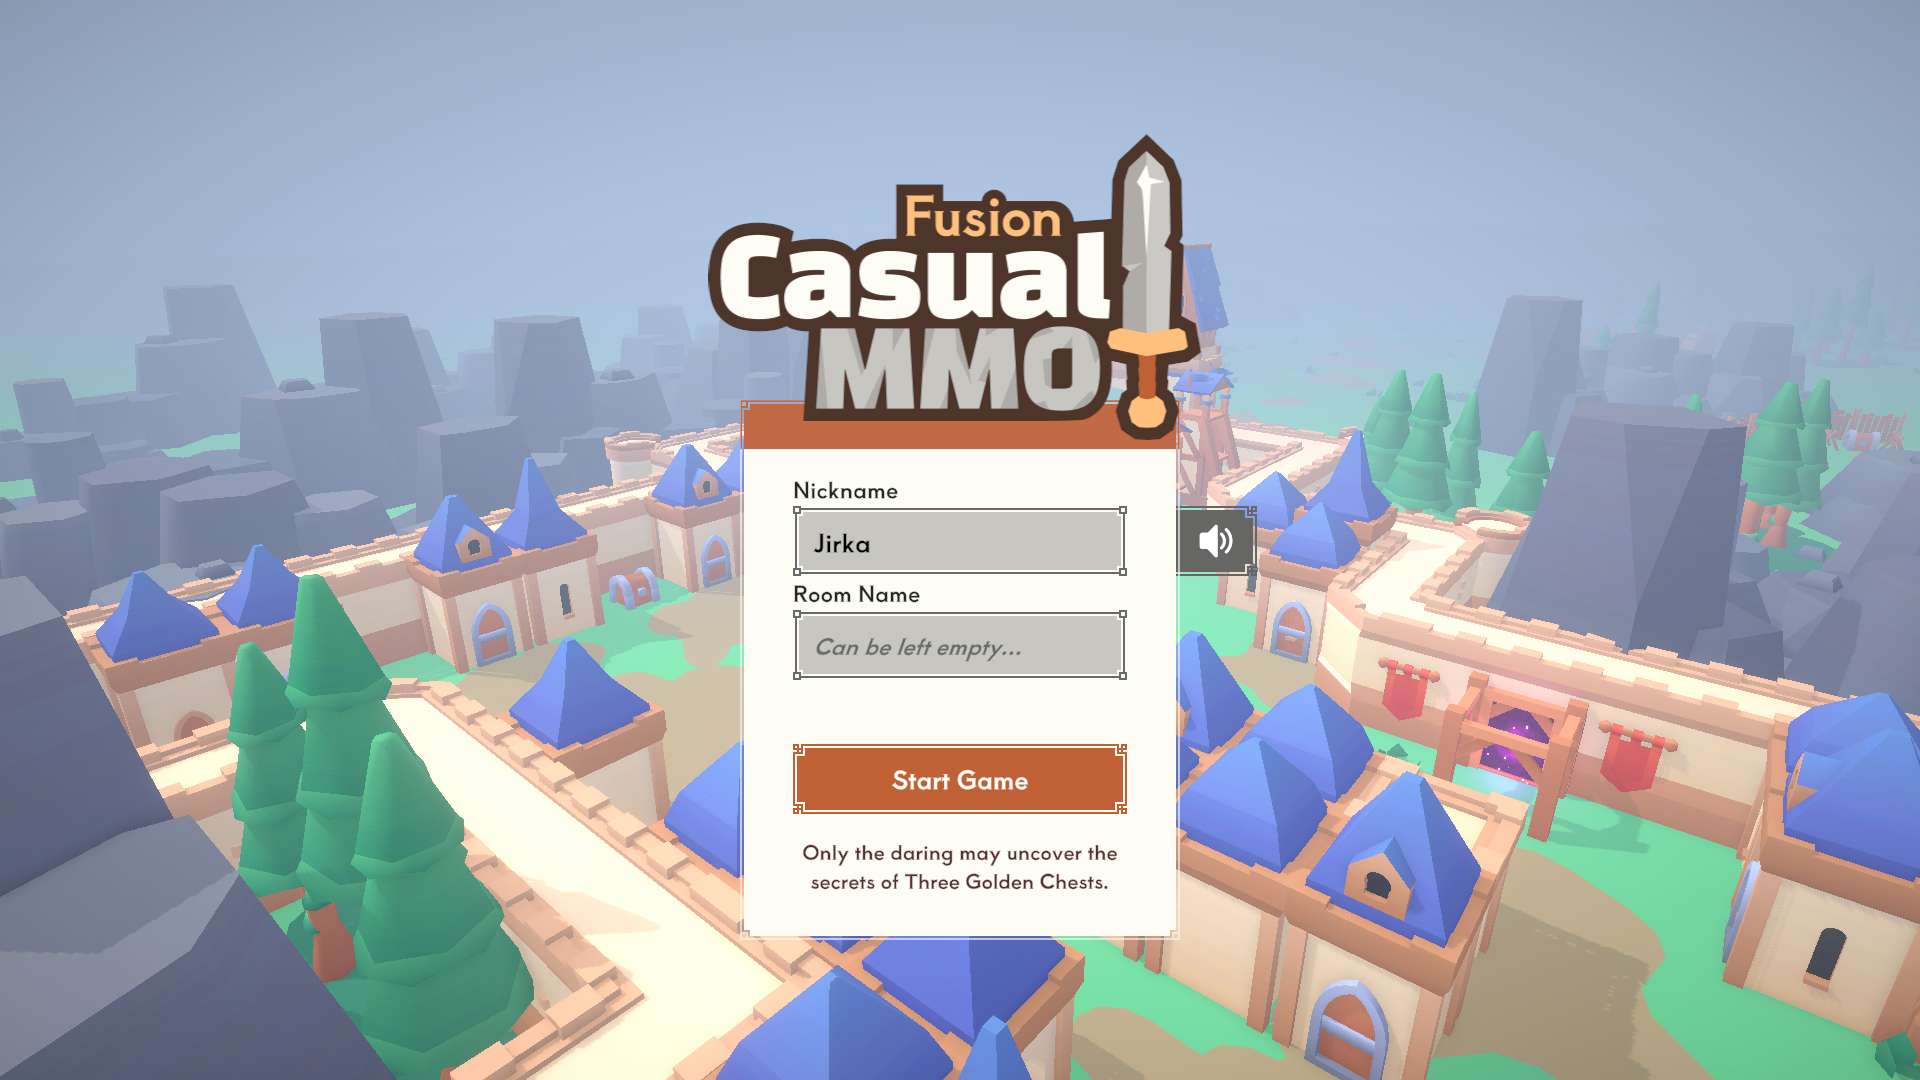
Gamescene (Assets/Scenes/Game.unity). - Click on the
Start Gamebutton to join a random session or create a new one. Enter aRoom Namefirst to play in a specific session.
Controls
Keyboard and Mouse
W,A,S,Dor the arrow keys - Player movementMouse- Rotate the cameraLeft Shift- Walk while heldSpace- JumpLeft Mouse ButtonorLeft Ctrl- AttackRight Mouse ButtonorLeft Alt- DashQorMiddle Mouse Button- Ultimate abilityE- Use item or interactEnterorEsc- Open or close the game menu
The ultimate ability can be confirmed with the Left Mouse Button and canceled with the Right Mouse Button.
The sample also includes basic support for gamepad and touch controls on mobile devices.
Gamepad
Left Stick- Player movementRight Stick- Rotate the cameraLeft Stick Press- Walk while heldRight Shoulder- JumpSouth Button- Attack, confirms the ultimate abilityEast Button- Dash, cancels the ultimate abilityWest Button- Ultimate abilityNorth Button- Use item or interact
Touch
- On-screen stick - Player movement
Dragon the screen - Rotate the camera- Ability buttons - Attack, Dash and Ultimate ability
- Interaction button next to the object - Use item or interact
The touch controls have no jump button.
Building and Testing Multiplayer
The game can be built for all supported platforms, see Download. No special build steps are required. Clients are only matched together when they use the same AppId, AppVersion and region.
Build and Run
The simplest way to test the sample in multiplayer is to use Unity's "Build And Run" feature (File > Build And Run).
This creates a build of the game and immediately launches it alongside your editor instance.
While the first build may take several minutes, subsequent builds are much faster since Unity only needs to rebuild what has changed.
Multiplayer Play Mode
Unity 6 includes a feature called Multiplayer Play Mode that makes testing multiplayer games faster. This feature allows you to launch multiple game instances directly from the Unity Editor without having to build the game. The sample project is already configured to work with Multiplayer Play Mode out of the box.
To use Multiplayer Play Mode in the sample:
- Open the Multiplayer Play Mode window (
Window > Multiplayer > Multiplayer Play Mode) - Activate one or more Virtual Players
- Start the game in Unity Editor as usual by clicking on the Play button
- Each instance runs in its own window, allowing you to test multiplayer functionality
For testing with many clients at once, see Large Scale Testing.
Last updated on
Back to top