Quantum 105 - Multiplayer
概述
在這個階段,在Game場景中進入遊玩模式,就可以在單人玩家模式下遊玩遊戲。把這樣的遊戲遊玩模式轉換成一個高品質的多人玩家遊戲,通常是一個充滿挑戰性的事情。不過您知道這已經是本教學的最後一個章節了。所以我們應該要如何新增多人玩家呢?
答案就是,多人玩家支援早就已經在這了!有了Quantum,您只需要專注在撰寫遊戲遊玩程式碼,而
Quantum引擎將它轉換成一個多人玩家遊戲!剩下的所有事情就是快速地連接選單場景,以讓玩家在線上加入遊戲。
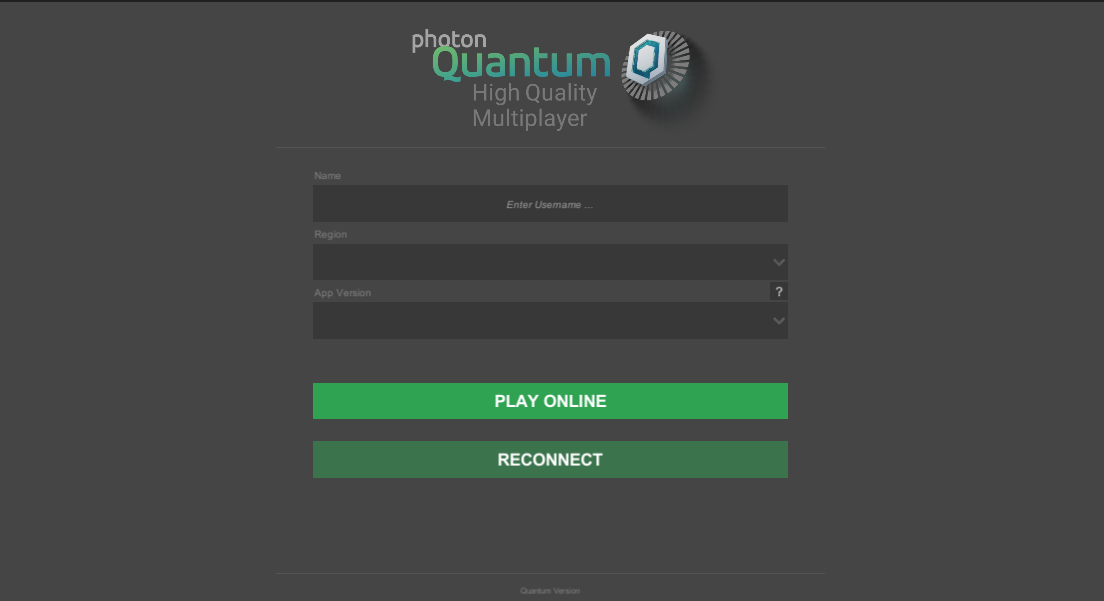
選單場景
在Photon/QuantumDemo/Menu/資料夾中開啟Menu場景。選單場景是一個範例場景,其附有所有所需的功能性,以線上運行一個Quantum遊戲,其中包含一個大廳系統。
自訂回調
在場景中,在QuantumCallbacks遊戲物件上開啟CustomCallbacks指令碼。這個指令碼將玩家資料插入到一個針對線上遊戲階段的類似於偵錯運行器的Quantum遊戲階段。
將程式碼調整到下列程式碼,以插入自訂玩家資料:
C#
using Quantum;
using UnityEngine;

public class CustomCallbacks : QuantumCallbacks {

  public RuntimePlayer PlayerData;

  public override void OnGameStart(Quantum.QuantumGame game) {
    // IsPaused is true when a player late joins or reconnects to a room.
    // This prevents the spawning of another player object when reconnecting.
    if (game.Session.IsPaused) return;

    foreach (var localPlayer in game.GetLocalPlayers()) {
      Debug.Log("CustomCallbacks - sending player: " + localPlayer);
      game.SendPlayerData(localPlayer, PlayerData);
    }
  }

  public override void OnGameResync(Quantum.QuantumGame game)
  {
    // OnGameResync is called when a player reconnects.
    Debug.Log("Detected Resync. Verified tick: " + game.Frames.Verified.Number);
  }
}
返回Unity編輯器,並且拖放角色原型到CustomCallbacks元件的CharacterPrototype欄位之中。
線上遊玩
下一步,我們將組建一個玩家來測試線上遊玩。
首先前往Edit > ProjectSettings > Player > Resolution and Presentation並且更改全螢幕模式為Windowed。然後前往File > Build Settings並且建立一個組建。
開啟已組建的應用程式,並且在編輯器中進入遊玩模式以開啟遊戲的2個執行個體。在遊戲中的命名欄位,給各個客戶端一個獨一無二的名稱,然後按下Play Online。您將看到兩個客戶端都出現在相同的大廳之中。在主客戶端上按下Start Game以開啟遊戲。已生成2個玩家角色,而且各個執行個體控制著它們的玩家角色。
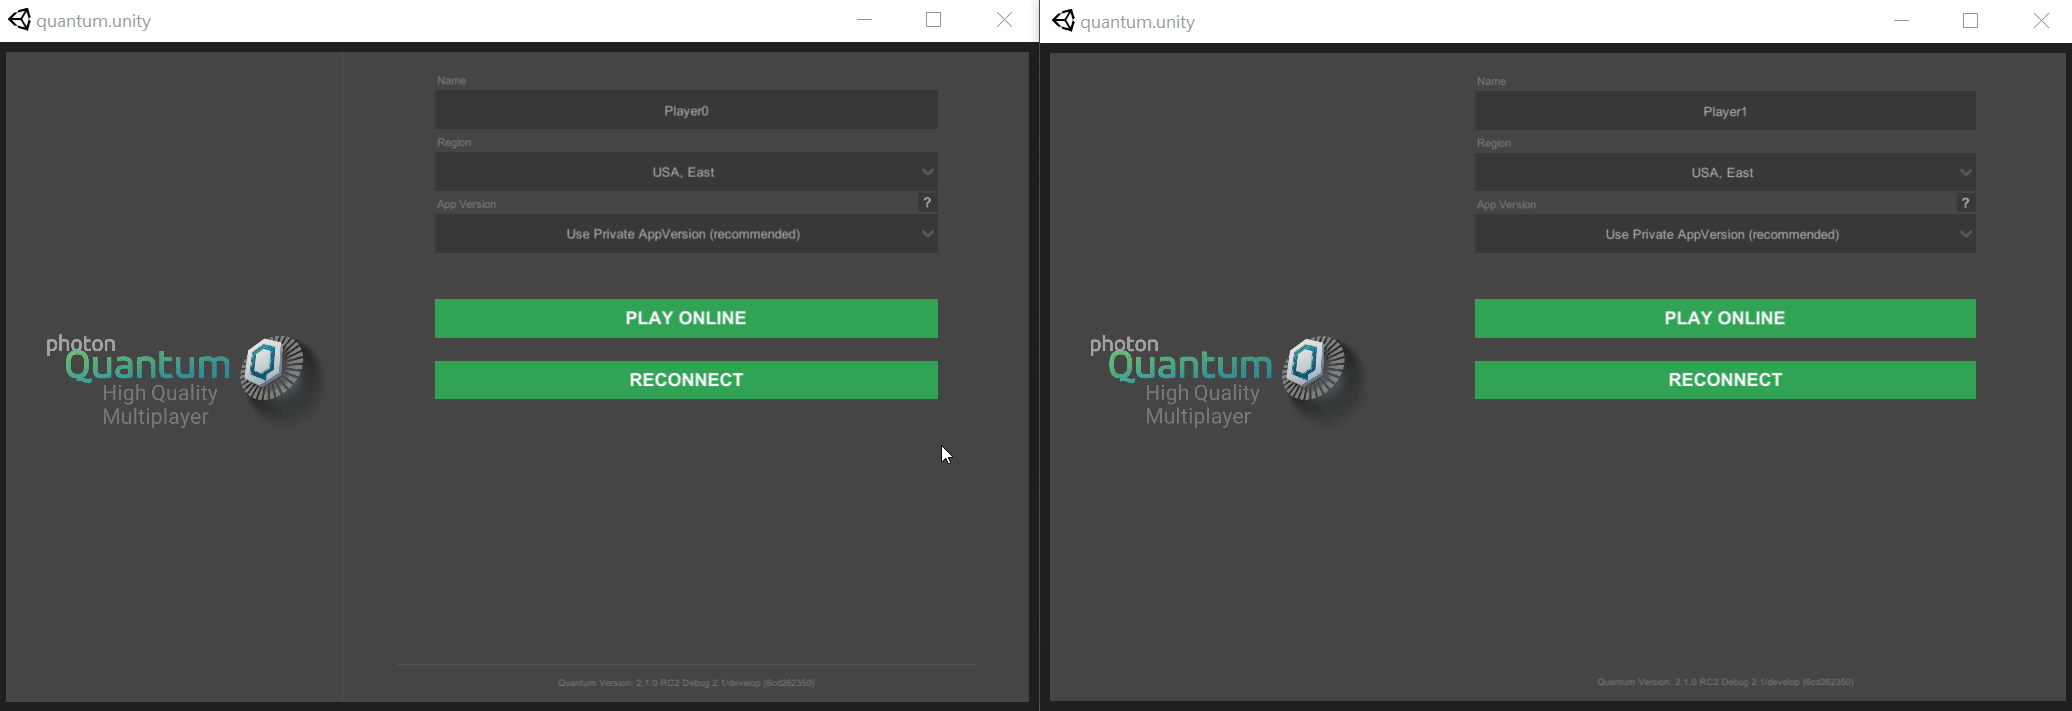
注意事項: 雖然客戶端被連接到一個遙遠的地區(從德國到美國東岸),遊戲遊玩仍然可以快速地回應,而且沒有客戶端上的可見的延遲。這是透過Quantum的確定性復原網路架構來完成的。
Back to top