Getting Started
Project Setup
- Unzip the downloaded package and open it with Unity 6000.3.13f1 or later.
- Create a Quantum 3 AppId following Creating a Quantum 3 AppId.
- Create a Photon Voice AppId following Voice App Id.
- Open
Tools > Quantum > Find Config > Photon Server Settingsand paste the AppIds into theApp Id QuantumandApp Id Voicefields. The voice connection copies its settings from this asset, so the Voice AppId does not go into theVoiceAppSettingsasset.
Running the game
To run the game in the editor:
- Open the
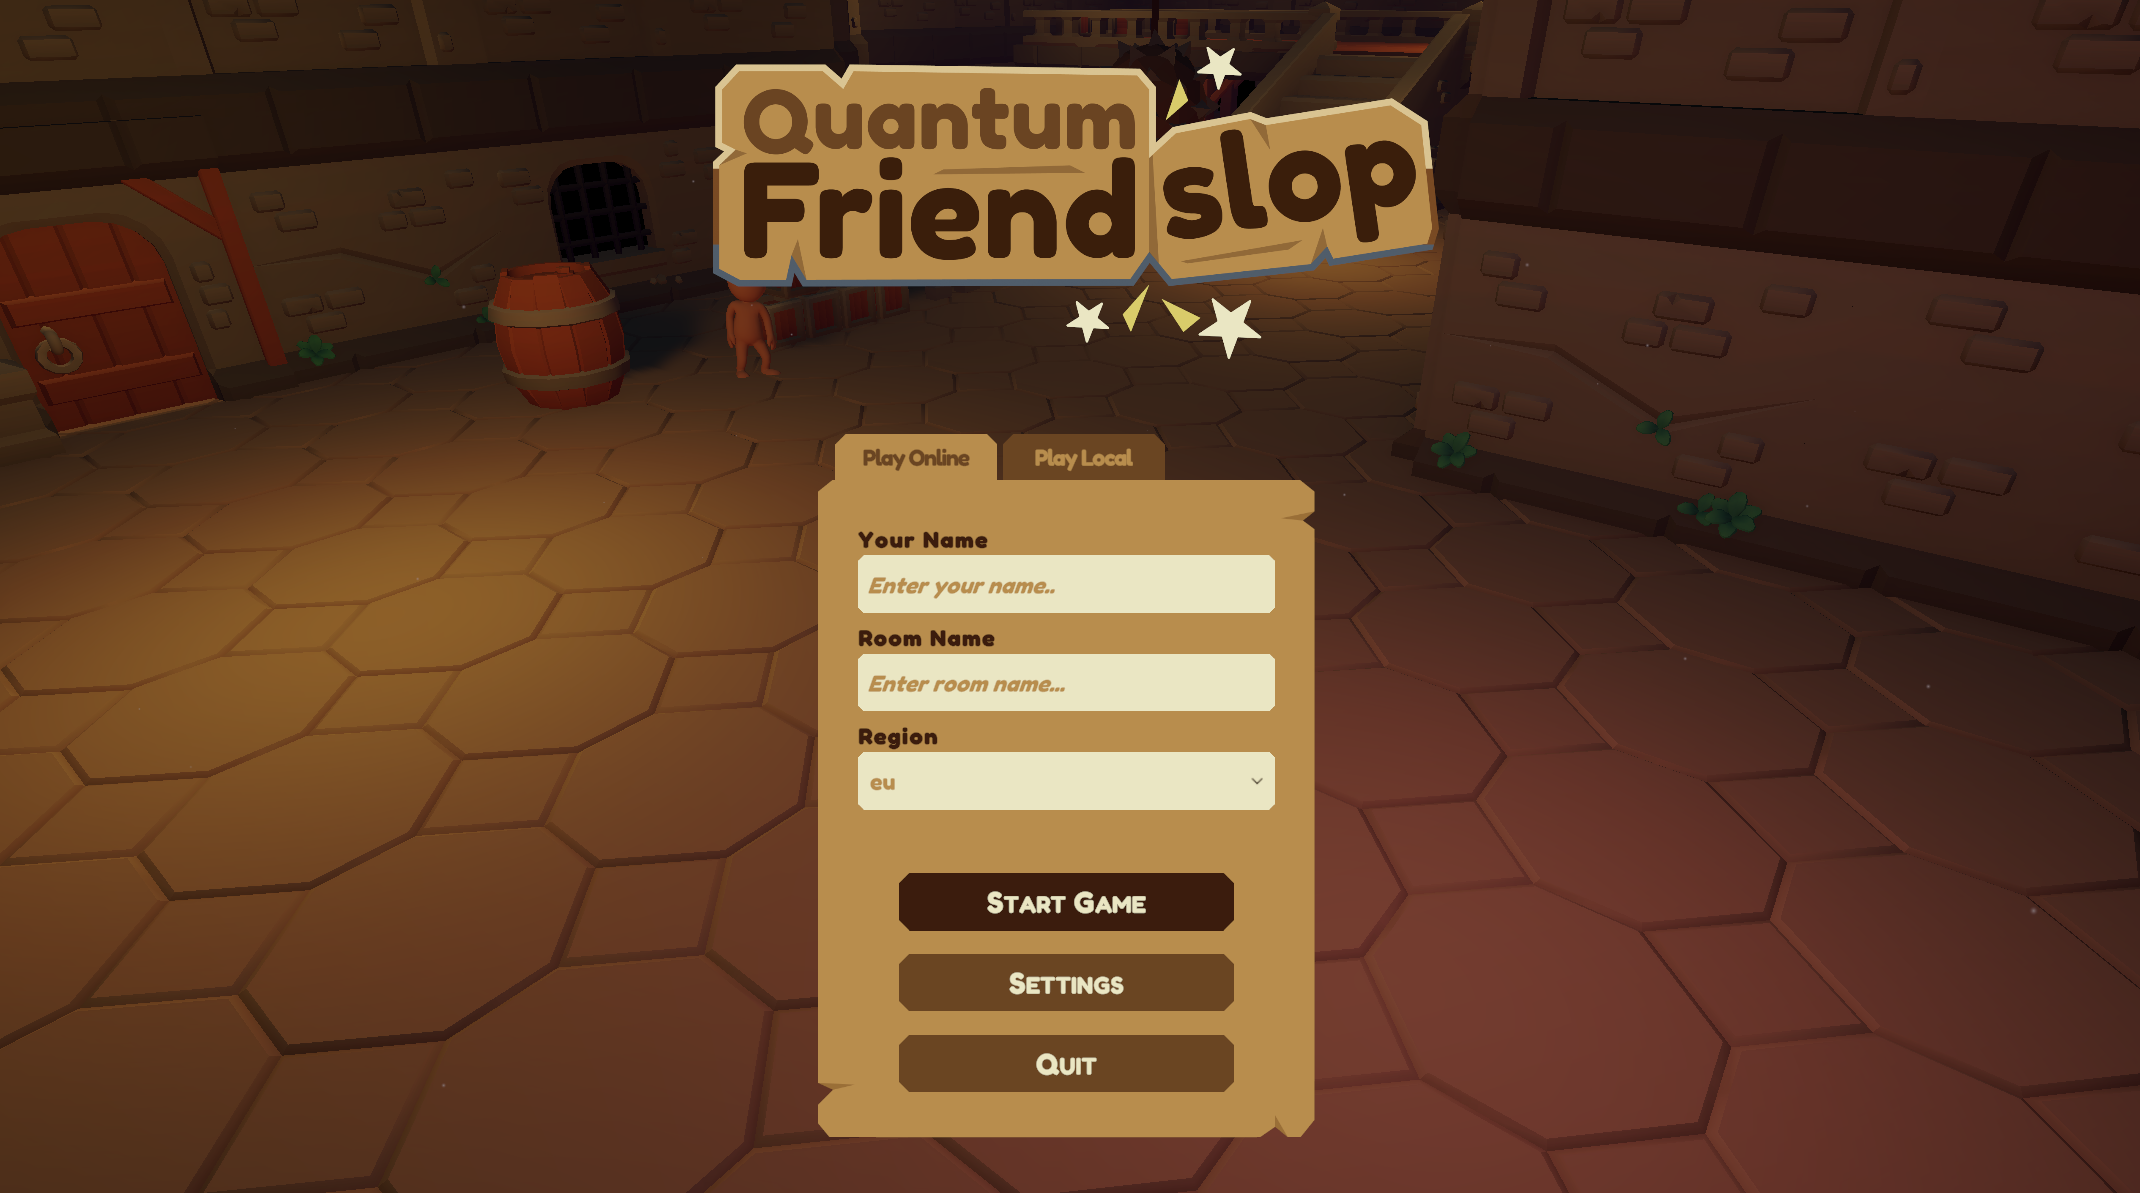
Gamescene atAssets/Scenes/Game/Game.unity. - Enter Play Mode. The connection menu of the Start UI opens.
- Enter a player name and select a region. Enter a room name to create or join that room, or leave it empty to use random matchmaking.
- Press the start button. The client connects, the menu closes and the player spawns in the dungeon.
- If needed, press
Escto open the menu and pressEscagain to return to the game.
To run the game in a build:
- Make sure the
Gamescene is included in the Build Profile's scene list. - Create a game build and play.
The objective is mainly to explore the environment and to throw or kick the enemy off the map. The match keeps running after the objective is met.
Controls
Keyboard and Mouse
WASDorArrow Keys- MoveMouse- LookSpace- Jump, press repeatedly while knocked down to get up soonerShift- SprintLeft Mouse Button- KickRight Mouse Button- Grab and dropM- Mute and unmute the microphoneEsc- Open and close the menu
Gamepad
Left Stick- MoveRight Stick- LookSouth Button- Jump, press repeatedly while knocked down to get up soonerRight Trigger,Left TriggerorLeft Stick Press- SprintRight Shoulder- KickLeft Shoulder- Grab and dropD-Pad Up- Mute and unmute the microphoneStart- Open and close the menu
Last updated on
Back to top