Prediction Culling
Introduction
Prediction Culling saves CPU time during quantum prediction and rollback phases by limiting which entities the predictor simulates. When enabled, only entities that are important or visible to the local player(s) are predicted, while everything outside the view is simulated only in verified frames. This makes it ideal for games where players have a partial view of the game world, and it's both safe to use and simple to activate.
The performance gains vary by game but can be substantial, especially when the game supports many entities and a large portion of them fall outside the local player's visibility range.
The Quantum SDK by default provides culling through a simple sphere that defines the area within which entities are predicted. Its position and radius can be adjusted dynamically during gameplay � for example, by attaching it to the local player's entity position with a radius large enough to cover the entire screen.
Since culled entities only run their logic in verified frames, they will behave noticeably differently from the local player's perspective since prediction plays a big part in making gameplay feel smooth and responsive. For this reason, good camera control and careful positioning of the culling area are important to ensure players never actually see culled entities.
Setting Up Prediction Culling
To set up prediction culling, there are two steps; one in Quantum and one in Unity.
In Quantum
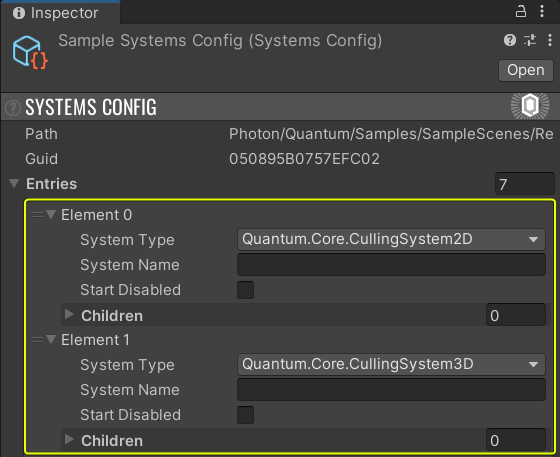
By default, the Prediction Culling systems are already enabled in the sample Systems Config asset, located in Assets/Photon/Quantum/Samples/SampleScenes/Resources:
In Unity
In Unity, it is necessary to set the prediction area. This will be used to decide which entities to cull from prediction.
Update the prediction area by calling SetPredictionArea() on every Unity update, given a Quantum Game, which can usually be accessed in two different ways:
By using a QuantumSceneViewComponent or QuantumEntityViewComponent:
C#
using Quantum;
using UnityEngine;

public class PredictionCullingUpdater : QuantumSceneViewComponent
{
    public override void OnUpdateView()
    {
        Game.SetPredictionArea(position, radius);
    }
}
Or by accessing the game through a QuantumRunner:
C#
using Quantum;
using UnityEngine;

public class PredictionCullingUpdater : MonoBehaviour
{
    private void Update()
    {
        QuantumRunner.Default.Game.SetPredictionArea(position, radius);
    }
}
Iterators
The game codes can also benefit from Prediction Culling. Any filter that includes a Transform2D or Transform3D will be subject to culling based on their positions.
Essentially whenever a prediction frame is running, calling any of the methods below will only return entities within the limits of the prediction radius, while the same call will return all active instances when simulating a verified frame (when input confirmations arrive).
frame.Filter()frame.Unsafe.FilterStruct()
N.B.: while filters take in account Prediction Culling, component iterators do not.
frame.GetComponentIterator()frame.Unsafe.GetComponentBlockIterator()
Manual Culling Control Flags
It is also possible to manually flag entities for culling on predicted frames via the API provided on the Frame.
| Method | Description | |
|---|---|---|
| SetCullable(EntityRef entityRef, bool cullable) | Sets if an entity can be culled or not. Does nothing if the entity does not exist (including invalid entity refs). | |
| IsCulled(EntityRef entityRef) | If an entity is currently culled from the simulation, regardless of the frame state (Predicted or Verified).
True if the entity is culled (for instance, not inside the prediction area) or does not exist. False otherwise (if the entity exists and is not being culled). |
|
| Culled(EntiyRef entityRef) | If an entity is prediction-culled.
True if the frame is Predicted AND the entity IsCulled. False otherwise (if the frame is Verified or the entity is not culled). |
|
| Cull(EntiyRef entityRef) | Manually marks a cullable and existing entity as culled for this tick. | Does nothing if the entity does not exist or is not cullable. |
| ClearCulledState() | Resets the culling state of all entities on that frame. | Called automatically at the beginning of every simulation frame. |
To keep a consistent state and avoid desync, de-flag the culled entities on verified frames in the same systems you originally flag them in, so you keep a consistent state and do not desync.
Avoiding RNG Issues
Using RNGSession instances with Prediction Culling is perfectly safe and determinism is guaranteed. However, their combined use can result in some behavior jitter when multiple entities share an RNGSession, such as the default one stored in Quantum's Global. Supposing entities using the RNG session, some being simulated in a predicted frame and others being skipped: a specific random number sequence is generated by those entities using it. Then, during the simulation of a verified frame, a different random number sequence is generated given that now all the entities are simulated. This mismatch between the predicted frames and the verified one can be noticed in gameplay depending on how such random values are used in the simulation.
If randomness defines characters' movement, for example, it may be possible to notice on the verified frame that characters' positions suddenly changed when the numbers sequence is corrected. There are also other cases in which this kind of issue may arise, specifically when an RNG session is shared this way.
The solution to this problem is to store an isolated RNGSession component in each entity subject to culling. The isolation guarantees culling will not affect the final random number sequence unless the rollback actually required it.
C#
component RandomNumberProvider {
    RNGSession RNGSession;
}
This session can then be initialized with a seed and be used normally as explain in the RNGSession documentation.
Custom Prediction Logic
It is possible to define a custom logic for the Prediction Culling to select which entities should or should not be predicted.
Quantum comes with the implementation of a spherical area, but it is possible to customize it as desired. For example, culling may be done via camera Frustum Culling as explained here. Deciding which culling area better works for the game is up to the user.
Back to top