Multi-Client Runner
Introduction
Quantum's Multi-Client Runner is a powerful tool that allows multiple local players to play together in the same Quantum room. This tool is especially useful for developers who wants to test and debug their game without having to build the game every time.
Required Settings
The Multi-Client Runner requires a few pre-requisites in order to operate correctly.
You need to make sure that you have the following:
- A valid AppId: You can get this by registering your game on the dashboard on the photon website.
- Correctly configured
Photon Server Settings. You can adjust and check these values by navigating to the scriptable object in your game's project files. - Ensuring the
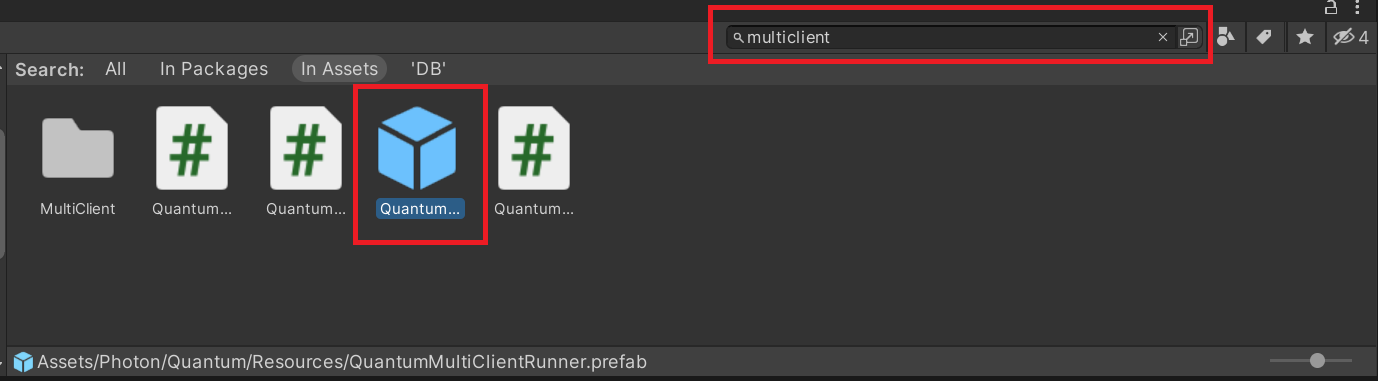
QuantumMultiClientRunnerprefab is in your game scene.
Setup
To get started, navigate to the QuantumMultiClientRunner prefab and drag it into your game scene. This prefab is an example implementation of the Multi-Client Runner.
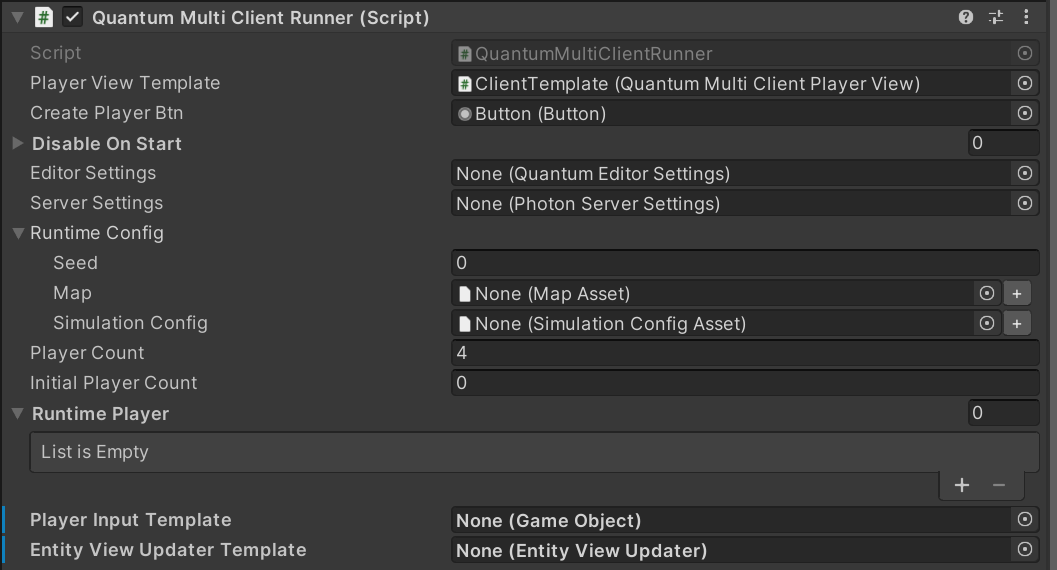
DisableOnStart: When utilizing the MultiClientRunner, it is necessary to disable quantum scripts that are typically included in the standard game setup, such asEntityViewUpdater,Input, andCustomCallbacks. Please ensure that you add these scripts to the list of disabled scripts.EditorSettings: You have the option to provide non-default editor settings for all additional clients after the first one. For example, changing the gizmo color.AppSettings: Optionally provide different non-default server app settings. For example, a different region than normal.RuntimeConfig: Optional custom runtime config settings.PlayerCount: Max player count.InitialPlayerCount: How many players to start the game with.RuntimePlayer[]: Optional custom runtime player settings.PlayerInputTemplate: A player input template that is instantiated for each client. This must contain a Unity script that implements the Unity message/methodvoid PollInput(CallbackPollInput c). An example of a script that correctly implements this would look like the following:
C#
  public void PollInput(CallbackPollInput callback)
   {
    Quantum.Input i = new Quantum.Input();

    var direction = new Vector3();
    direction.x = UnityEngine.Input.GetAxisRaw("Horizontal");
    direction.y = UnityEngine.Input.GetAxisRaw("Vertical");

    i.Jump = UnityEngine.Input.GetKeyDown(KeyCode.Space);

    // convert to fixed point.
    i.Direction = direction.ToFPVector3();

    callback.SetInput(i, DeterministicInputFlags.Repeatable);
  }
EntityViewUpdaterAn optional custom EntityViewUpdater game object that is instantiated for each client. Otherwise a new instance of the defaultEntityViewUpdateris created for each client.
Playing
After setup, you are now ready to use the MultiClient Runner.
Once the game is running, you will notice a menu in the top left of your game's window.
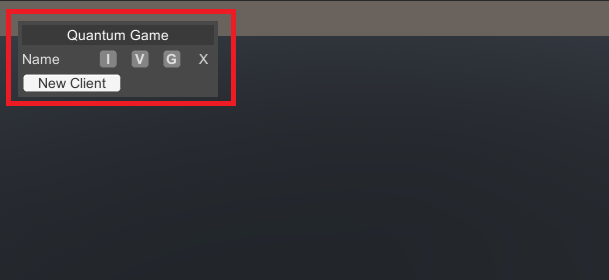
New ClientAdd additional online clientsIToggle input of the clientVToggle view of the clientGToggle gizmos of the clientXDisconnects the client
You can also toggle multiple at the same time to control multiple clients at once.
Code Example
The Multi-Client Runner's methods can also be controlled via user code.
C#
  public void CreateNewLocalClient()
  {
    var multiclient = FindObjectOfType<QuantumMultiClientRunner>();

    // initializes a new local player
    multiclient.CreateNewPlayer();
  }

  public void ShutDownLocalClient()
  {
    // find the instance you want to shut down
    var player = FindObjectOfType<QuantumMultiClientPlayer>();

    // stops the local player instance
    player.Stop();
  }