Quick Start
You can test the Video SDK in a Unity scene right away, without writing a single line of code, thanks to the ready-to-use components it includes. Just follow the steps below. To learn more about each component, check out the Video Components page.
Preparation
- Create a new Unity project (Unity 6000.0 LTS is the minimum supported version). We recommend selecting either the
Universal 2DorUniversal 3DUnity template, which use the Universal Render Pipeline (URP). - Download and install the package as described on the SDK & Download page.
- Although it is compatible with Fusion & Quantum, please note that you don't need to download or install either of them, as the Video SDK includes a transport initialization component that handles the connection.
Photon Connection
- Create a
PhotonConnectiongame object in the scene and add aStreamTransportClientcomponent to it (alternatively, when using Fusion, a properly configuredFusionVoiceClientworks too) - Configure the Photon Video
App Id(How to Obtain Your AppId)- Configure its
Transport Client Settings\App Idwith a Photon VideoApp Id.
- Configure its
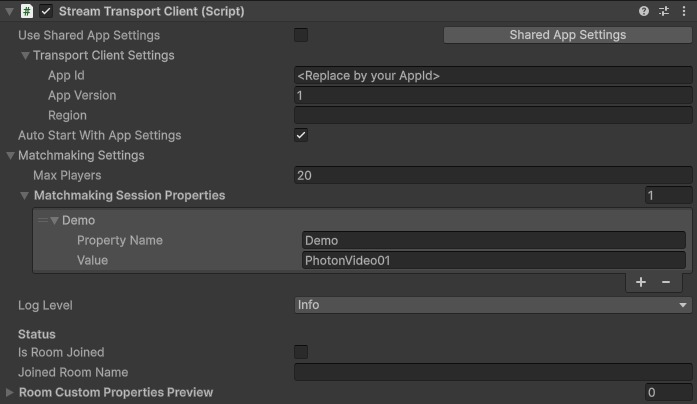
- The Photon
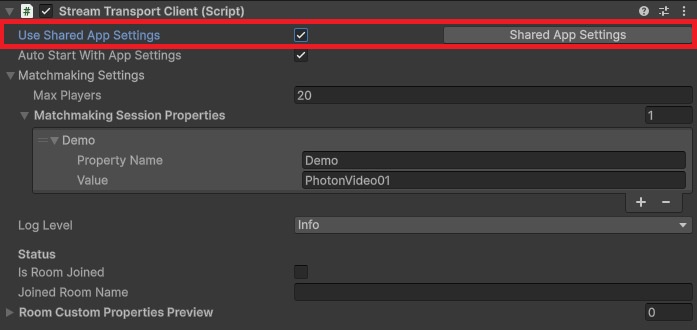
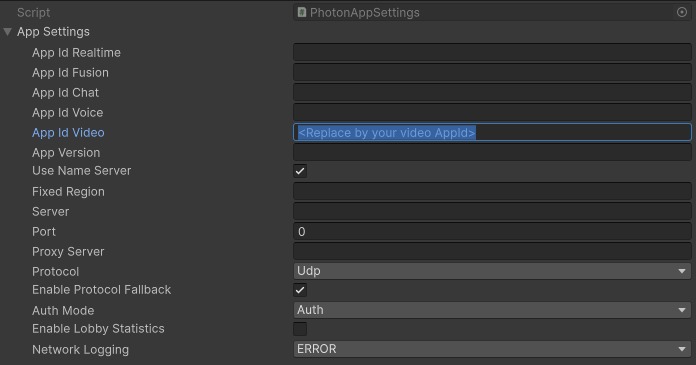
App Idcan also be managed centrally and reused across multiple scenes. To do so, enable theUse Shared App Settingsoption, then click theShared App Settingsbutton
Sender
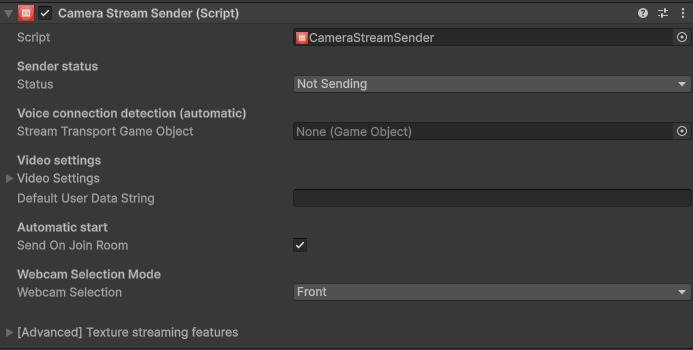
- Create a
Sendergame object in the scene and add aCameraStreamSendercomponent on it.
Receiver
- Create a
Receivergame object in the scene and add aVideoStreamReceivercomponent on it.

Display
- Add a
UI panelto the scene. It will automatically create a canvas root object. - Add a
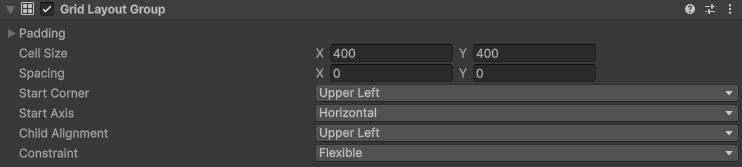
GridLayoutGroupcomponent to the panel game object and change theCell Sizeparameter to 400/400
- Add a
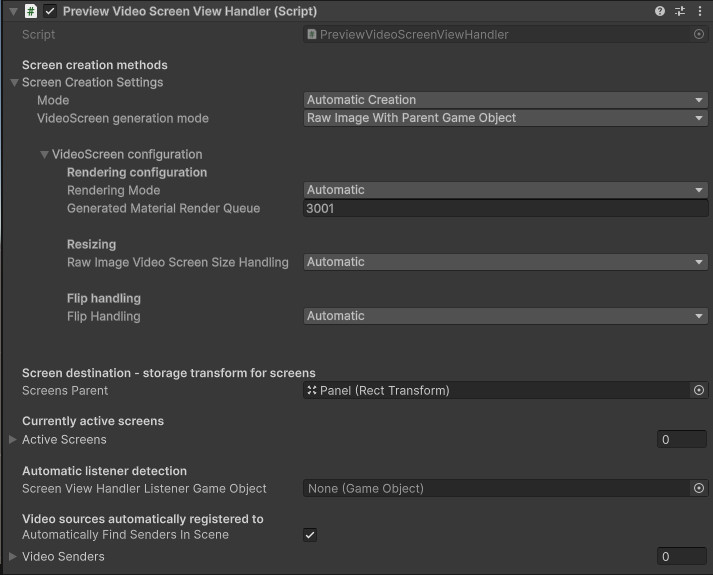
PreviewVideoScreenViewHandlercomponent on the panel game object- Set the panel in the
Screens parentfield
- Set the panel in the
- Add a
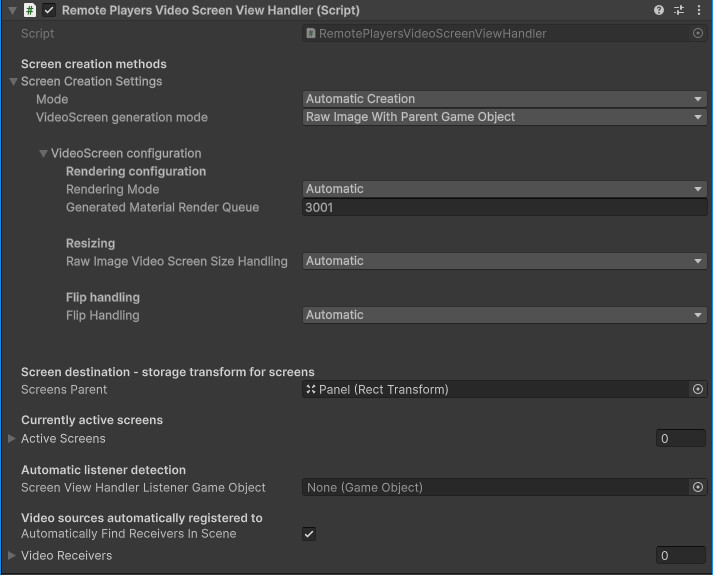
RemotePlayersVideoScreenViewHandlercomponent on the panel game object- Set the panel in the
Screens parentfield
- Set the panel in the
Run
- Press
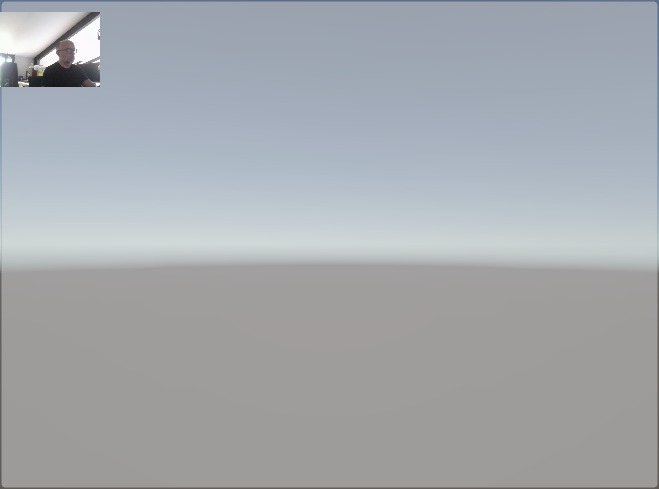
Playin the Unity editor to start streaming - You should see your local camera preview
Audio
Now that we've verified that the video is working, we can add the audio stream:
- Create an
AudioTransmissiongame object in the scene and add theAudioStreamSender&AudioStreamReceivercomponents.
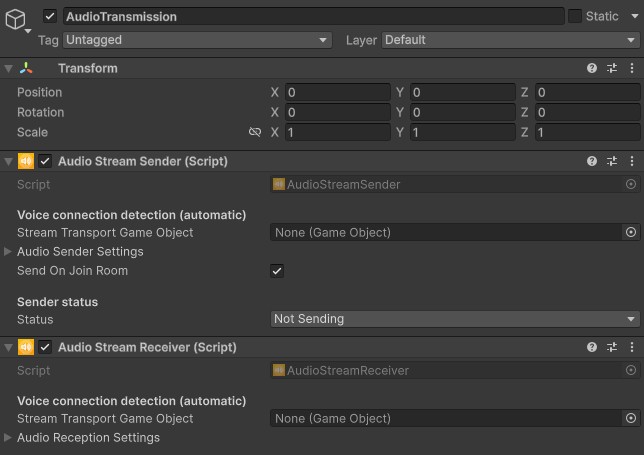
For more advanced audio use cases, please check demo scenes 3 and 7, which use the FusionVoiceClient and UnityVoiceClient components respectively.
Testing Two-Camera Streaming on a Single Computer
If you want to test video streaming between two clients on a single computer, it can be achieved with the following steps:
- First, make sure you have two cameras available on your computer (the embedded camera plus an external USB camera, for example).
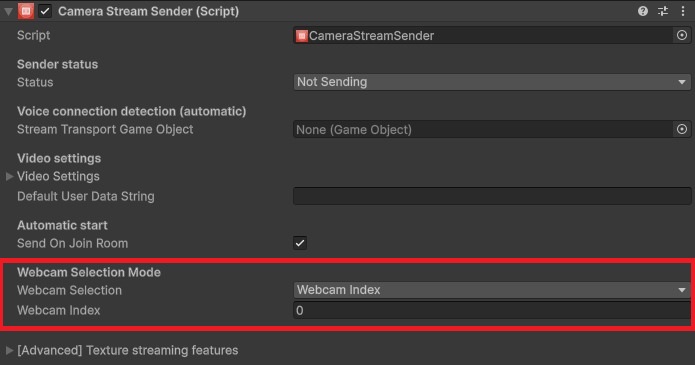
- On the
CameraStreamSendercomponent, set theWebcam Selectionparameter toWebcam Index, and set theWebcam Indexparameter to 0
- Open the
Build profiles, make sure the current scene is selected, and create a build - Launch the application to check that you can see the first camera stream
- Now you can either create a second build with the
Webcam Indexparameter set to 1, or simply change the value and pressPlayin the Unity editor.

Demo Scenes
Several demo scenes are also available in the /Assets/Photon/PhotonVoice/Demos/DemoVideoUnityComponents/Scenes folder to illustrate different use cases of the Video SDK, such as:
- displaying video on Quad Renderer
- integration with Fusion
- using custom textures on the sender
- applying a shader before sending
- using the Voice SDK UserData field
- integration with the Unity Voice client
- camera selection and control
For each demo scene, don't forget to configure the Photon Video App Id on the StreamTransportClient component or to use the UseSharedAppSettings option.