Quickstart
Package Import
Please follow this step-by-step guide to resolve common problems during Unity Asset Store package import process.
💡Note: You can skip package import process if you downloaded the sample from the Photon website. Open the project directly in the correct Unity version (2021.3) and proceed to step 10.
- Create a new Unity 3D project. We recommend using Unity 2021.3.
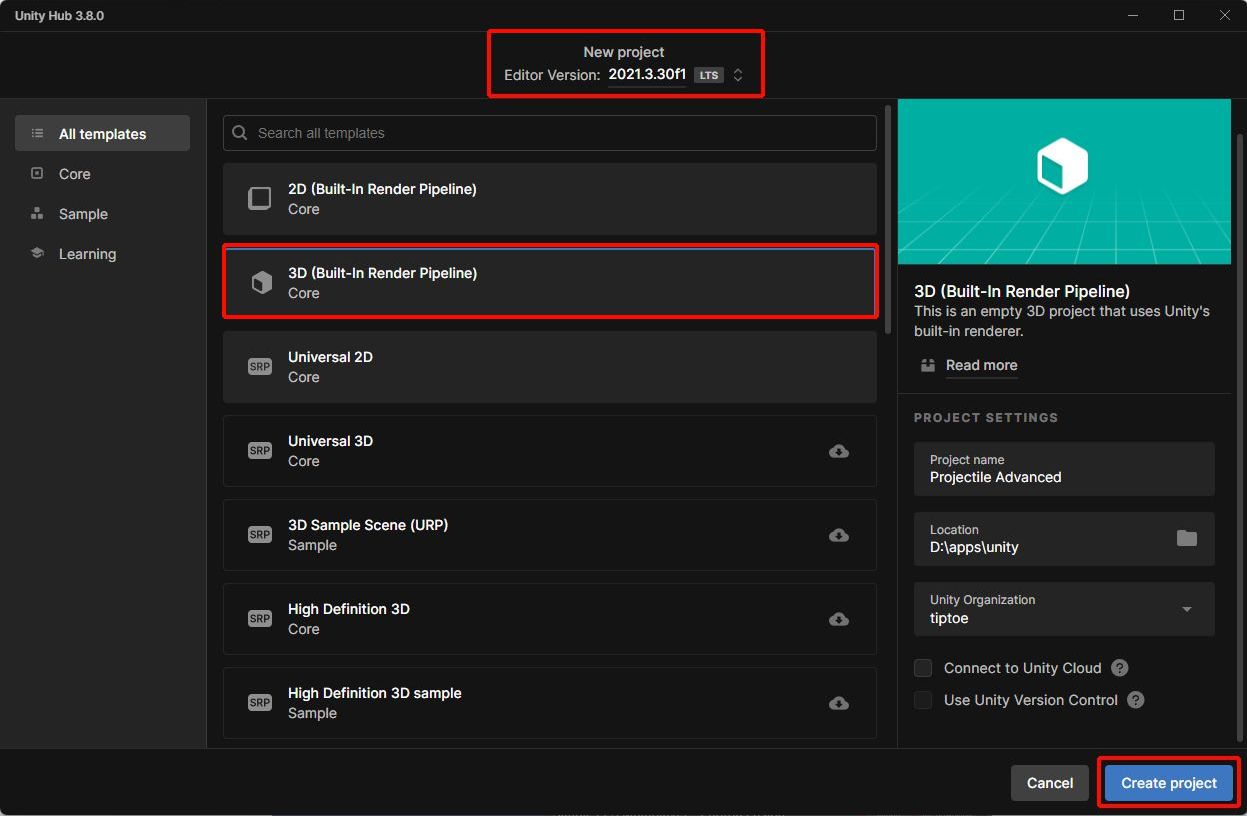
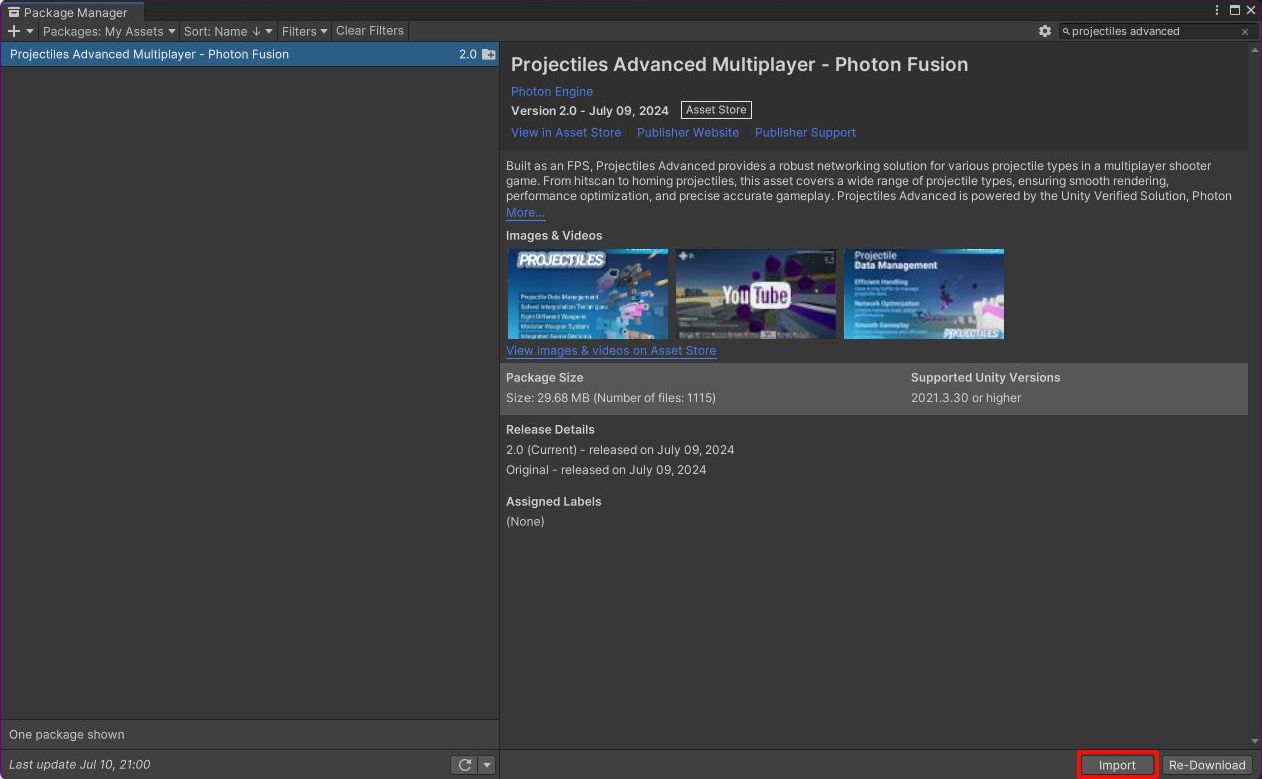
- Open Package Manager and import Projectiles Advanced package.
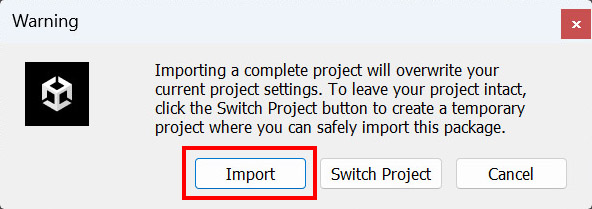
- In project settings overwrite warning, select Import.
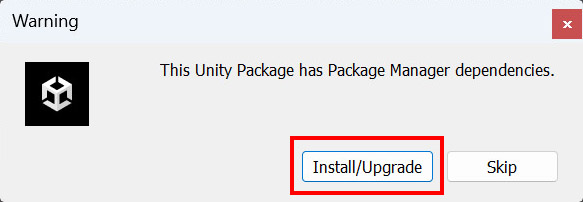
- In package dependencies warning, select Install/Upgrade.
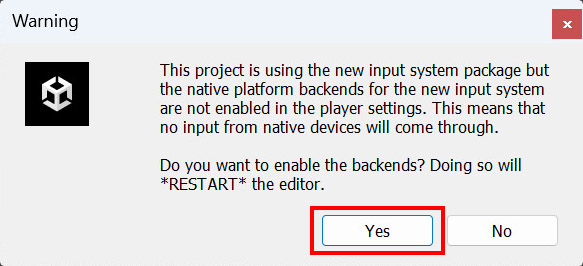
- The sample uses the new Input System package which requires Unity Editor to restart, select Yes.
The Unity Editor automatically restarts. Unfortunately the import process doesn't continue, please repeat steps 2, 3, 4. This time you'll not need to restart the Unity Editor again.
On Import Unity Package, select Import.
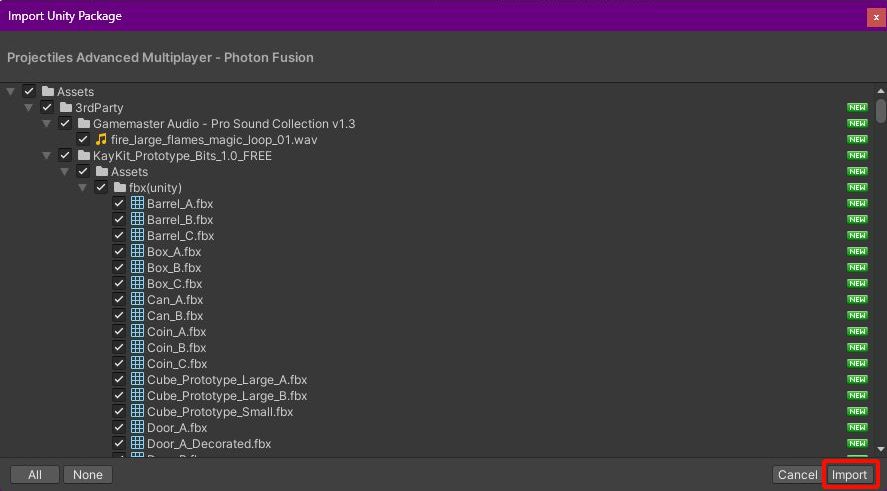
- The package will be imported into the project.
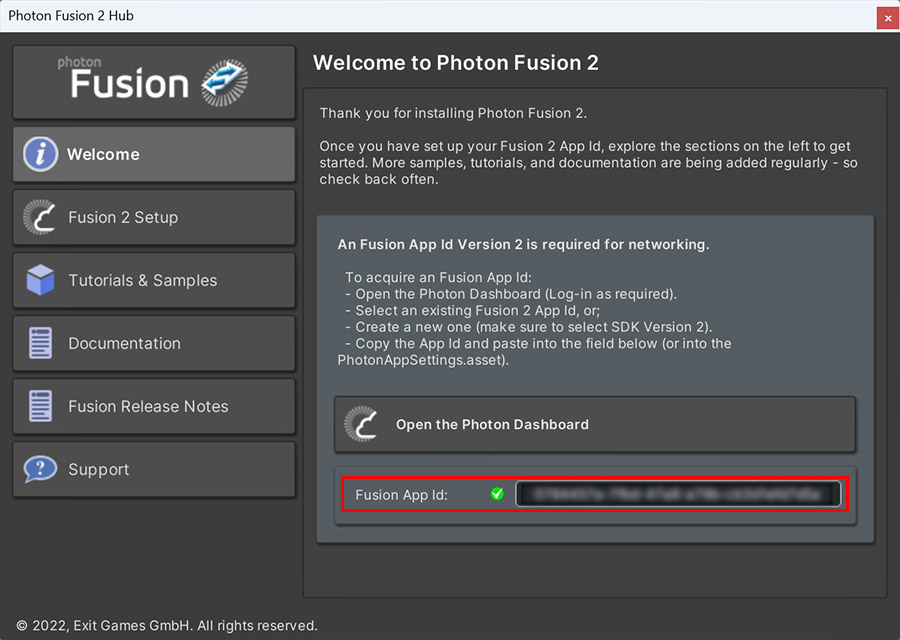
- If the Photon Fusion Hub pops up, fill in the Fusion 2 AppId - more info in App Id Setup
- Check the Starting The Game section below for detailed instructions on how to play the game in the Editor.
App Id Setup
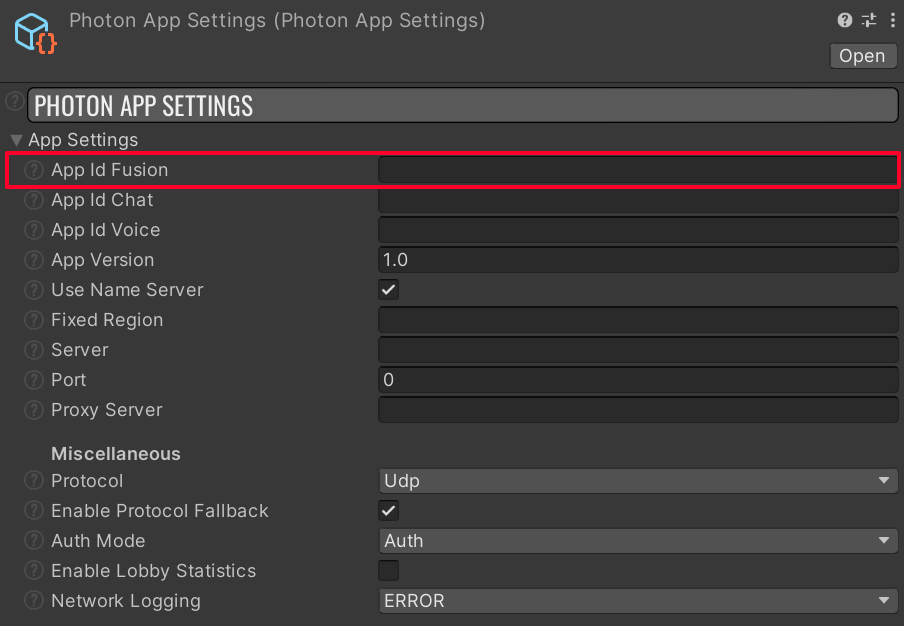
To run the sample, the Fusion 2 AppId needs to be assigned in the PhotonAppSettings asset.
First, create a Fusion 2 AppId in the Photon Engine Dashboard and paste it into the App Id Fusion field in the PhotonAppSettings (reachable from the Tools/Fusion/Realtime Settings menu or directly modifying file Assets/Photon/Fusion/Resources/PhotonAppSettings.asset).
Starting The Game
Debug Start
Start a game by opening and playing the Deathmatch scene (Scenes/Deathmatch). Choose the mode in which the game should be started.
Multipeer
For testing how projectiles behave on proxies, it is highly recommended to use the multi-peer mode. To enable multipeer mode, change Peer Mode to Multiple in the NetworkProjectConfig asset (Photon/Resources/NetworkProjectConfig). Upon starting the scene with multipeer mode enabled, choose Start Host, and the game will initiate with the specified number of clients (2 by default).
To switch between peers, press the 0, 1, 2, and 3 keys on the numpad.
It is also possible to switch peers using the Runner Visibility Controls window (top menu Fusion/Windows/Runner Visibility Controls).

To see how shooting behaves on a proxy, set only Client A as visible, and only enable Client B as an input provider. Your shooting from Client B now can be observed from Client A’s perspective.

💡Note: For multipeer mode to work properly it is essential to avoid referencing scene objects through static fields (access to UI, camera rig, player data etc.) but avoiding statics is a good and recommended practice in general as well. Check the SceneContext section for one solution to how common objects can be accessed throughout your codebase.
Controls
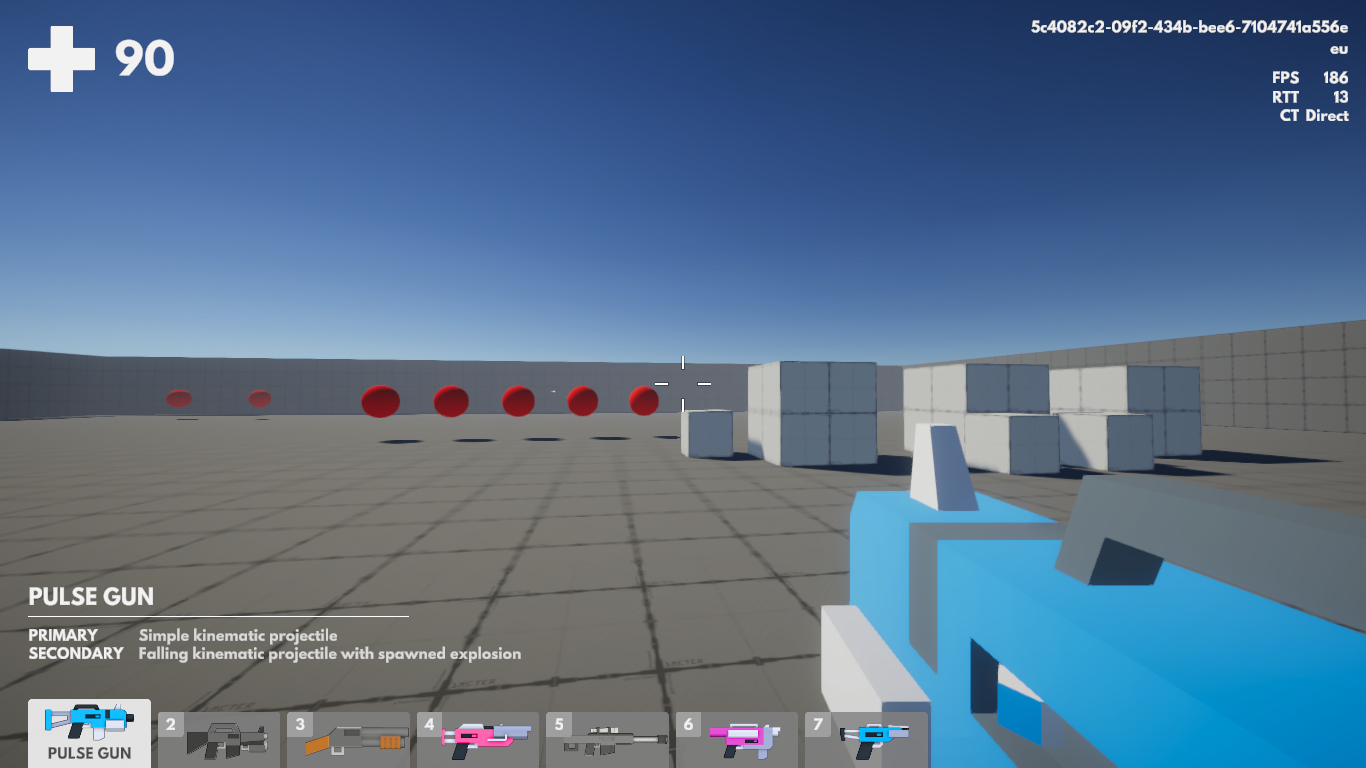
Use W, S, A, D for movement, Mouse1 for fire and Mouse2 for alternative fire if available. Weapons can be switched by pressing the appropriate alpha number key. Check the ingame UI for information about the selected weapon and types of projectiles it shoots.
Use the ENTER key to lock or release your cursor.
Project Organization
| Prefab Type | Location |
|---|---|
| Player and player agent | /Prefabs |
| Weapons | /Prefabs/Weapons |
| Projectiles | /Prefabs/Projectiles |