Further Steps
This sample Unity project and source code can be used to dive into how a simple 2D multiplayer game is constructed with the Quantum SDK. This page will provide further resources, links and information to help understand parts of the architecture better.
Although it's just a simple game the project is already quite complex. To follow a step-by-step tutorial about how to create a simple core game loop the Asteroids tutorial is better suited.
An introduction about what the Quantum SDK and what deterministic/rollback is can be found in the Quantum intro.
To get an overview about how the SDK content is constructed read about the Quantum SDK and project layout.
Quantum basics
This section shows gives a quick introduction on where to start exploring the basic aspects of a Quantum game and the Platform Shooter 2D sample in particular.
The QuantumGameScene contains the QuantumMap and SceneColliders game objects which later represent parts of the Quantum simulation.
The static colliders for example are baked into a Quantum map for this scene by pressing Bake in the map inspector for example.
The QuantumDebugRunner game object is used to start the Quantum simulation inside the current scene when pressing Play. It contains the RuntimeConfig property where the map and other important Quantum configs are linked to start with.
For example the SystemsConfig, it references the PlatformShooter2DSystemsConfig asset. The file includes all the Quantum systems that will be started.
When loading the scene via the a game menu scene the debug runner disables itself.
The content of the Assets/QuantumUser/Simulation folder includes all game simulation sources and QTN files (Quantum code generation). It uses a Unity asmref to be finally added to the simulation dll.
While the game is running underneath the QuantumEntityViewUpdater game object Quantum entity views are spawned. For example the player character entity (after selecting on in the UI).
The two entity prototypes to select from are Character_Boy_Variant and Character_Girl_Variant assets.
The PlayerSystem class controls how the avatars are created at run-time based on new players joining using the ISignalOnPlayerAdded signal.
Sample feature implementations
This section explains the implementation of selected features in more detail.
New 2D kinematic character controller
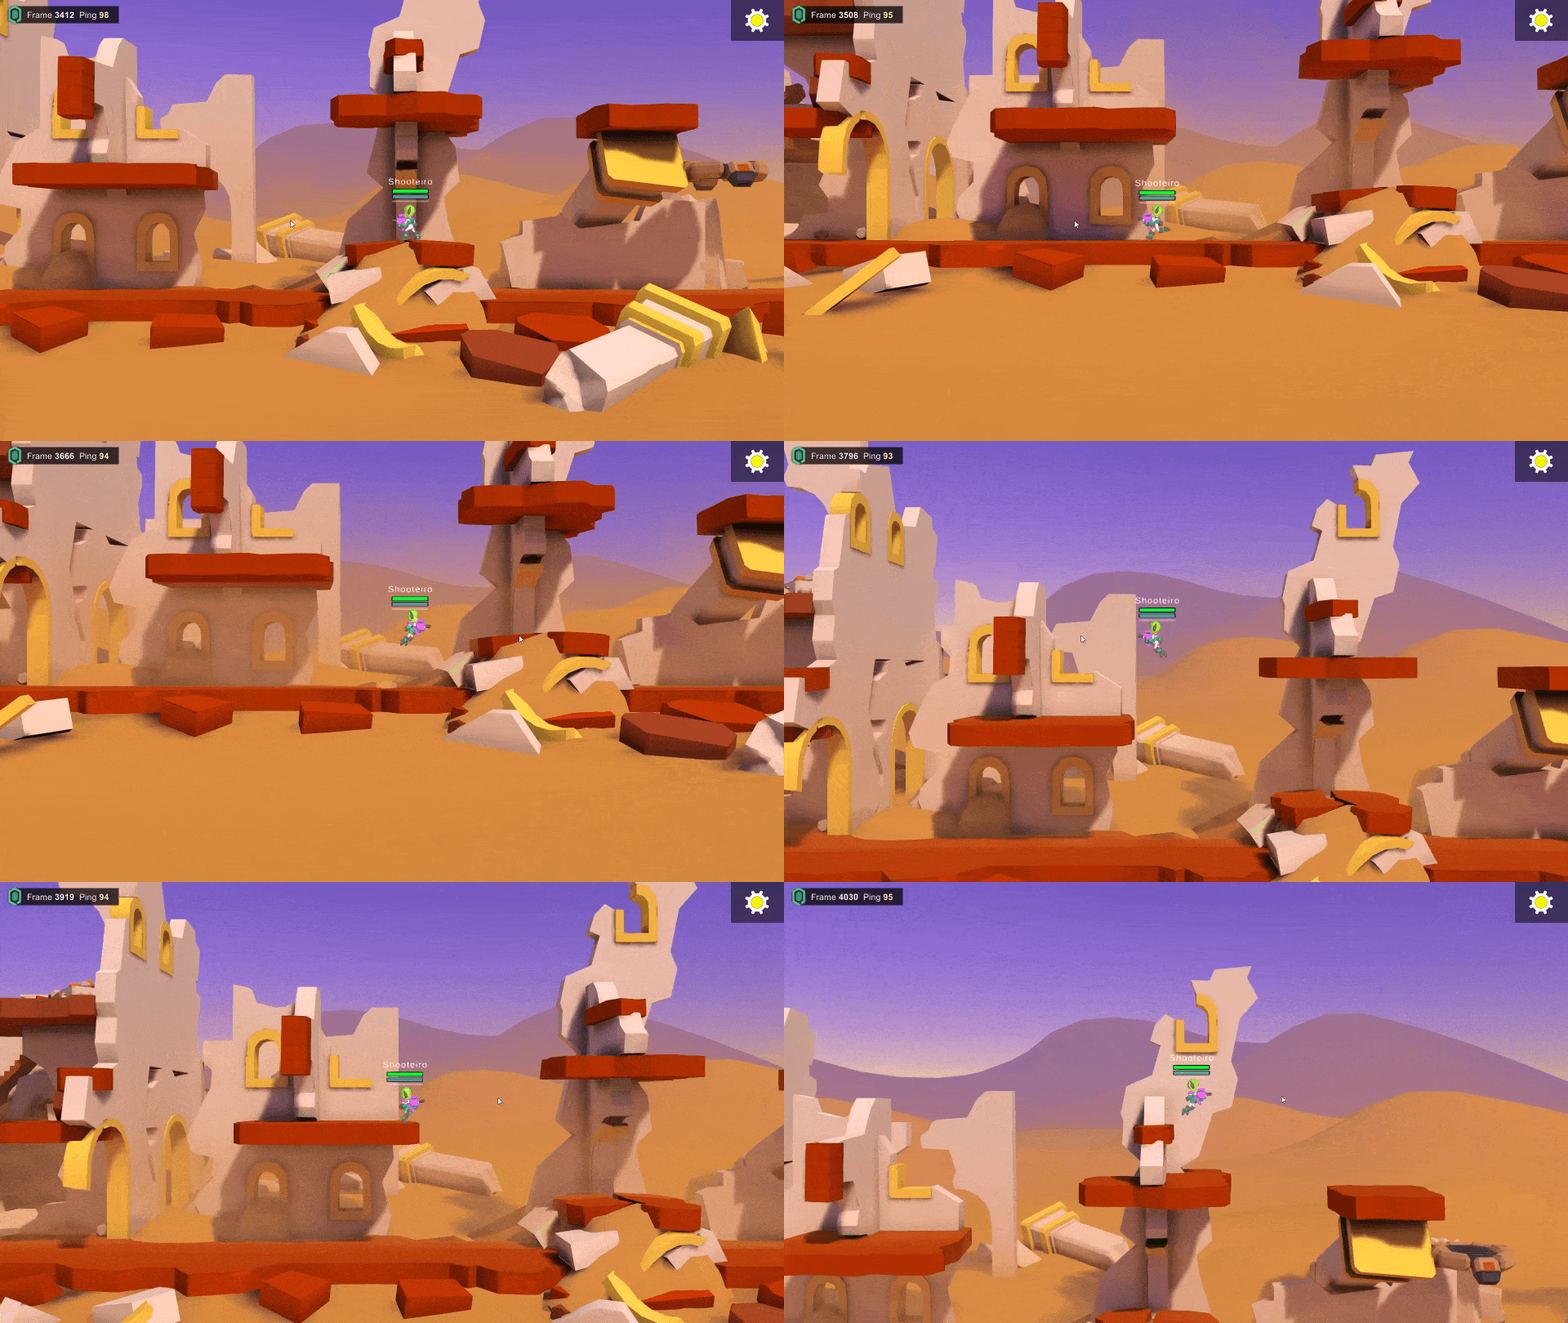
The 2D KCC is new implementation that uses a capsule collider, which will be also available as an addon in the future, just like the 3D KCC addon.
It also is different to the on-board KCCs which we will be deprecated soon.
It is designed to be simple to drop to any 2D platformer game, yet includes a comprehensive set of production-grade features. Its pre-built options can be tweaked via the KCC2DConfig asset to achieve a big variety of gameplay styles without the need to modify its code.
This is a non-exhaustive list of what it includes at the present time:
- Configurable capsule-shape and LayerMask
- Callbacks for pre-solver, and post-solver collisions and triggers
- Adaptive multi-step CCD: the number of full passes is dynamic depending on the velocity and the radius of the capsule
- Iterative depenetration solver, with dynamic narrow-phase checks per iteration
- Coyote-time, input-buffer, double jump, wall jump, and dash: all toggle-able and tweak-able with many parameters
- Slopes, air controls, air drag and down gravity multiplier (weight control + button-controlled jump height)
- Finite-State-machine (FREE_FALLING, GROUNDED, SLOPED, WALLED, DASHING, JUMPED, DOUBLE_JUMPED)
- Pre-built events for UI/View-juice (Jumped, Landed, etc)
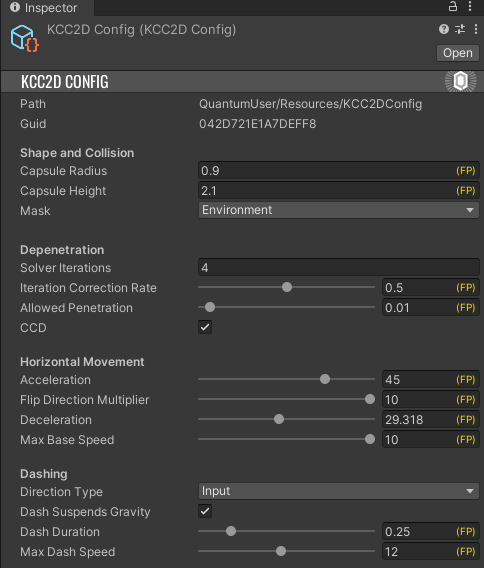
Raycast projectiles based on delta-movement
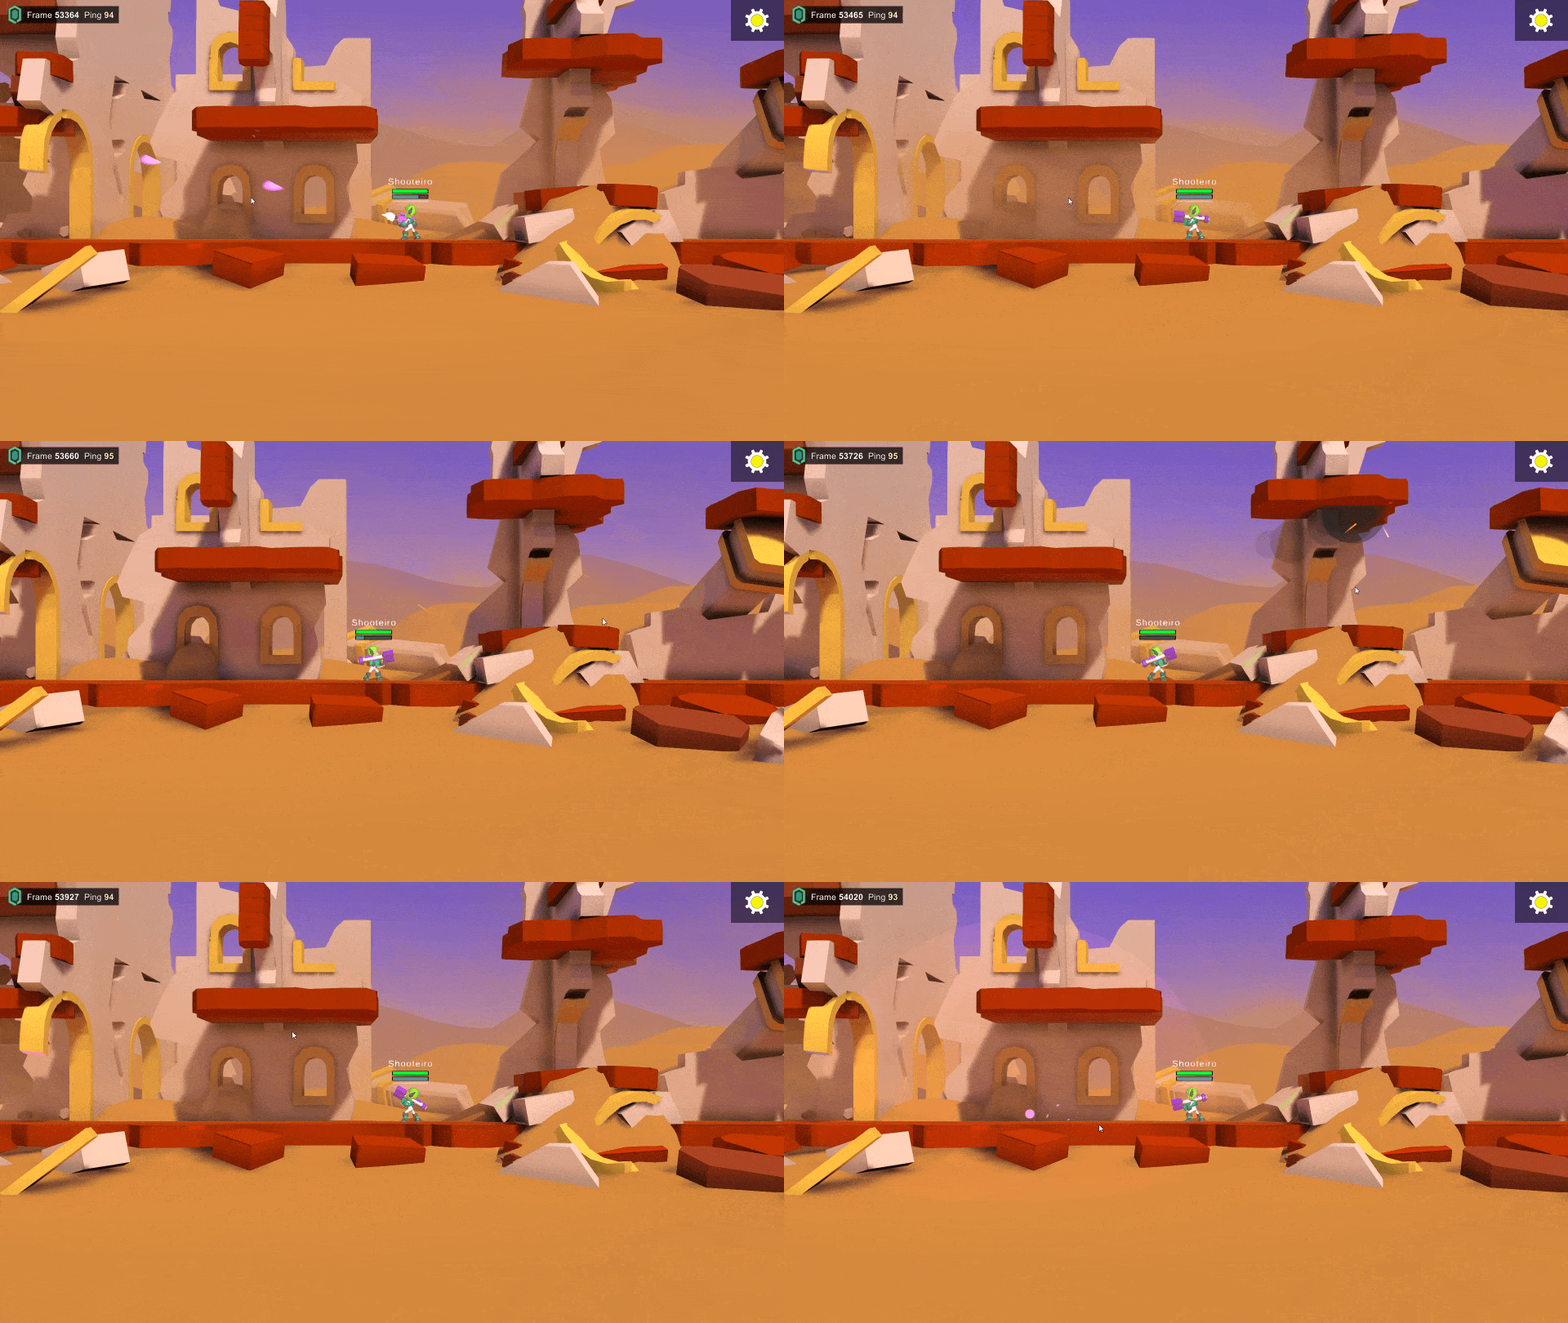
To use incremental raycasts for bullets is a good approach to prevent fast bullets from crossing walls without using CCD. A raycast based on direction and speed is checked to predict the next bullet movement and detect hits.
C#
Physics2D.HitCollection hits = frame.Physics2D.LinecastAll(bulletTransform->Position, futurePosition, -1, QueryOptions.HitAll | QueryOptions.ComputeDetailedInfo);
for (int i = 0; i < hits.Count; i++)
{
  var entity = hits[i].Entity;
  ...
  if (entity == EntityRef.None)
  {
    bulletTransform->Position = hits[i].Point;
    // Applies polymorphic behavior on the bullet action
    data.BulletAction(frame, bullet, EntityRef.None);
    return true;
  }
}
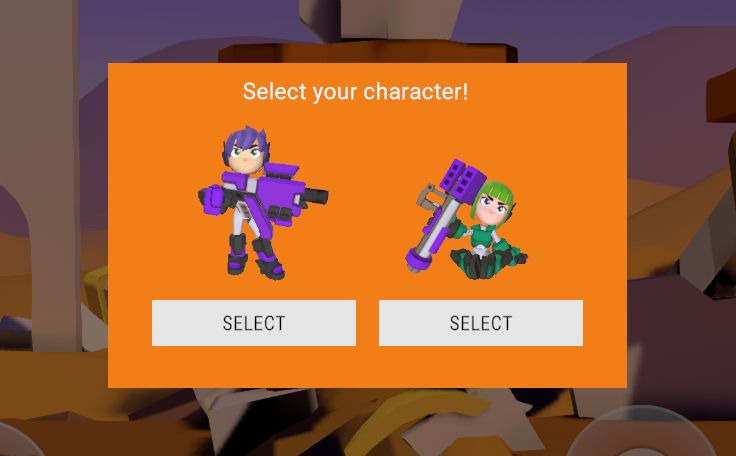
In-game character selection lobby
An in-game character selection is an alternative to creating a lobby scene before the game. It often proofs to be difficult to handle all edge cases controlling a lobby using Photon Realtime room properties without having an authoritative server (concurrent team selections, timeouts, etc).
Running character or team selection inside the simulation is much less error-prone and secure. Final say of the team distribution is based on the deterministic simulation and cannot be cheated for example.
This sample lets the simulation start, while postponing adding a player to the game until after the character has been selected in the UI.
The CharacterSelectionUIController.cs handles the UI and finally creates a RuntimePlayer object and requests to add a player. The RuntimePlayer config can be easily verified via a custom game data backend using the AddPlayer webhook.
C#
// Create player data with the selected character.
RuntimePlayer playerData = new RuntimePlayer();
playerData.PlayerAvatar = characterPrototype;

// Attempt to set the player's nickname from the menu.
var menu =
FindAnyObjectByType(typeof(Quantum.Menu.QuantumMenuUIController)) as Quantum.Menu.QuantumMenuUIController;
if (menu != null)
{
  playerData.PlayerNickname = menu.ConnectArgs.Username;
}

// Add the player to the game.
runner.Game.AddPlayer(playerData);
The PlayerSystem.cs script inside the simulation listens to the ISignalOnPlayerAdded signal to create the player avatar after the add player request was confirmed by the server.
C#
EntityRef character = frame.Create(prototypeAsset);
PlayerLink* playerLink = frame.Unsafe.GetPointer<PlayerLink>(character);
playerLink->PlayerRef = player;
RespawnHelper.RespawnRobot(frame, character);
Customized QuantumMenu
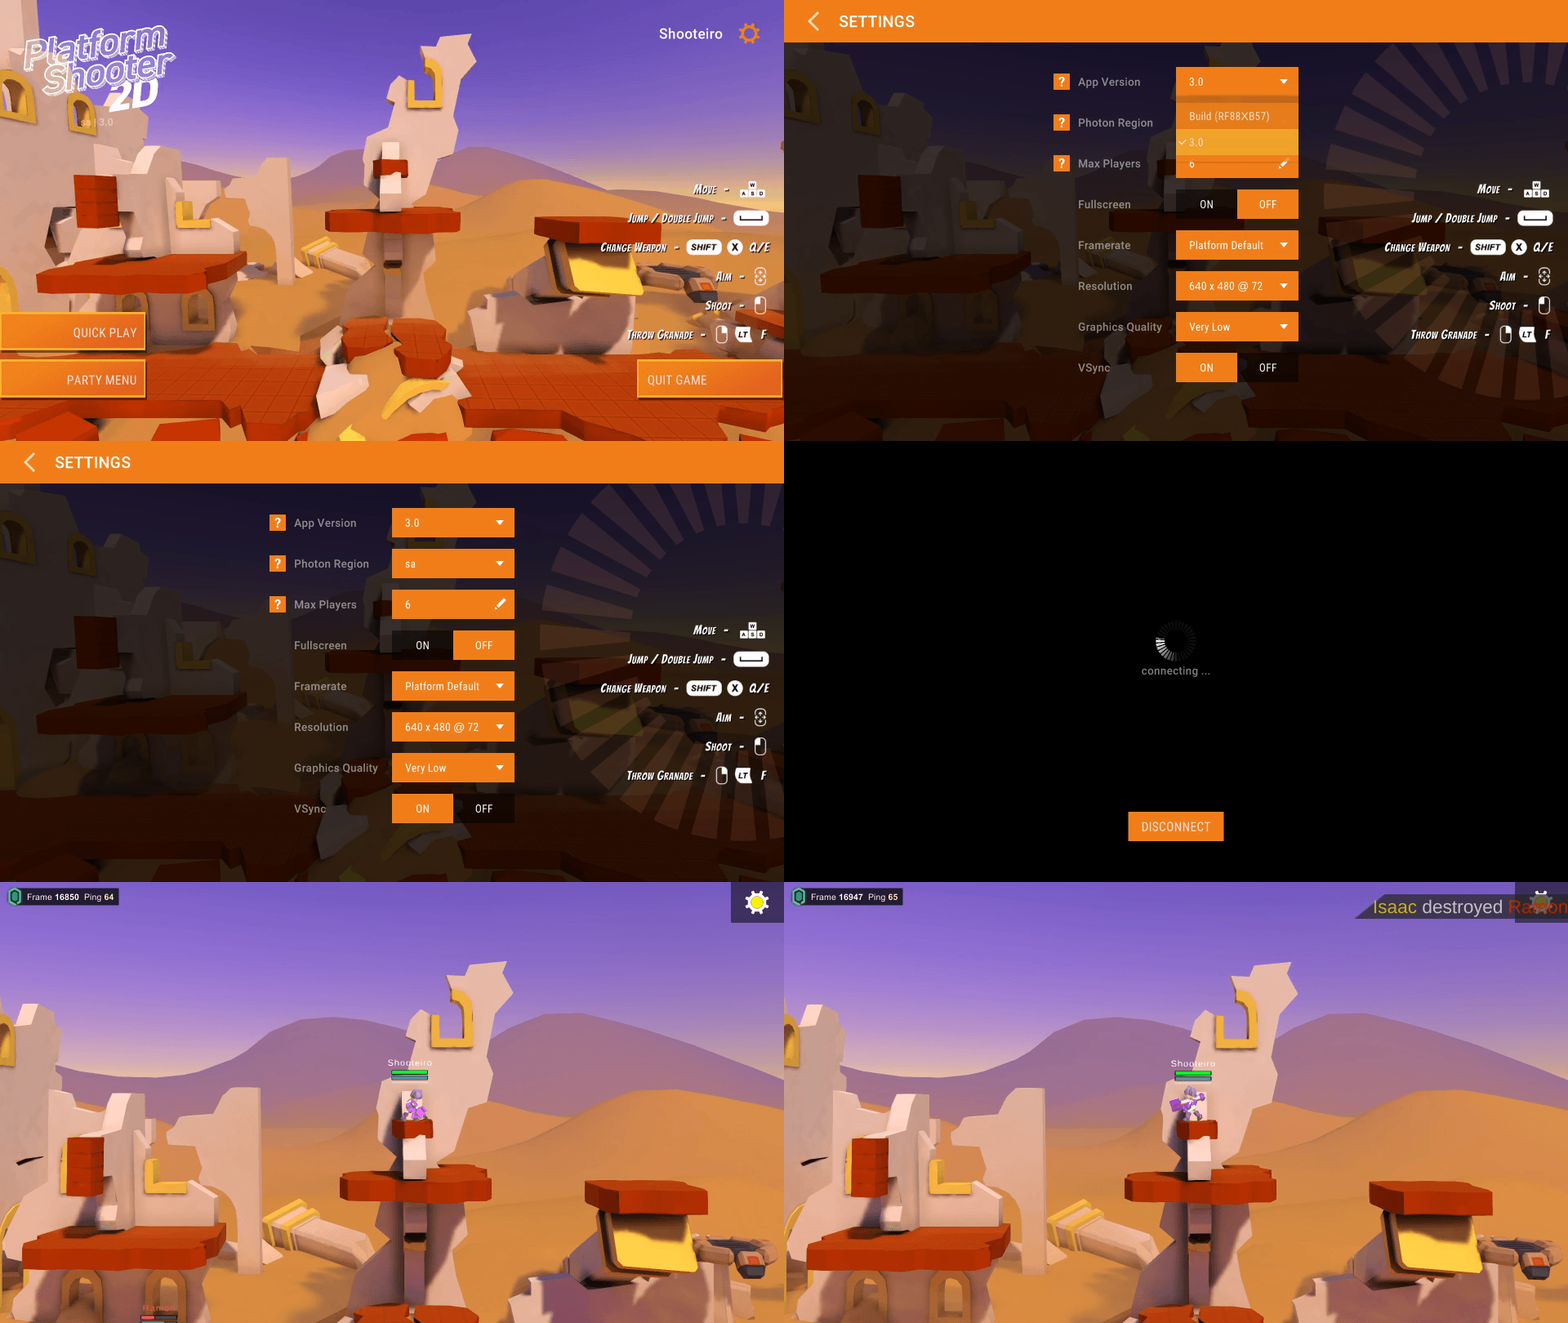
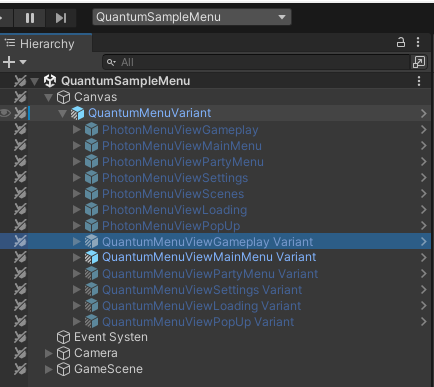
The game sample uses Quantum prototyping menu customization and prefab variants to create a different look of the Quantum sample menu while still being compatible to SDK upgrades.
Customization like this could be quickly used for prototypes for examples and give impressions about how to create an own online menu.
