Sample Project
Overview
The Advanced KCC comes with a dedicated Unity project full of examples, testing playgrounds and handy code snippets to help understanding how KCC works and to speed up development process of your game.
Features
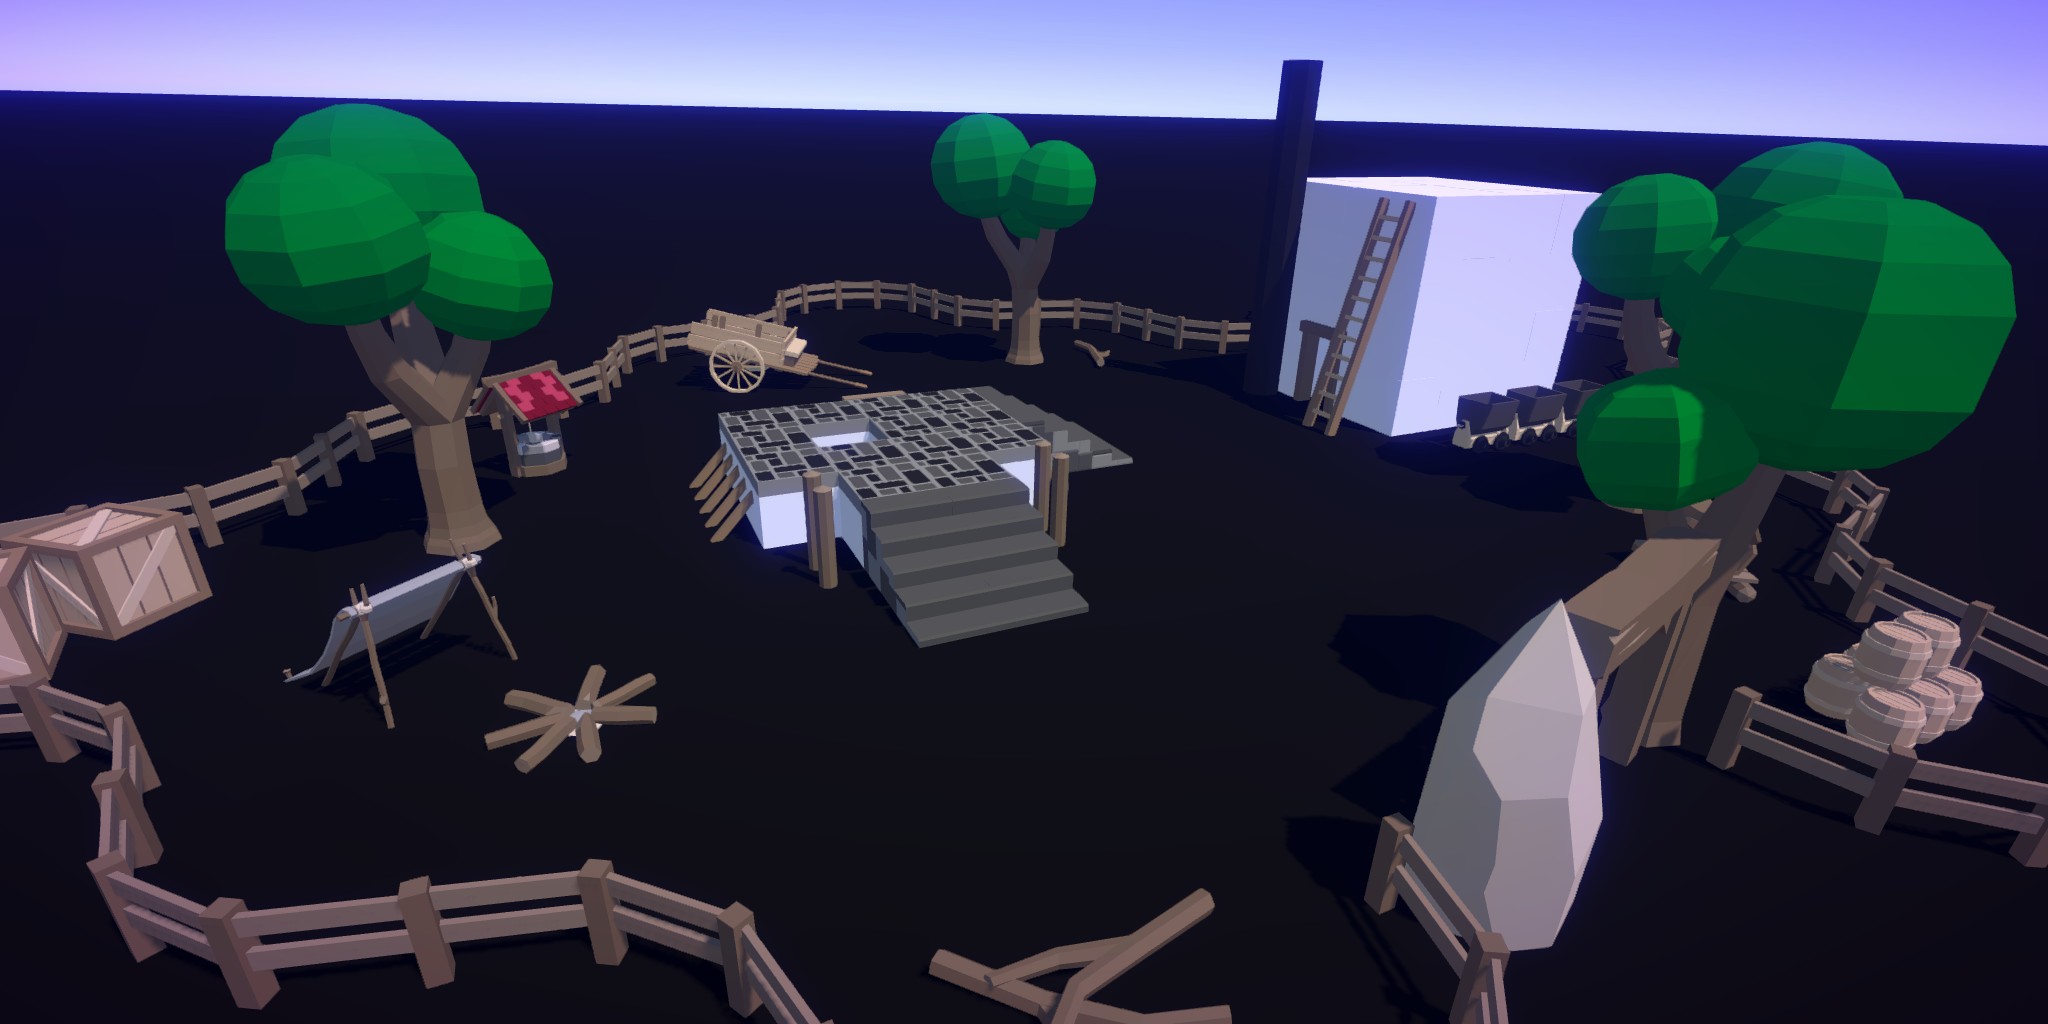
- Showcase scene.
- Ability examples - Dash, Sprint.
- Interaction examples - Teleport, Portal, Jump Pad, Moving Platform, ...
- AI examples - NPC, NavMesh.
- Extension examples - Processors, Stages.
- Debug scenes - Profiling scene, Input smoothing.
- Playgrounds - Stairs, Slopes, Corridors, Gaps, Terrains.
- Templates - Scripts ready for copy & paste or rewrite.
- Support for PC / Mobile / VR / Gamepad.
- Photon Menu integration.
Sample Controls
Mouse- LookW,S,A,D- MoveShift- RunSpace- JumpTab- Dash+,-- Toggle speedEnter- Lock/unlock cursorCtrl+Shift+M- Simulate app pause/resumeQ,E- Strafe + look for testing smoothnessF4- Toggle input smoothingF5- Toggle target frame rateF6- Toggle qualityF7- Toggle vertical synchronizationF9- Toggle recorders (player position / camera / input smoothing)F12- Disconnect from current session
Project structure
Assets- Base project folderExample- Contains all resources related to sample "game"00_Showcase- Showcase scene01_PlayerMovement- Contains various implementations ofPlayercontrollers (basic, advanced, expert, top-down, vr)02_Features- Contains player abilities like Sprint, Dash and variable Surface speed03_Interactions- Contains implementation of objects the player interacts with - Environments, Teleports, Platforms, ...04_AI- Contains simple NPC implementation and example movement using NavMesh05_Extensions- Contains example scripts showing how to extend KCC with custom processors/stages06_Debug- Contains scenes for testing performance and input smoothnessA1_Playgrounds- Scenes dedicated for testing KCC behavior with collider types/angles combinations, depenetration, ...A2_Templates- Template scripts for extending existing KCC data structures via partial implementationShared- Contains data shared by multiple examples, general settings, script managers, utilities
Photon- Base folder for Photon SDKs, addons, packages, ...FusionAddonsKCC- Advanced KCC addon
FusionMenu- Contains Photon Menu <=> Fusion controllersPhotonMenu- Photon menu package
Recommended walkthrough
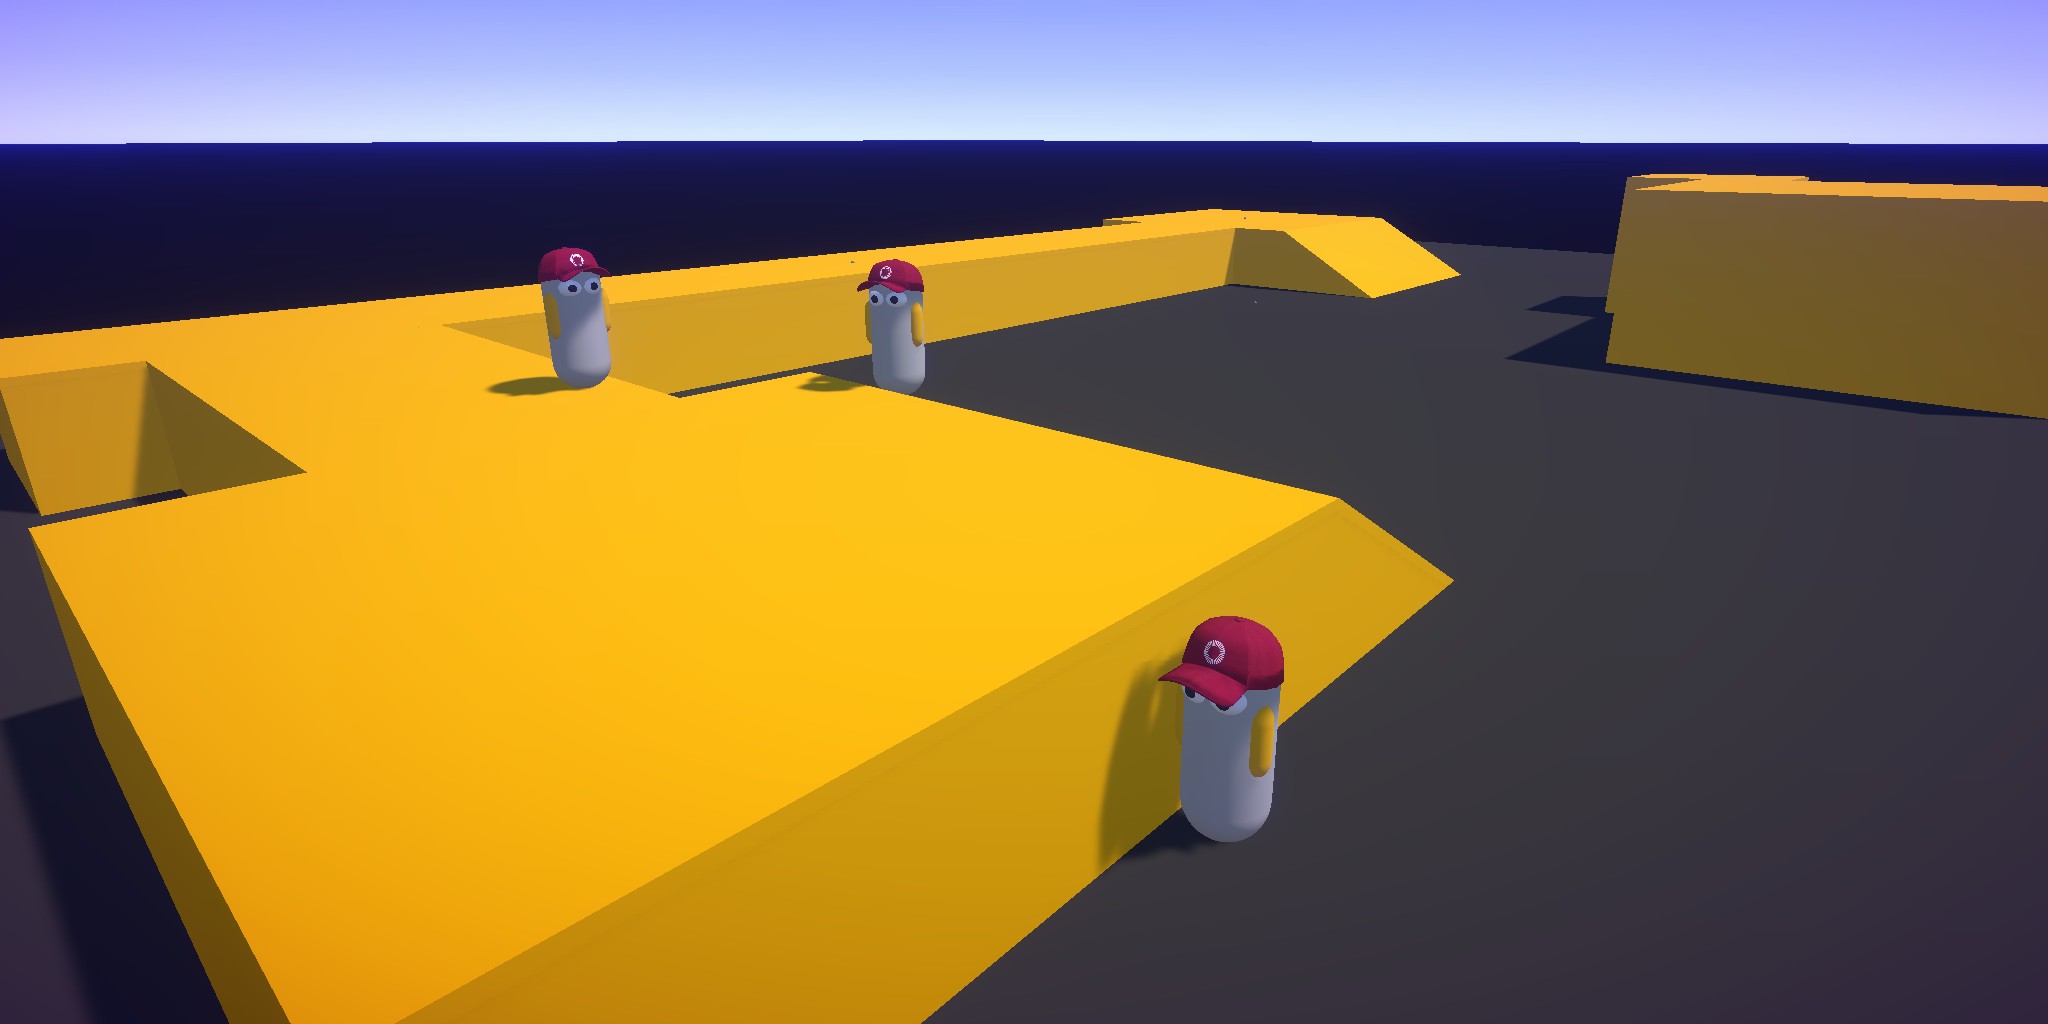
- Try
Showcasescene. - Try interaction scenes (
03_Interactionsfolder). - Check basic movement implementation in
01_BasicMovement. - Check advanced movement implementation in
02_AdvancedMovement. - Check implementation of some smaller features (
02_Featuresfolder) and interactions (03_Interactionsfolder).
Now you should have a basic understanding how to move with KCC, how the KCC interacts with other objects (processors) and how they modify player behavior.
- To get more context it's good time to explore and learn about Architecture, Execution and Interactions.
- Check first-person expert movement implementation in
03_ExpertMovement - Check third-person expert movement implementation in
03_ExpertMovement
⚠️ Expert movement is the most sophisticated solution with full render prediction, custom Input Smoothing and other features that cover edge-cases related to CPU, GPU and network spikes.
- Check rest of the sample project.
- To get even more context, please explore and learn about Features, Extending and Debugging.
- Take some scripts to your project or cleanup this and make a game 🚀
VR Support
The sample project is tested on Oculus platform (Oculus Link is also supported). To run the project on your headset, please follow these steps:
- Use
VRMovementas default scene. This is the only scene configured to work with VR. - Open
Project Settings=>XR Plug-in Management.- Enable
Initialize XR on Startup. - Enable
Oculusprovider (or any other you want to test).
- Enable
- Play.
Testing system latency with NVIDIA Reflex
With appropriate hardware equipment, latency of your system can be tested using NVIDIA Reflex:
- Enable
NVIDIAReflexgame object inGameplayUIprefab.
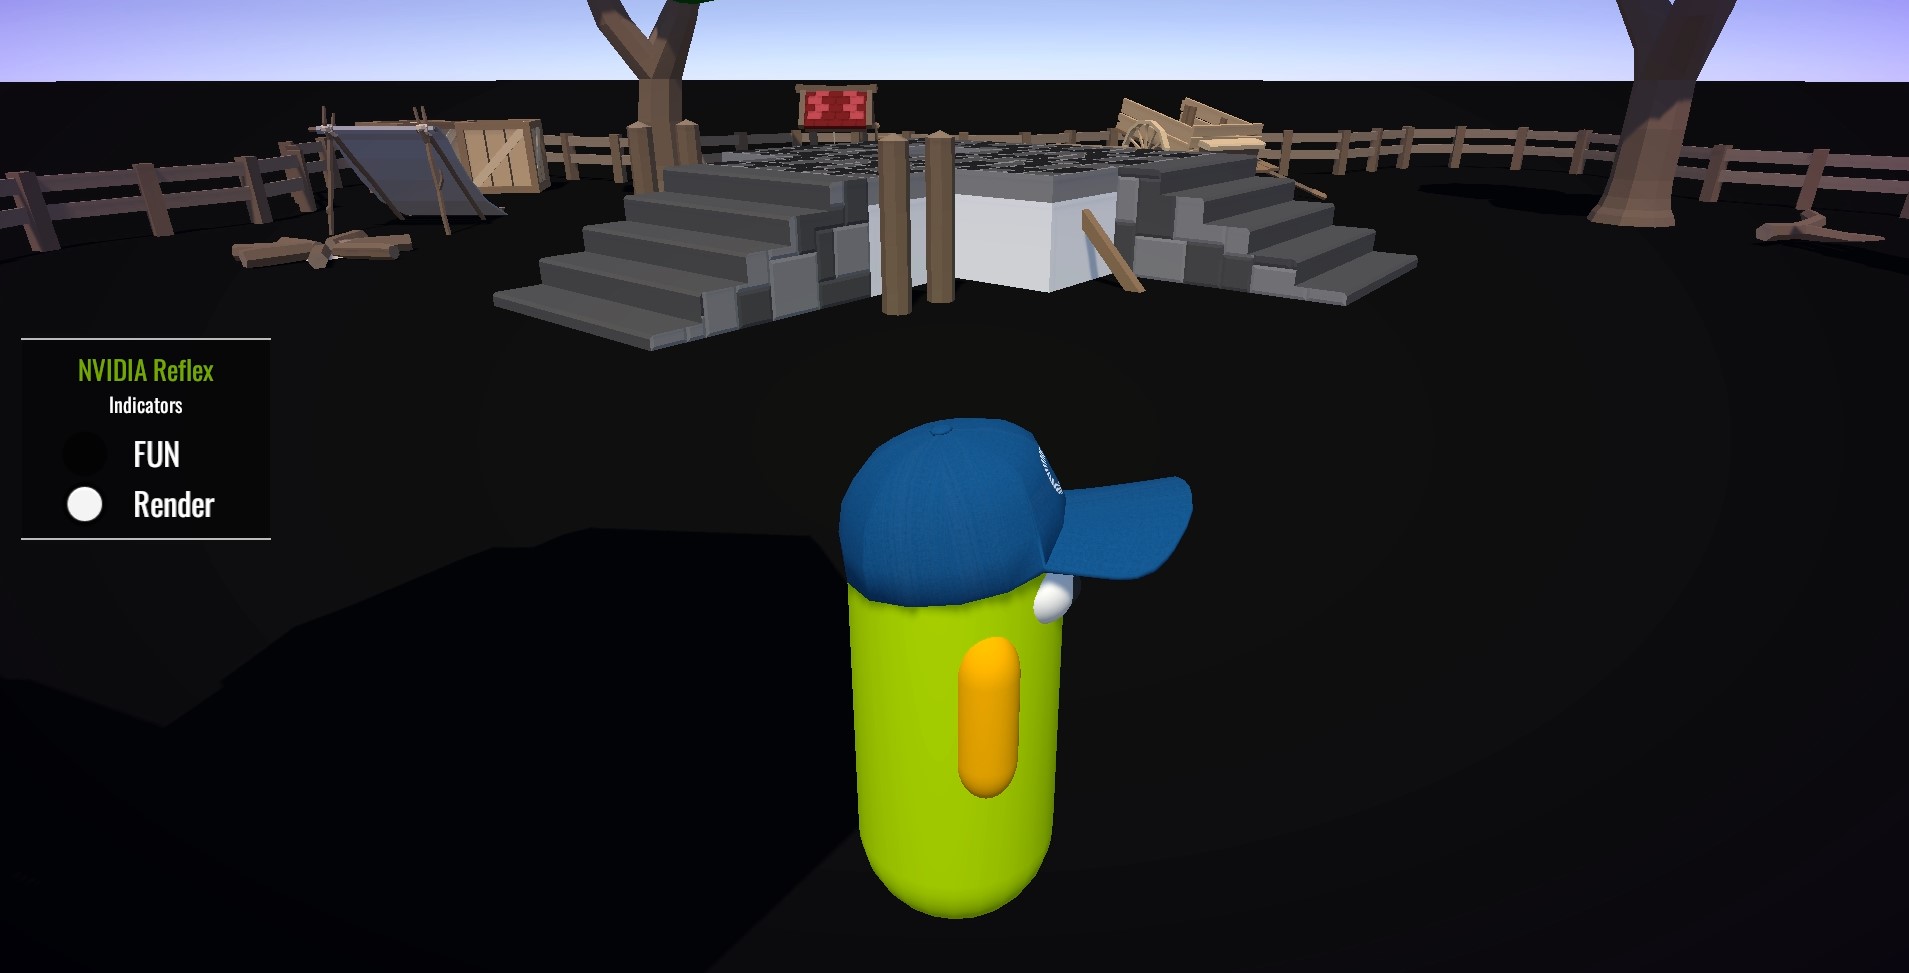
- Run KCC Sample build and switch to exclusive full-screen mode (
F8key). - Setup position and size of NVIDIA Reflex Latency Analyzer - Monitoring Rectangle on your monitor to:
- Upper dot to measure latency from mouse click to first forward
FixedUpdateNetwork()(regular actions) - Lower dot to measure latency from mouse click to first
Render()(render-predicted actions)
- Upper dot to measure latency from mouse click to first forward
- Click on left mouse button to flash indicators.
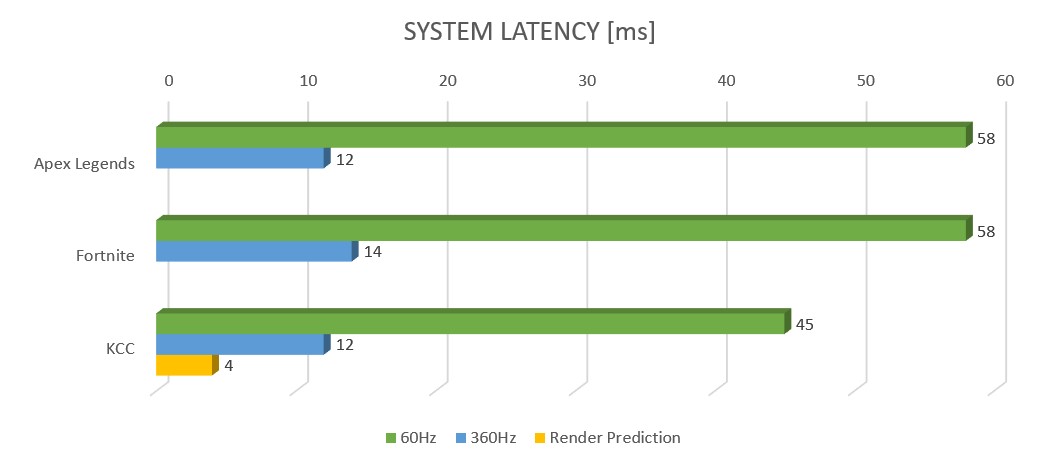
🚀 In combination with top gaming hardware the average system latency in 60Hz Fusion simulation ranges around 12ms. With render prediction it can be further reduced down to around 4ms.
Movement analysis
The sample provides tools to analyze movement frame-by-frame.
⚠️ Python libraries are required, check for more details about recorders in Debugging section.
- Start the game (Editor).
- Toggle recording On/Off (
F9key). - New
.logfiles are created at project root folder. - Copy
CreateHTMLGraphs.pyscript fromAssets\Photon\FusionAddons\KCC\Utilities\Recordersto the root folder and run it. - New
.htmlfiles with graphs are created with similar filenames. - Check graphs.
Third-Party Assets
This sample has been made possible thanks to the support of third party creators. The project uses following assets:
Back to top