1 - Getting Started
Overview
Fusion Host Mode Basics explains the initial steps required to start a Fusion project. A general understanding of Unity and C# is expected.
Fusion supports multiple network topologies.
- Server Mode: Dedicated server with public IP.
- Host Mode: One player is the host, all other players connect to them.
- Shared Mode: Cloud Room has
StateAuthority.
Read More about Topologies here
Which mode to choose is an important decision that you need to make early in development. The mode you choose will change the way you use Fusion and write multiplayer code on a fundamental level.
To decide which mode to use we recommend that you start with the Quadrant and pick the solution that best matches your game's genre.
This tutorial is for Server and Host Mode. For Shared Mode follow the Fusion Shared Mode Basics tutorial instead.
Step 0 - Create an Account
Before starting anything else, create an account with PhotonEngine HERE.
Step 1 - Download SDK
The latest SDK can be downloaded on the Getting Started > SDK & Release Notes page.
Click here to navigate to the page
Step 2 - Check Unity Requirements
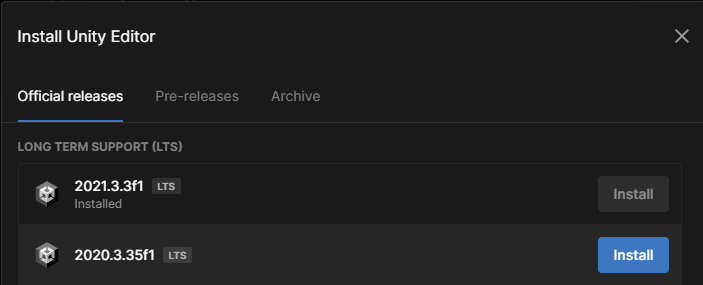
Make sure your Unity version meets the minimum requirements for running Fusion. The up-to-date requirements can be found on the SDK & Release Notes page.
At the time of writing, the minimum requirement is Unity 2021.3.18 or later, 2022.3.x, or 2023.x. If your version is older, please install a compatible Unity version from the Unity Hub.
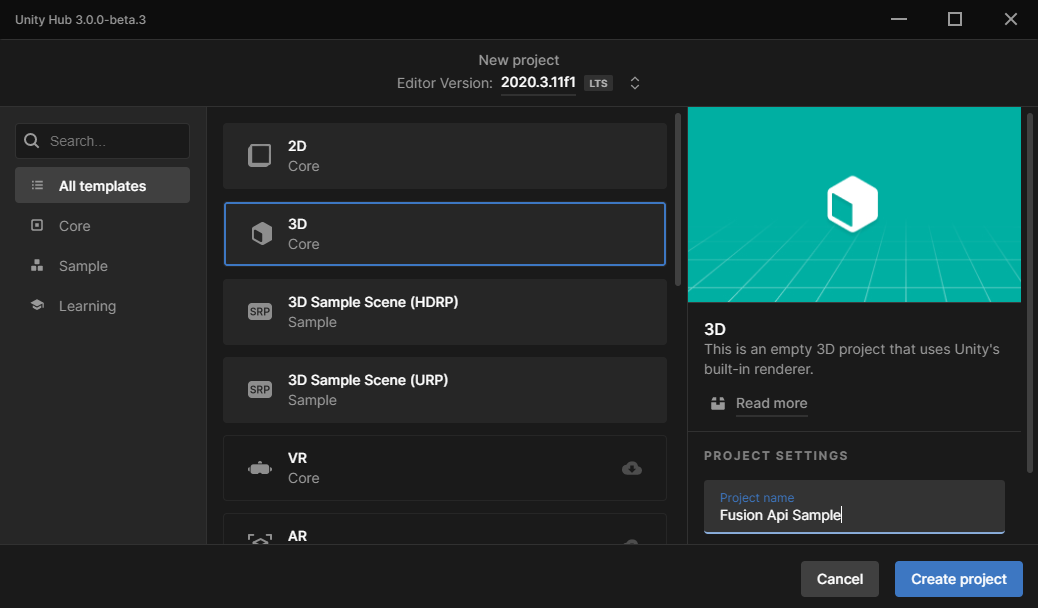
Step 3 - Create an Empty Project
Create an empty project.
N.B.: Fusion is a networking library and thus is agnostic to the Rendering Pipeline chosen; it works with all of them.
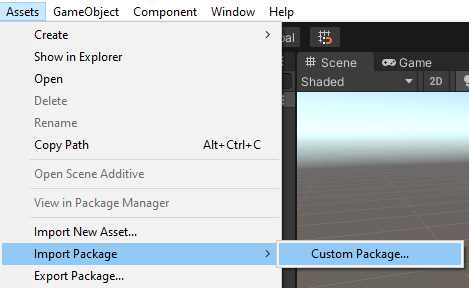
Step 4 - Importing the Fusion SDK
With steps 1 through 5 done, the project is now ready to import the Fusion SDK. The SDK is provided as a .unitypackage file and can be imported with the Assets > Import Package > Custom Package tool. Simply navigate to the location where the SDK was downloaded and trigger the import.
Step 5 - Create an App ID
Once the import is finished, the Fusion Hub wizard will pop up. The Welcome screen will ask for an App ID. Before filling it out, a fresh App ID needs to be created.
An App ID is the application identifier used to:
- Identify an application;
- Associate the application with the correct type of server plugin - in this case Fusion; and,
- connect players using the application.
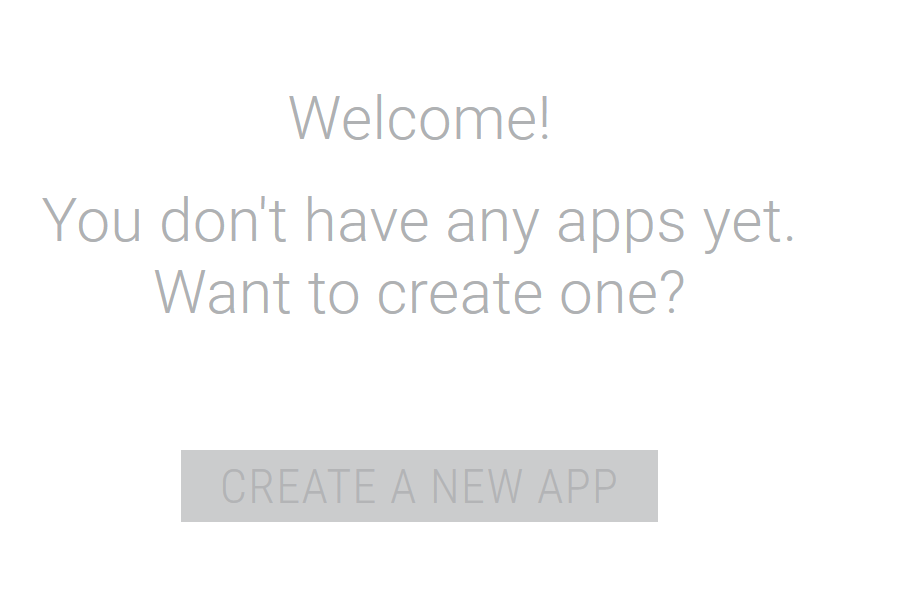
To create a new App ID, login and navigate to the PhotonEngine dashboard or Click Here.
N.B.: a (free) registered account is necessary for this procedure.
First, click on Create a New App.
Select Fusion in the Select Photon SDK drop-down.

Then select Fusion 2 on the Select SDK Version dropdown that appeared, fill out the rest of the form and click on Create.
Step 6 - Add an AppID
Copy the App Id shown on the dashboard.
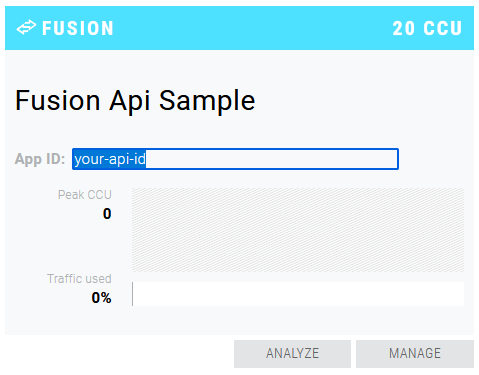
Insert in the Fusion App ID field found in the Fusion Hub Welcome tab.

Congratulations! The project is now ready for development.
Next Host Mode Basics 2 - Setting up a scene
Back to top