Meeting
Overview
This sample demonstrates an approach on how to develop a simple meeting application with Fusion 2.
First, the player customizes its avatar on the selection avatar screen. They can then move on to the meeting room, where a number of tools and features have been set up.
Here are some of the most notable features:
- public/private groups to separate users in different rooms
- room sound insulation when a door is closed
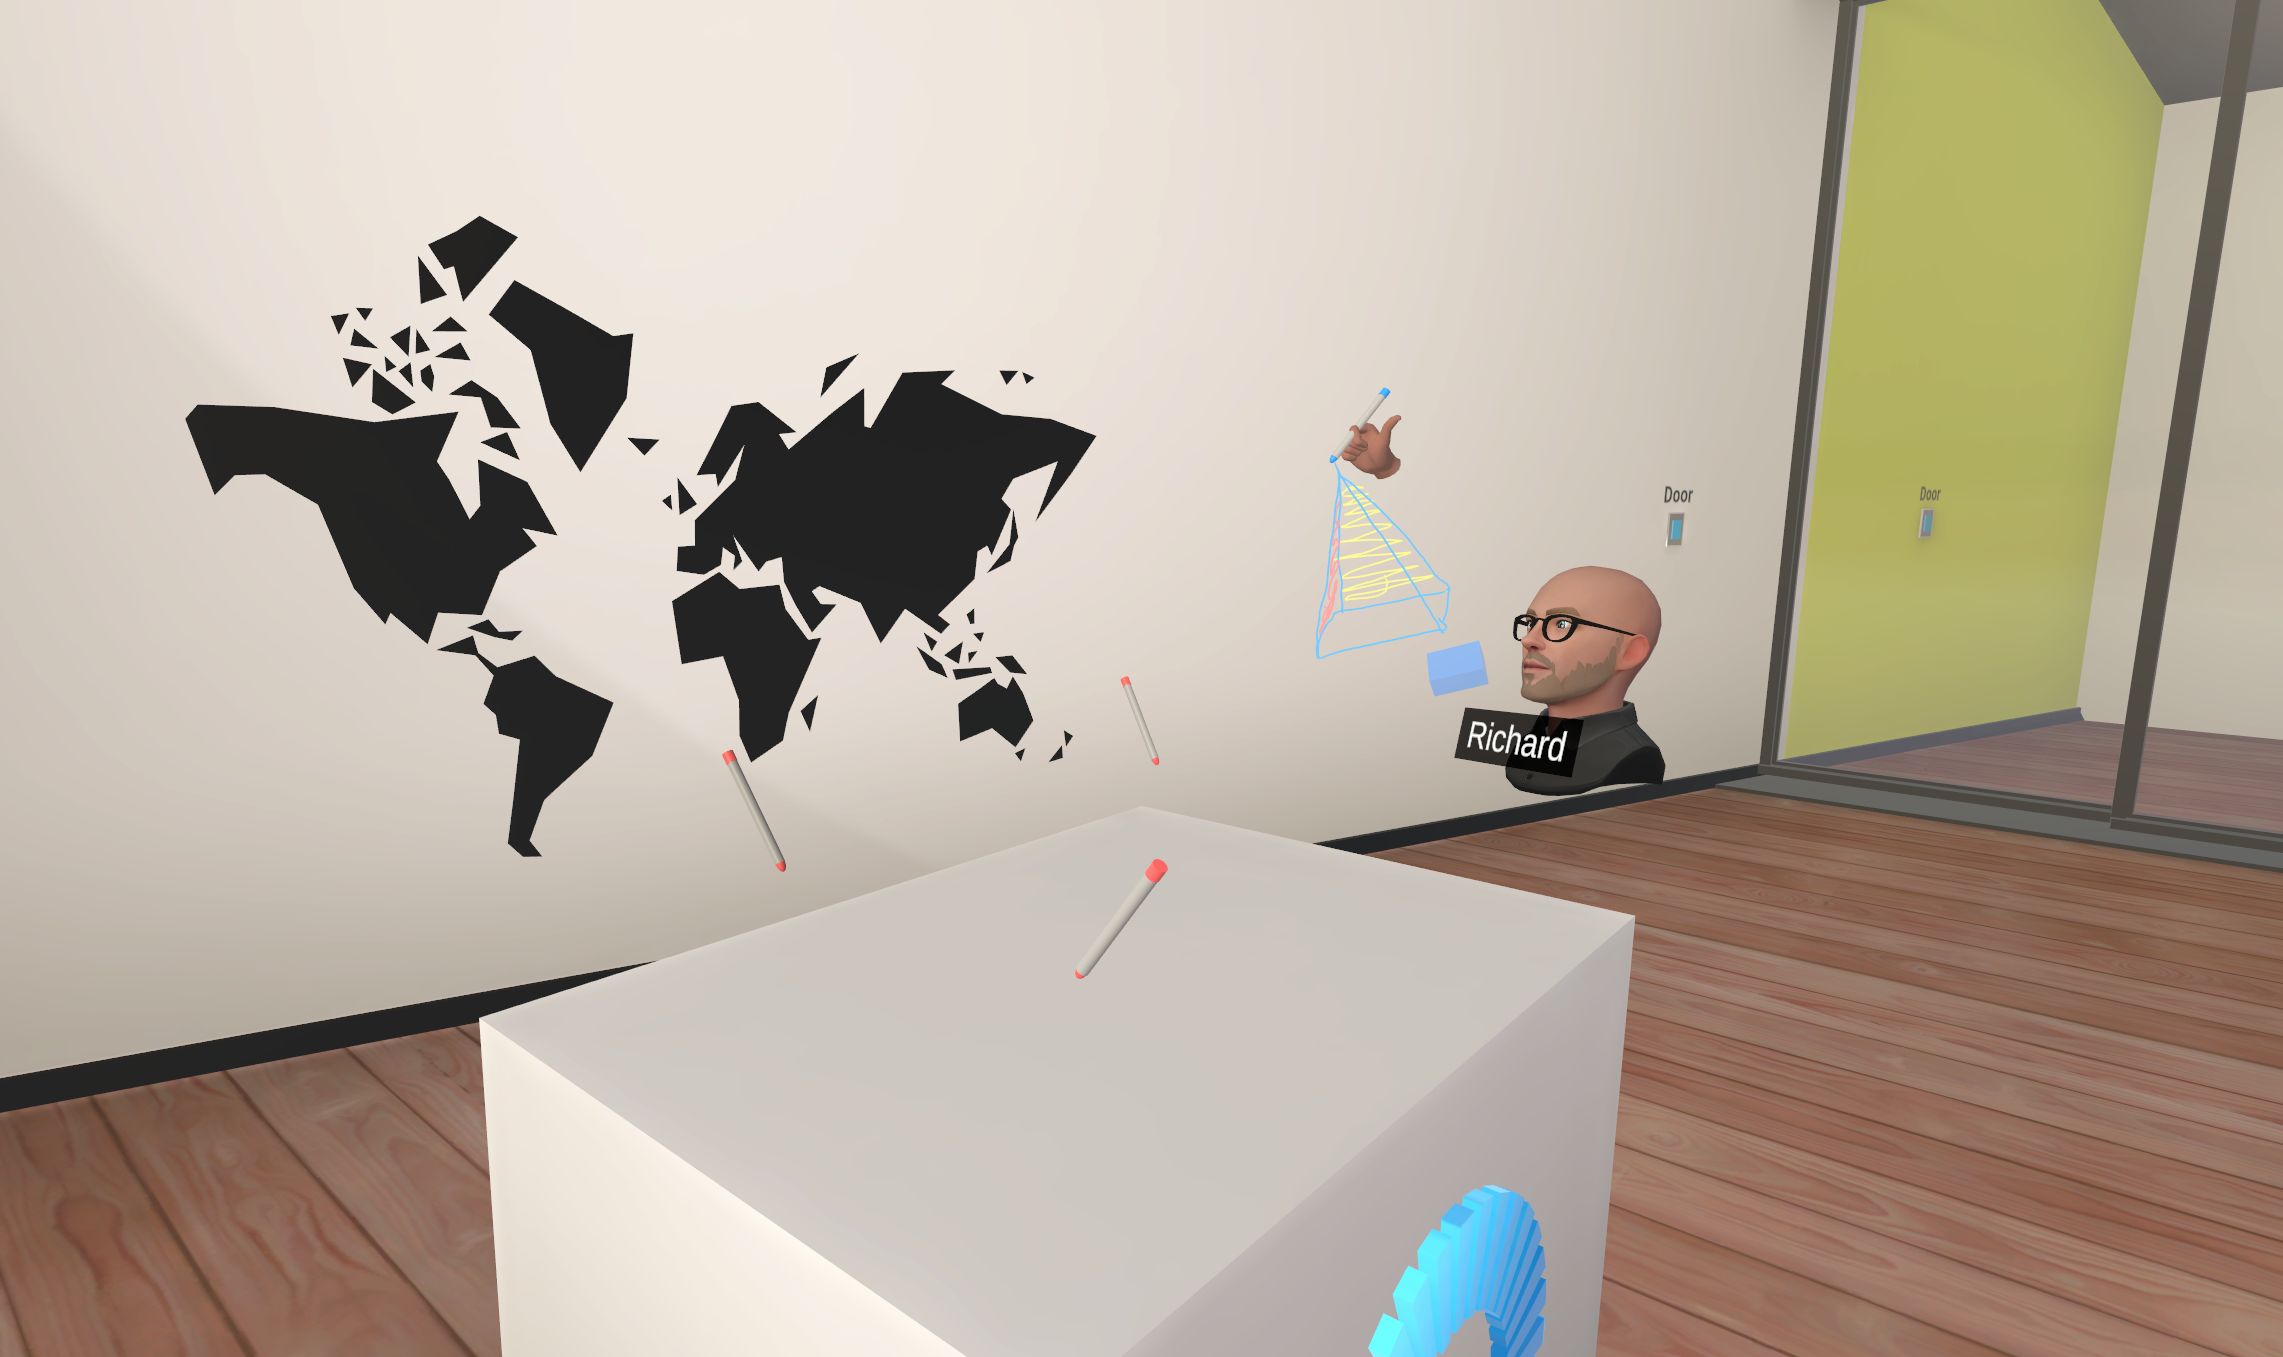
- 3D pens with various colors
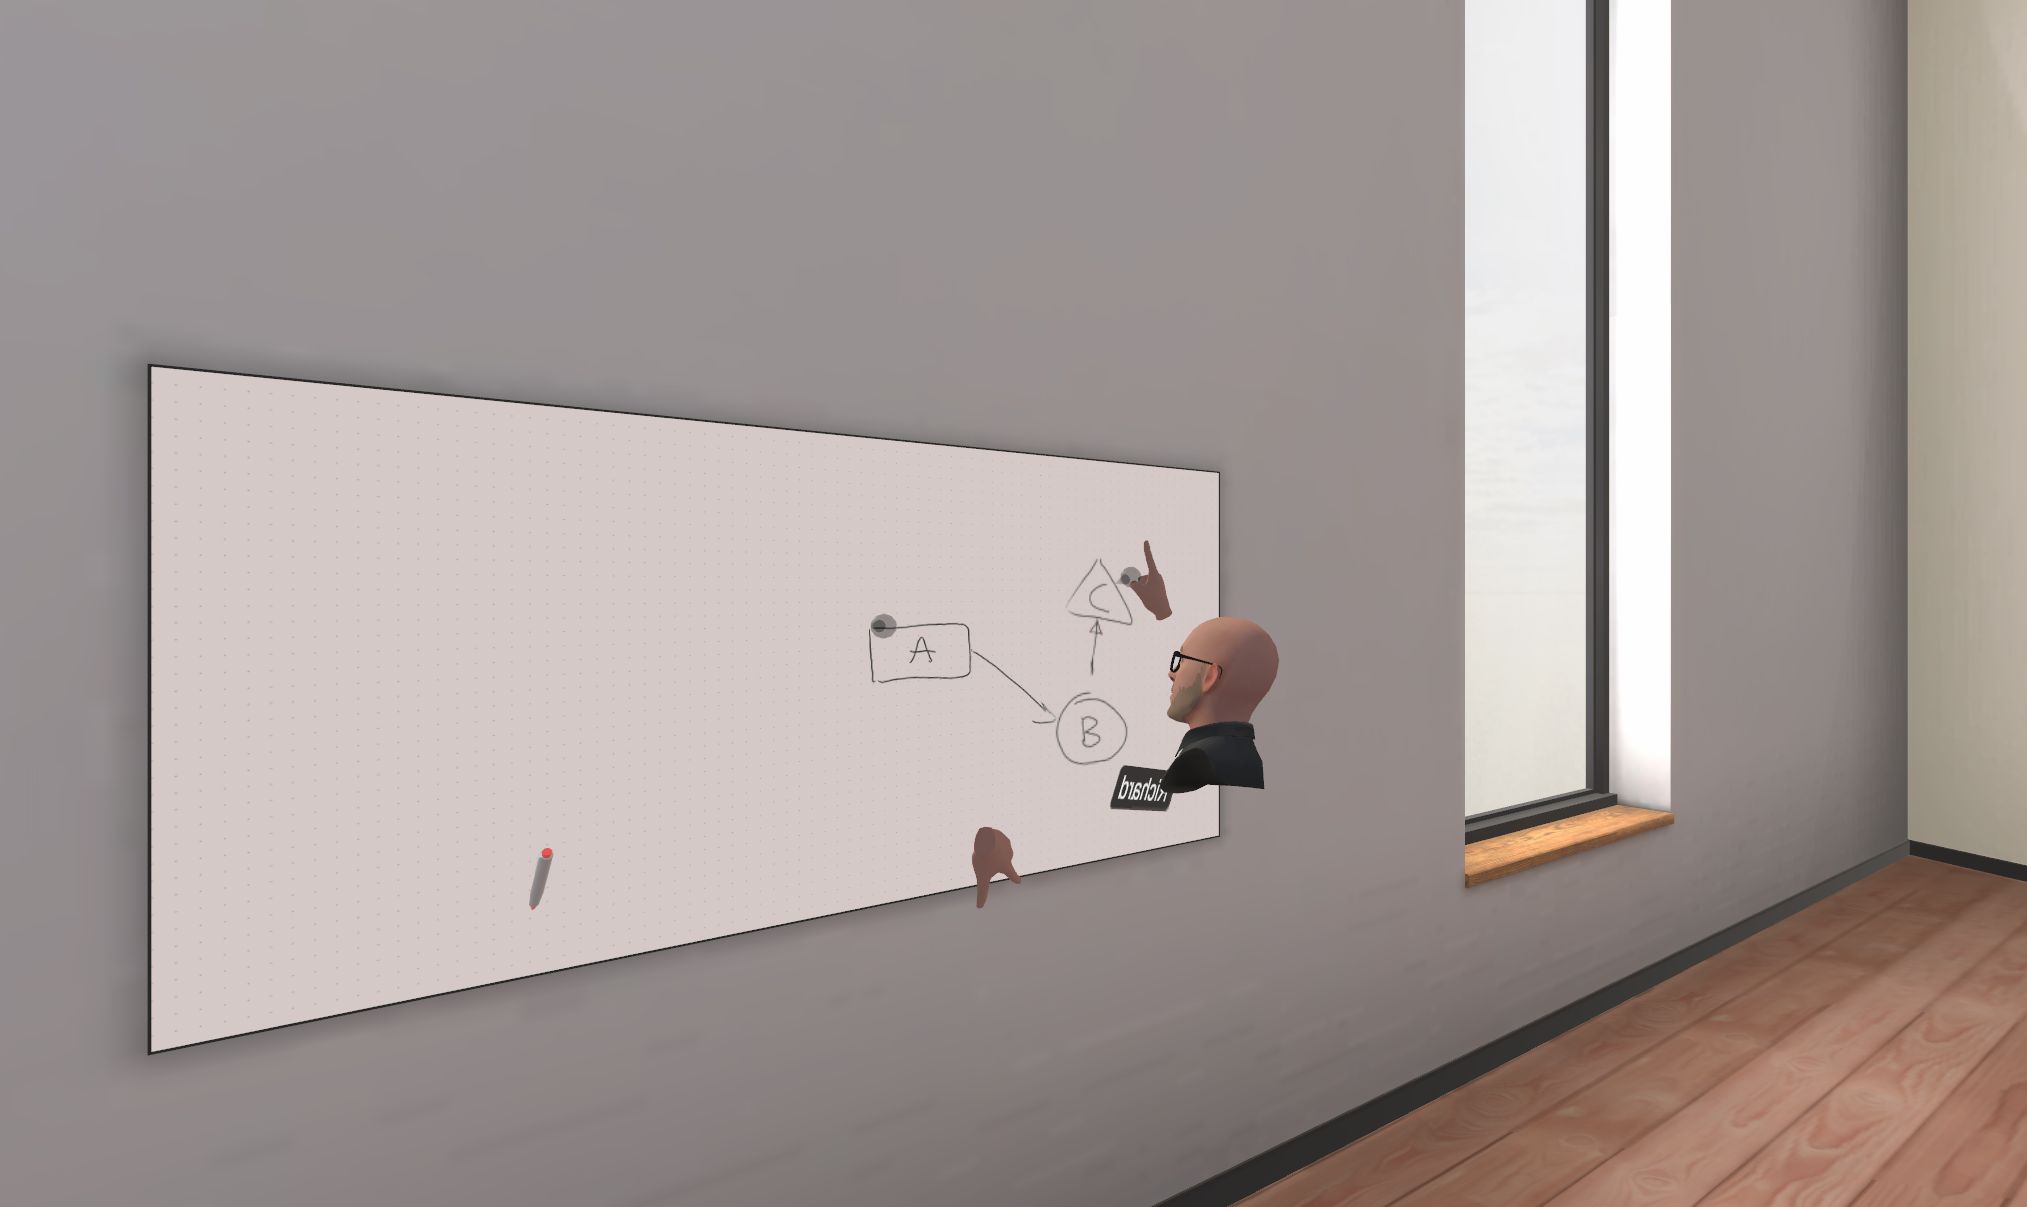
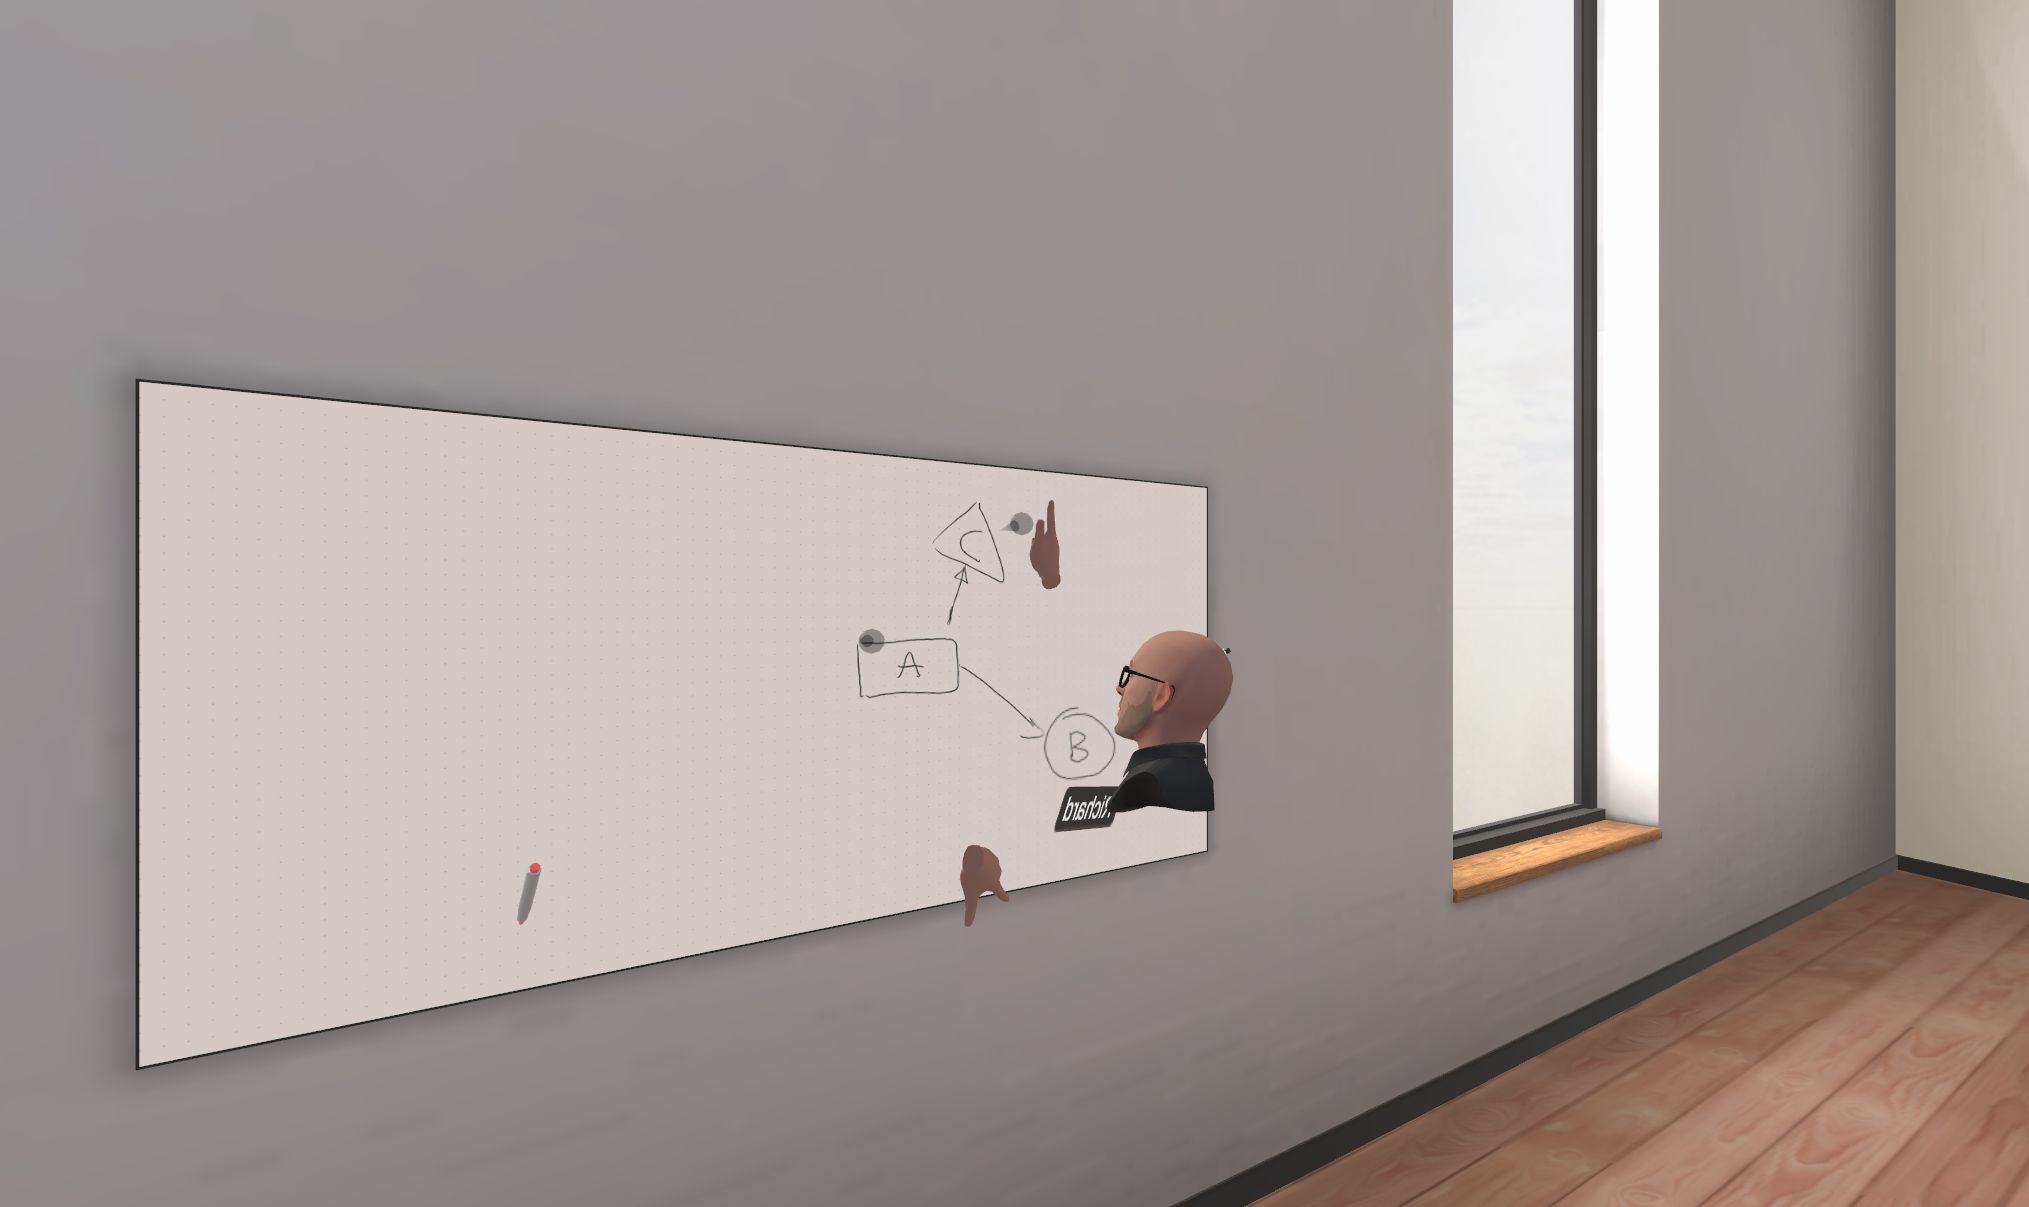
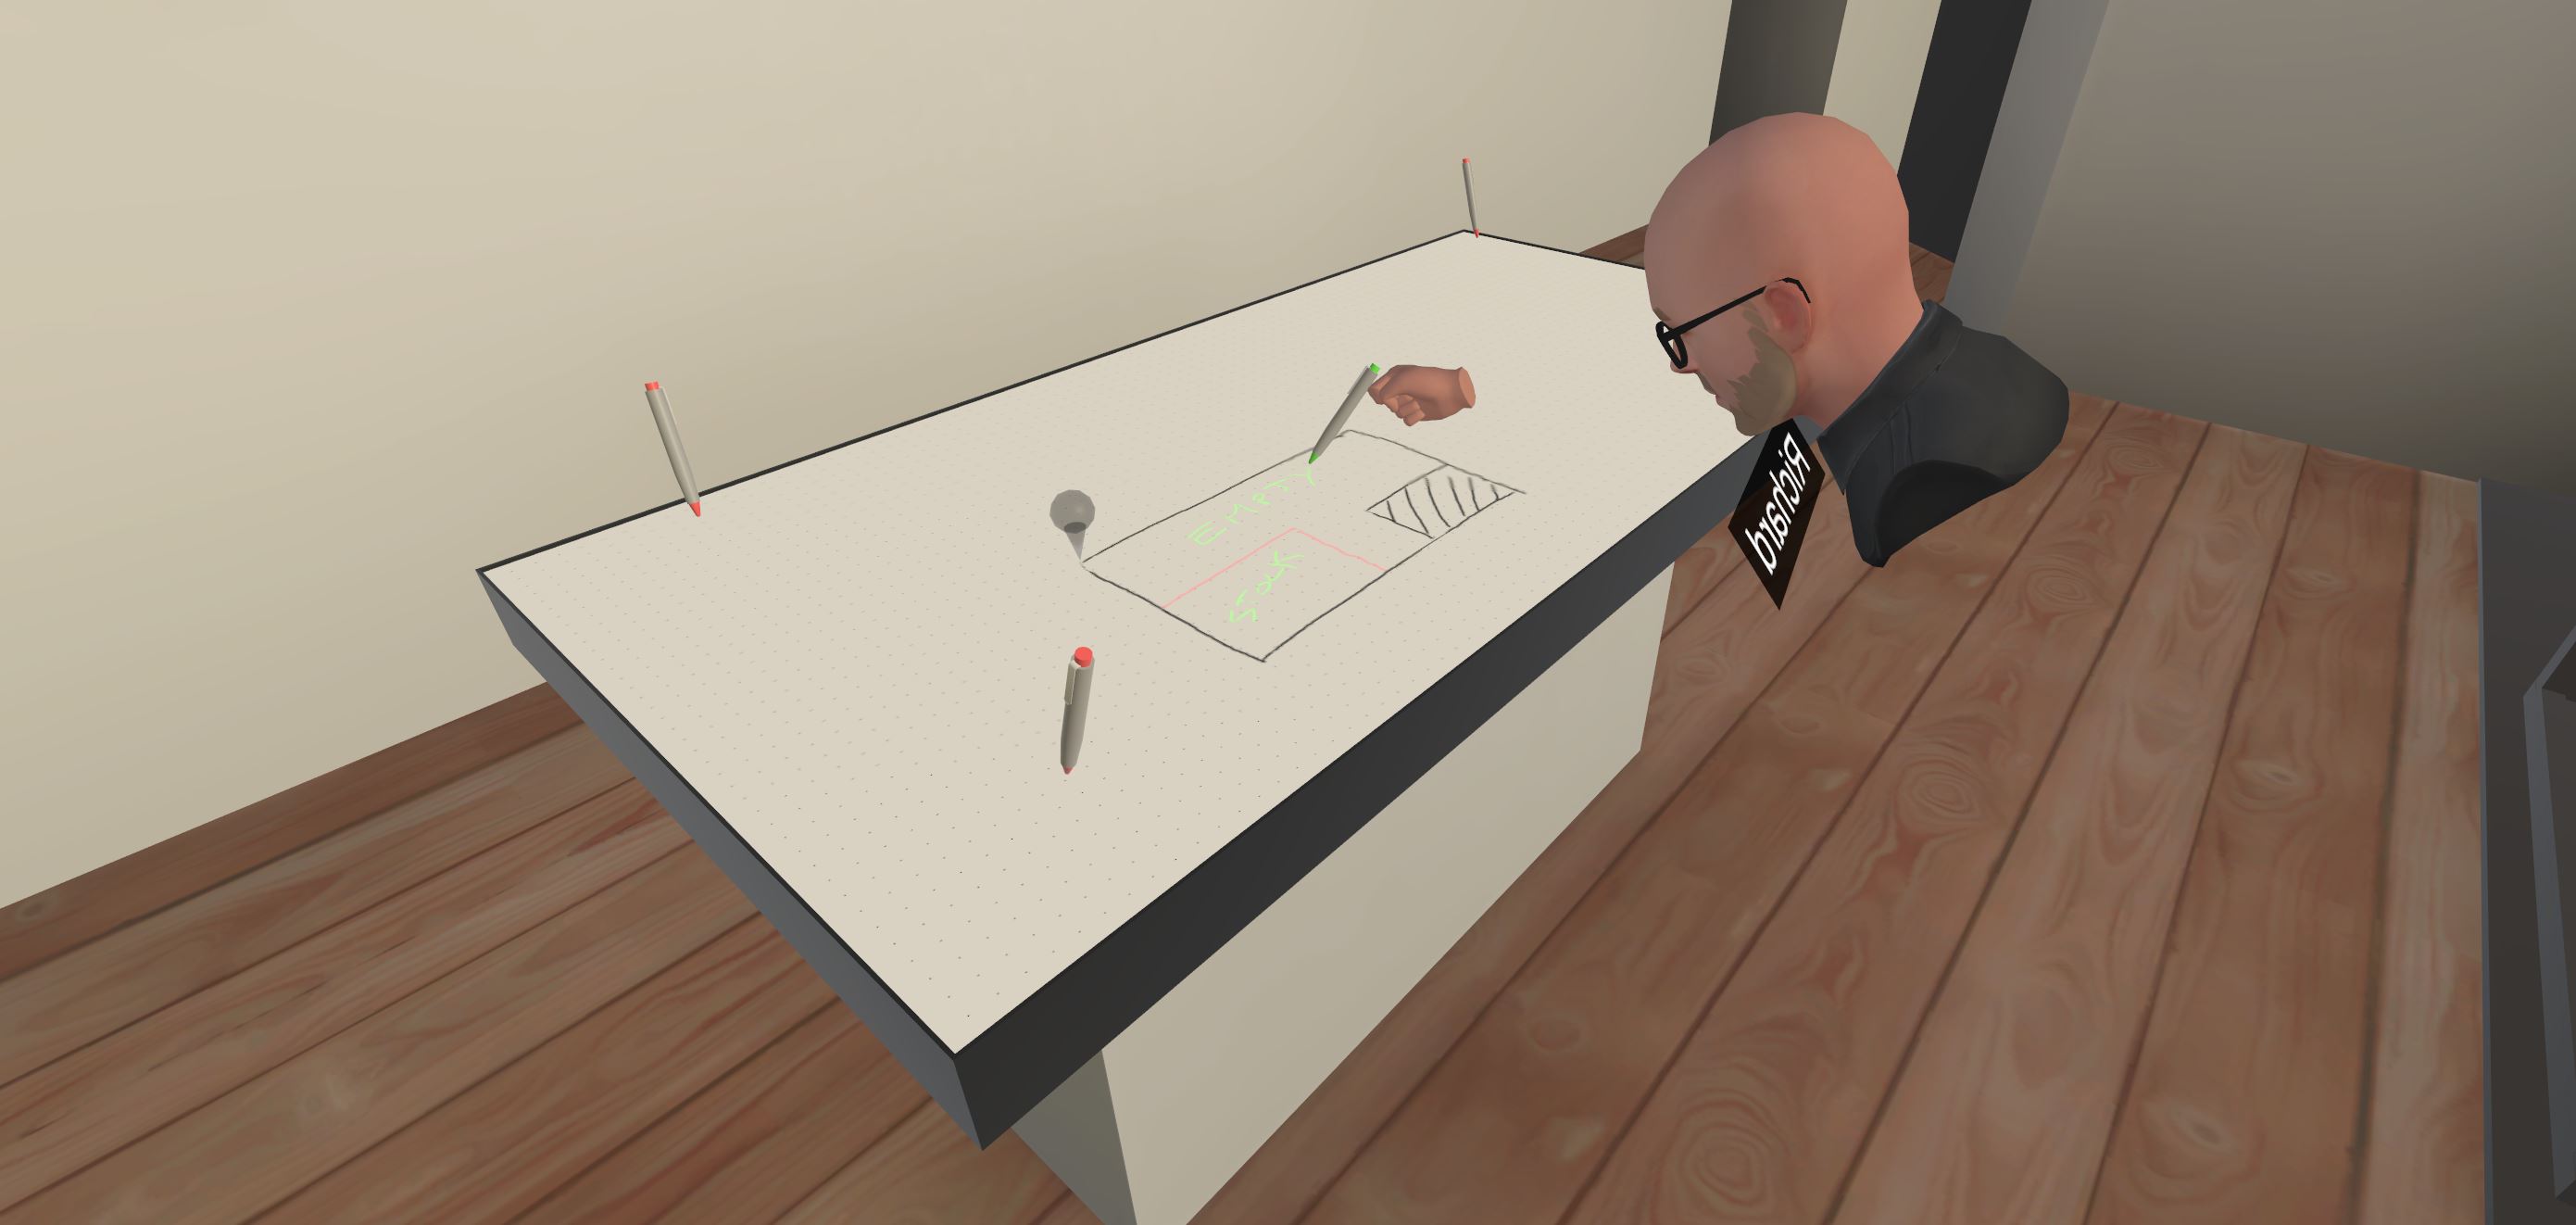
- 2D pens with moveable drawing on a vertical or horizontal whiteboard
- screen sharing
- sticky notes
- camera
- social distancing
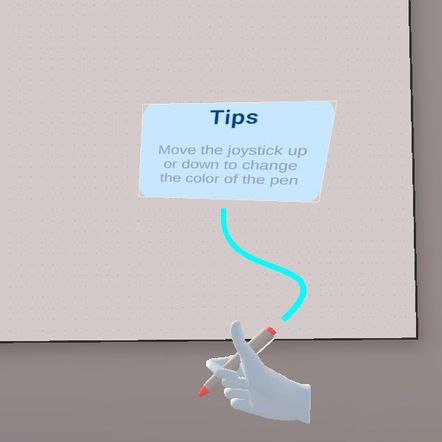
- interactive menu to provide tips to users
If the player launches the sample on a PC or MAC, it can choose between the Desktop mode (using keyboard & mouse) or VR mode (Meta Quest headset).

Technical Info
- This sample uses the Shared Mode topology,
- Builds are available for PC, Mac, Meta Quest & WebGL,
- The project has been developed with Unity 2021.3, Fusion 2, Photon Voice 2.53,
- 2 avatars solutions are supported (home made simple avatars & Ready Player Me avatars),
Before you start
To run the sample :
Create a Fusion AppId in the PhotonEngine Dashboard and paste it into the
App Id Fusionfield in Real Time Settings (reachable from the Fusion menu).Create a Voice AppId in the PhotonEngine Dashboard and paste it into the
App Id Voicefield in Real Time SettingsThen load the
AvatarSelectionscene and pressPlay
Download
| Version | Release Date | Download |
|---|---|---|
| 2.0.5 | 10月 07, 2025 | Fusion meeting 2.0.5 |
WebGL
The Meeting sample can be build for a WebGL target.
You can test Meeting WebGL build here.
Due to some Unity limitations regarding WebGL builds though, a few point need specific care to work properly and are detailed here.
Note that this WebGL build does not support WebXR (virtual reality in the browser): while it is achievable with some open source libraries, like unity-webxr-export, it is not yet supported by default in Unity, and thus not demonstrated here.
Please, test with Google Chrome (you may encounter VP8 codec issue with Firefox).
Handling Input
Desktop
Keyboard
- Move : WASD or ZQSD to walk
- Rotate : QE or AE to rotate
- Pen color : C to change the pen Color
- Menu : Esc to open or close the application menu
Mouse
- Move : left click with your mouse to display a pointer. You will teleport on any accepted target on release
- Rotate : keep the right mouse button pressed and move the mouse to rotate the point of view
- Move & rotate : keep both the left and right button pressed to move forward. You can still move the mouse to rotate
- Grab : put the mouse over the object and grab it using the left mouse button.
Meta Quest
- Teleport : press A, B, X, Y, or any stick to display a pointer. You will teleport on any accepted target on release
- Touch (ie for chat bubbles lock buttons) : simply put your hand over a button to toggle it
- Grab : first put your hand over the object and grab it using controller grab button
- Pen color : move the joystick up or down to change the pen color
Folder Structure
The main folder /MeetingRoom contains all elements specific to this sample.
The folder /IndustriesComponents contains components shared with others industries samples like Fusion Metaverse sample.
The /Photon folder contains the Fusion and Photon Voice SDK.
The /Photon/FusionXRShared folder contains the rig and grabbing logic coming from the VR shared sample, creating a FusionXRShared light SDK that can be shared with other projects.
The /Photon/FusionAddons folder contains the Industries Addons used in this sample.
The /XR folder contains configuration files for virtual reality.
Architecture overview
The Meeting sample rely on the same code base than the one described in the VR Shared page, notably for the rig synchronization.
The grabbing system used here is the alternative "local rig grabbing" implementation described in the VR Shared - Local rig grabbing page.
Aside from this base, the sample, like the other Industries samples, contains some extensions to the FusionXRShared or Industries Addons, to handle some reusable features like synchronized rays, locomotion validation, touching, teleportation smoothing or a gazing system.
Used XR Addons & Industries Addons
To make it easy for everyone to get started with their 3D/XR project prototyping, we provide a comprehensive list of reusable addons.
See Industries Addons for more details.
Here are the addons we've used in this sample.
XRShared
XRShared addon provides the base components to create a XR experience compatible with Fusion.
It is in charge of the players' rig parts synchronization, and provides simple features such as grabbing and teleport.
See XRShared for more details.
Spaces
We reused the same approach than the one used in the Metaverse samples to allow several instances of the same room. So, users have the possibility to join the public room or a private meeting room by specyfing a room number. This choice can be made in the avatar selection screen or later with the application menu.
See Space Industries addons for more details.
ConnectionManager
We use the ConnectionManager addon to manage the connection launch and spawn the user representation.
See ConnectionManager Addons for more details.
Extended Rig Selection
We use this addon to switch between the various rigs required in this sample. Indeed, we need three configurations in this sample :
- VR rig for Meta build,
- Desktop rig for Windows and Mac client,
- no rig to build the Windows recorder application in charge to stream desktop on the screen (indeed, we do not need to spawn a network rig in this mode).
So, the Extended Rig Selection setup is the following :
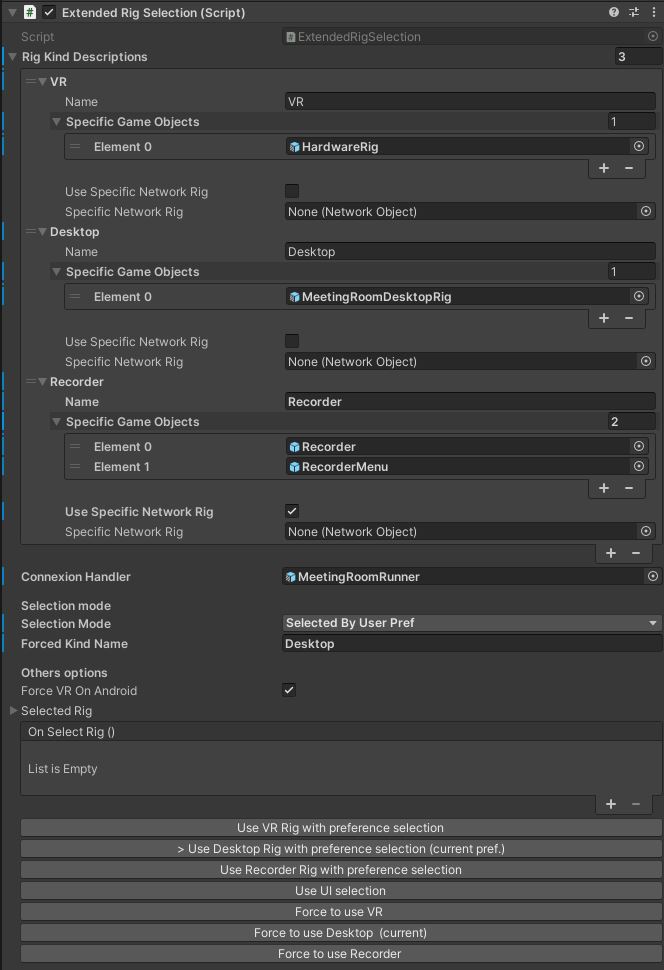
See Extended Rig Selection Industries Addons for more details.
Avatar
This addon supports avatar functionality, including a set of simple avatars.
See Avatar Industries Addons for more details.
Ready Player Me Avatar
This addon handles the Ready Player Me avatars integration.
See Ready Player Me Avatar Industries Addons for more details.
Social distancing
To ensure comfort and proxemic distance, we use the social distancing addon.
See Social distancing Industries Addons for more details.
Locomotion validation
We use the locomotion validation addon to limit the player's movements (stay in the room, avoid furniture, etc.).
See Locomotion validation Industries Addons for more details.
Dynamic Audio group
We use the dynamic audio group addon to enable users to chat together, while taking into account the distance between users to optimize comfort and bandwidth consumption.
See Dynamic Audio group Industries Addons for more details.
Audio Room
In addition, we wanted to illustrate how to soundproof people who are not in the same room.
So, we have created two rooms in the scene seperated by a sliding door.

We use the AudioRoom addon to manage the dynamic audio group update according to the door status. The door opening and closing are triggered by buttons which call the AudioDoor.ToogleDoor() method.
To door animation is managed by the TriggerDoorAnimation class which listen to the OnStatusChange() event received from the AudioDoor class.
See Audio Room Industries addons for more details.
Screen Sharing
Users can share their computer screen and broadcast it on the meeting room's large screen.
Unlike the "Stage ScreenSharing" sample, here there is no authorization management: the last user to start a broadcast takes control of the screen. This is managed by the EmissionOrchestrator which implements the IEmitterListener interface.
So when a client starts a screen share, the PlayerId is saved :
- either directly by the client itself if it has the State Authority over the screen,
- or using a RPC if the client doesn't have the State Authority.
C#
public void SetEmitter(PlayerRef emitter, string name)
{
    if (Object.HasStateAuthority)
    {
        EmittingPlayer = emitter;
        EmittingPlayerName = name;
    }
    else
    {
        RPC_SetEmitter(emitter, name);
    }
}

[Rpc(sources: RpcSources.All, targets: RpcTargets.StateAuthority)]
public void RPC_SetEmitter(PlayerRef emitter, string name)
{
    EmittingPlayer = emitter;
    EmittingPlayerName = name;
}
As soon as a screen share is started by another player, the screen share is stopped with StopEmitting() to save resources and bandwidth.
See Screen Sharing Industries Addons for more details.
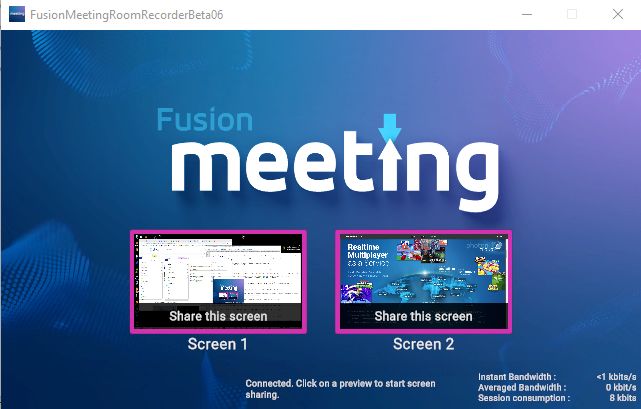
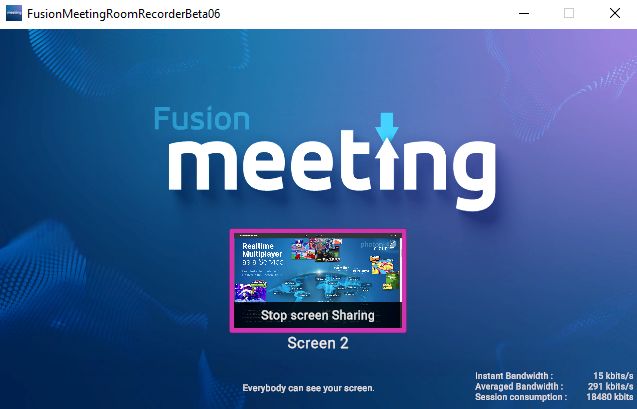
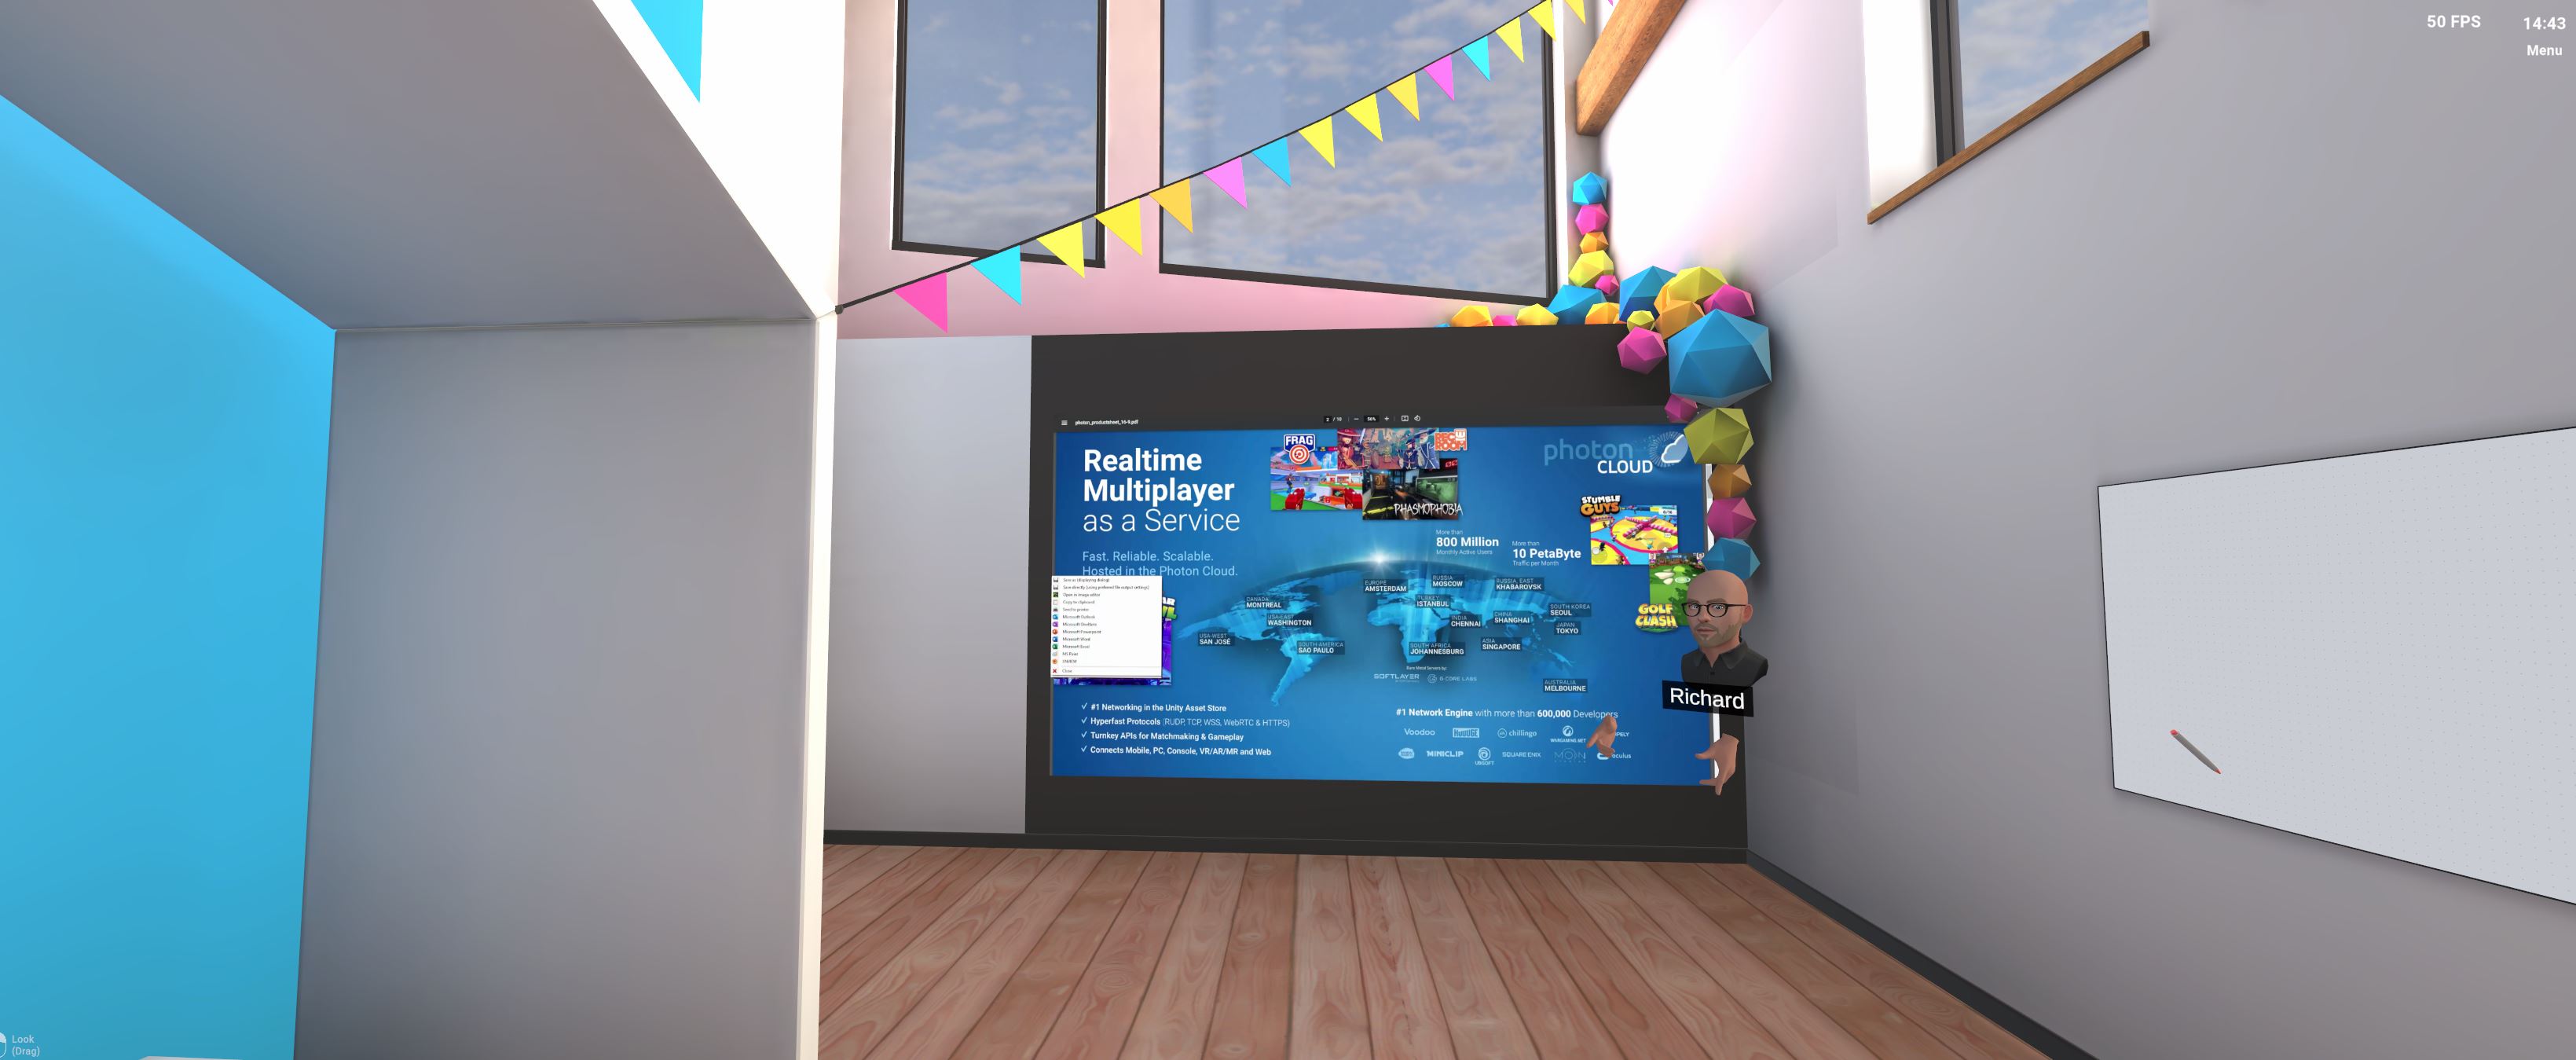
Please note :
- screensharing in FullHD resolution (1920x1080) works correctly on Quest2 and Quest3 devices.
- some higher resolutions (3440x1440 for example) work well on Quest2 but are no longer supported on Quest3 due to an operating system update.
Drawing
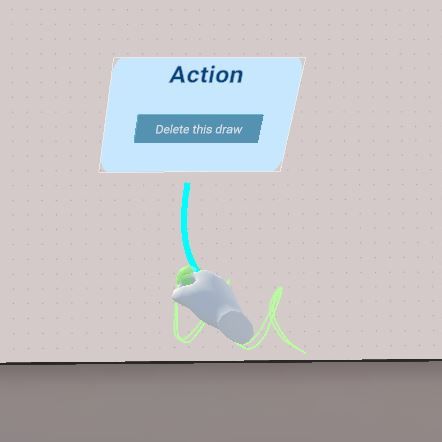
The room contains whiteboards with 2D pens and several 3D pens. When the drawing is complete (i.e. when the user releases the "trigger" button), a handle is displayed. This allows the user to move 2D or 3D drawings.
See 3D & 2D drawing Industries Addons for more details.
Data Sync Helpers
This addon is used here to synchronize the 3D/2D drawing points, camera picture & sticky note drawing points.
See Data Sync Helpers Industries Addons for more details.
Blocking contact
We use this addon to block 2D pens and drawing' pin on whiteboard surfaces.
See Blocking contact Industries Addons for more details.
Interactive Menu
This addon is used to display tips on how to use pens or a delete button on drawings.
See Interactive Menu Industries Addons for more details.
Sticky notes
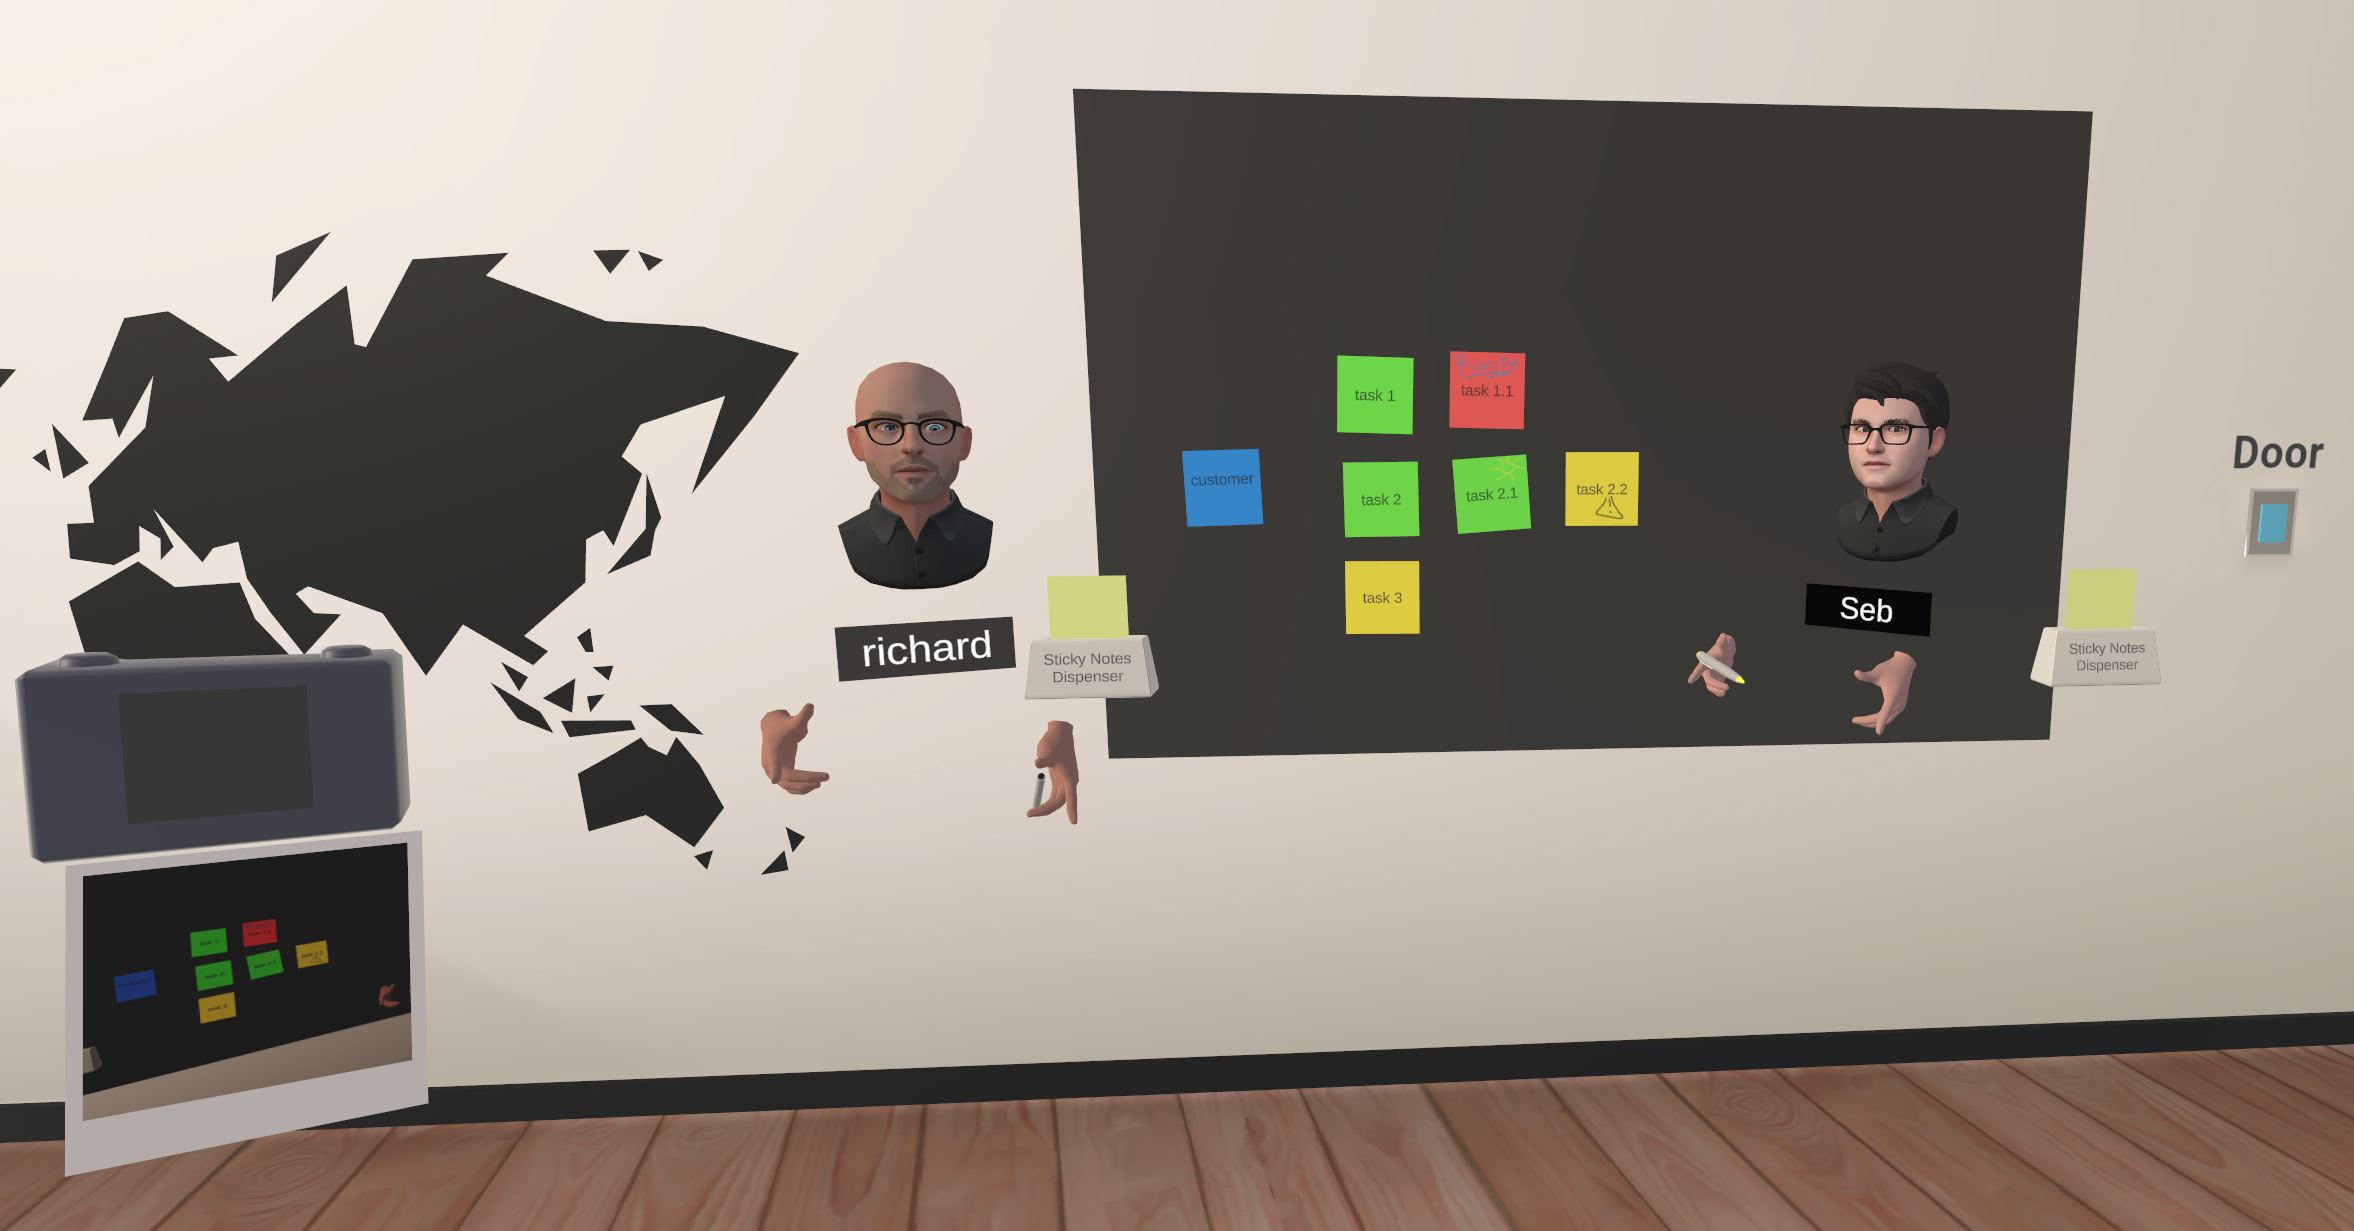
This addon allows users to spawn sticky notes in the scene.
Compare to the addon prefab, a text layer has been added to the notes (see StickyNoteText class). The note gets the keyboard focus when the user touch the note.
The color of the note can be changed using the C key on the keyboard (deskop mode) or moving the joystick up and down (VR mode)
See Sticky Notes Addons for more details.
Texture Drawing
This addon is used to synchronized the texture edition on sticky notes.
See Texture Drawings for more details.
Magnets
Notes can be snaped on the board thanks to the Magnet addon.
See Magnet Addons for more details.
Desktop Focus Mode
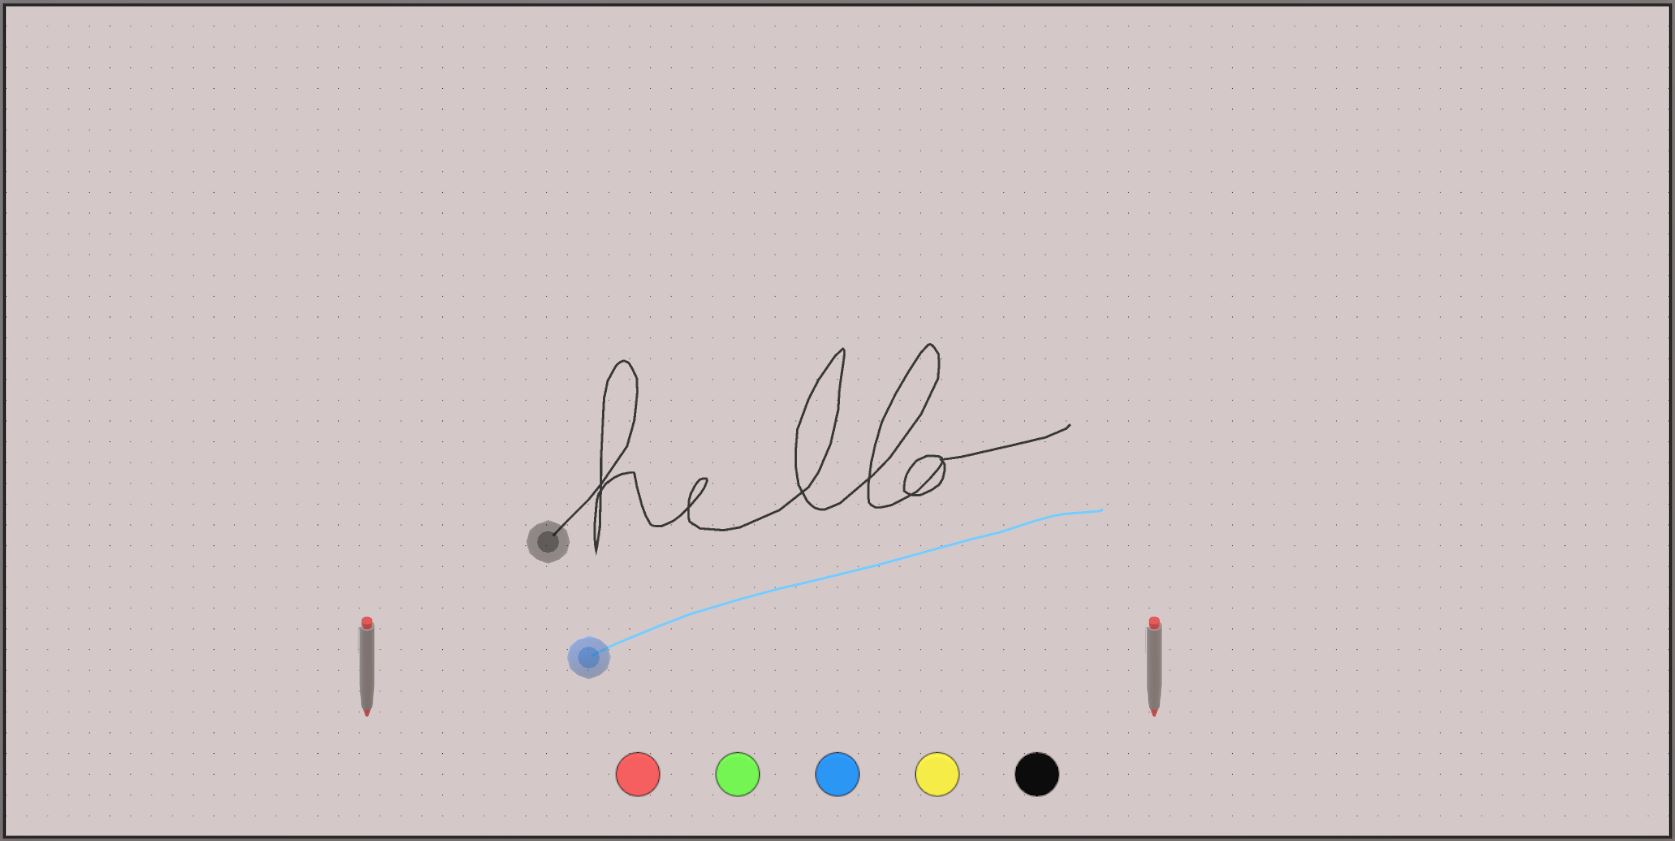
As it is difficult to use a 2D pen to draw on a whiteboard while being in 3D, the ScreenDrawing class relies on the "Desktop Focus Mode" addon to activate the focus mode and display a specific user interface.
See Desktop Focus Industries Addons for more details.
Feedback
We use the Feedback addon to centralize sounds used in the application and to manage haptic & audio feedbacks.
See Feedback Addons for more details.
Compilation
We use the same Unity scenes for the normal client and for the recorder client (to stream a desktop on the screen).
So, we have to make some manual modifications depending on the client we want to compile.
Recorder Client Compilation
So, to compile the recorder application, you have to follow 2 steps :
1/ Open the AvatarSelection scene : on the LoadMainSceneInRecorderMode game object, check the box Is Recorder Compilation Mode to load the main scene directly without loading the avatar selection scene.
This tips is required because the scene list must be identical for the normal client and for the recorder.
2/ Open the MeetingRoom scene : on the ExtendedRigSelection game object, ExtendedRigSelection class, set the Selection Mode parameter to Selected by User Pref.
3/ Change some Unity parameters :
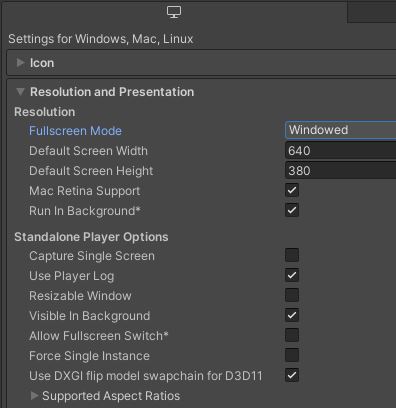
Project Settings/Player:- Change
Product name: add 'Recorder' for example
- Change
Project Settings/Player/Resolution and Presentation/Resolution- Fullscreen Mode : Windowed
- Default Screen Width : 640
- Default Screen Height : 380
- Resizable : No
- Allow Fullscreen : No
Normal Client Compilation
So, to compile the normal client application, you have to follow 3 steps :
1/ Open the AvatarSelection scene : on the LoadMainSceneInRecorderMode game object, uncheck the box Is Recorder Compilation Mode.
2/ Open the MeetingRoom scene : on the ExtendedRigSelection game object, ExtendedRigSelection class, set the Selection Mode parameter to Selected by User Pref.
3/ Change some Unity parameters :
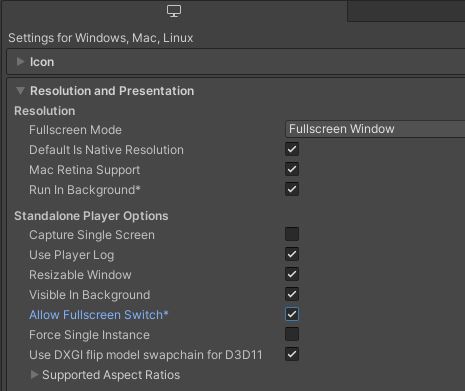
Project Settings/Player:- Change
Product name: add 'Client' for example
- Change
Project Settings/Player/Resolution and Presentation/Resolution- Fullscreen Mode : Fullscreen Windows
- Resizable : Yes
- Allow Fullscreen : Yes
Third party components
- Oculus Integration
- Oculus Lipsync
- Oculus Sample Framework hands
- Ready player me
- Sounds
- Video
- Overview
- Architecture overview
- Used XR Addons & Industries Addons
- XRShared
- Spaces
- ConnectionManager
- Extended Rig Selection
- Avatar
- Ready Player Me Avatar
- Social distancing
- Locomotion validation
- Dynamic Audio group
- Audio Room
- Screen Sharing
- Drawing
- Data Sync Helpers
- Blocking contact
- Interactive Menu
- Sticky notes
- Texture Drawing
- Magnets
- Desktop Focus Mode
- Feedback
- Compilation
- Third party components