2 - Scene and Player
Overview
Part 2 explains how to set up a simple scene with prototyping components and a player prefab. At the end of this section you will have a working networked scene that spawns a player object for each connected client.
Setting Up the Scene
Start from an empty Unity scene. Right-click on the Hierarchy tab in Unity and select Fusion > Scene > Setup Networking in Scene.
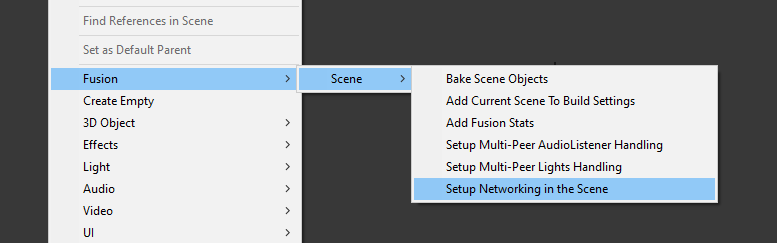
This adds a Prototype Runner and a Prototype Network Start to the scene.
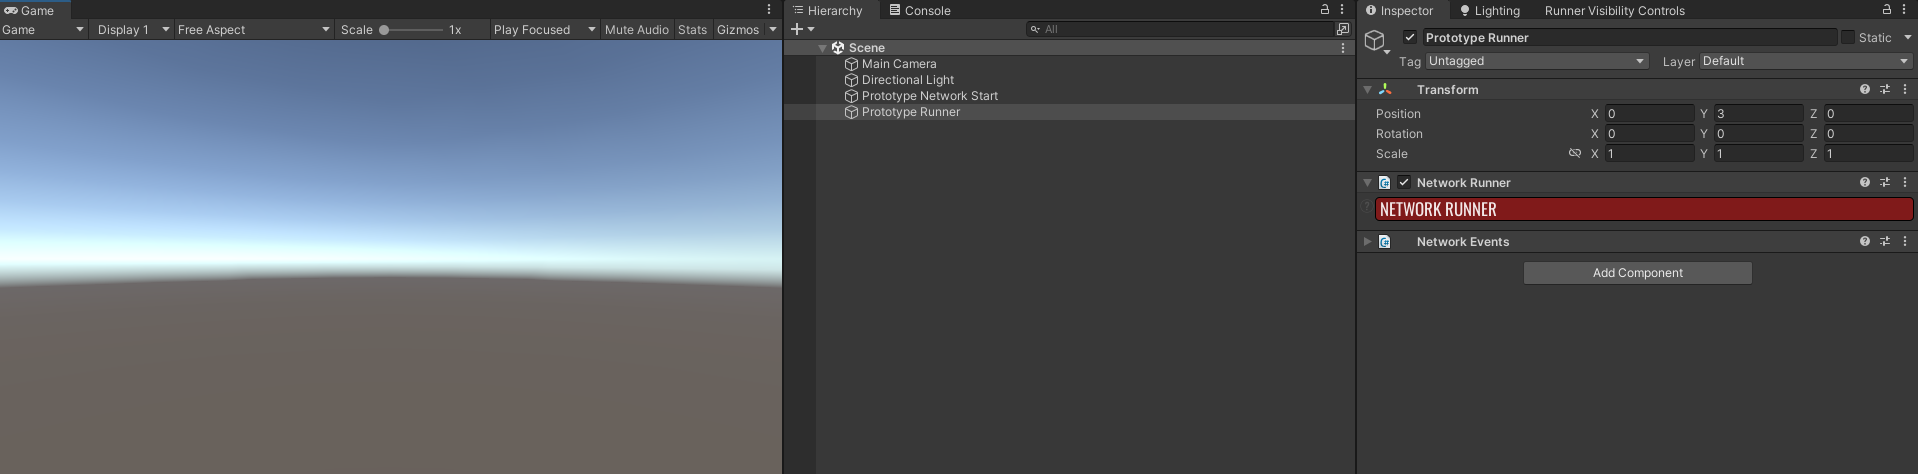
Prototype Runnercontains theNetwork Runnerwhich is the core component running the Fusion simulation. TheNetwork Eventsscripts allows you to quickly link up your own functions to a variety of network events such as players joining or leaving the session.Prototype Network Startis a prototyping component that contains a bootstrap GUI for quickly joining into a Fusion room.
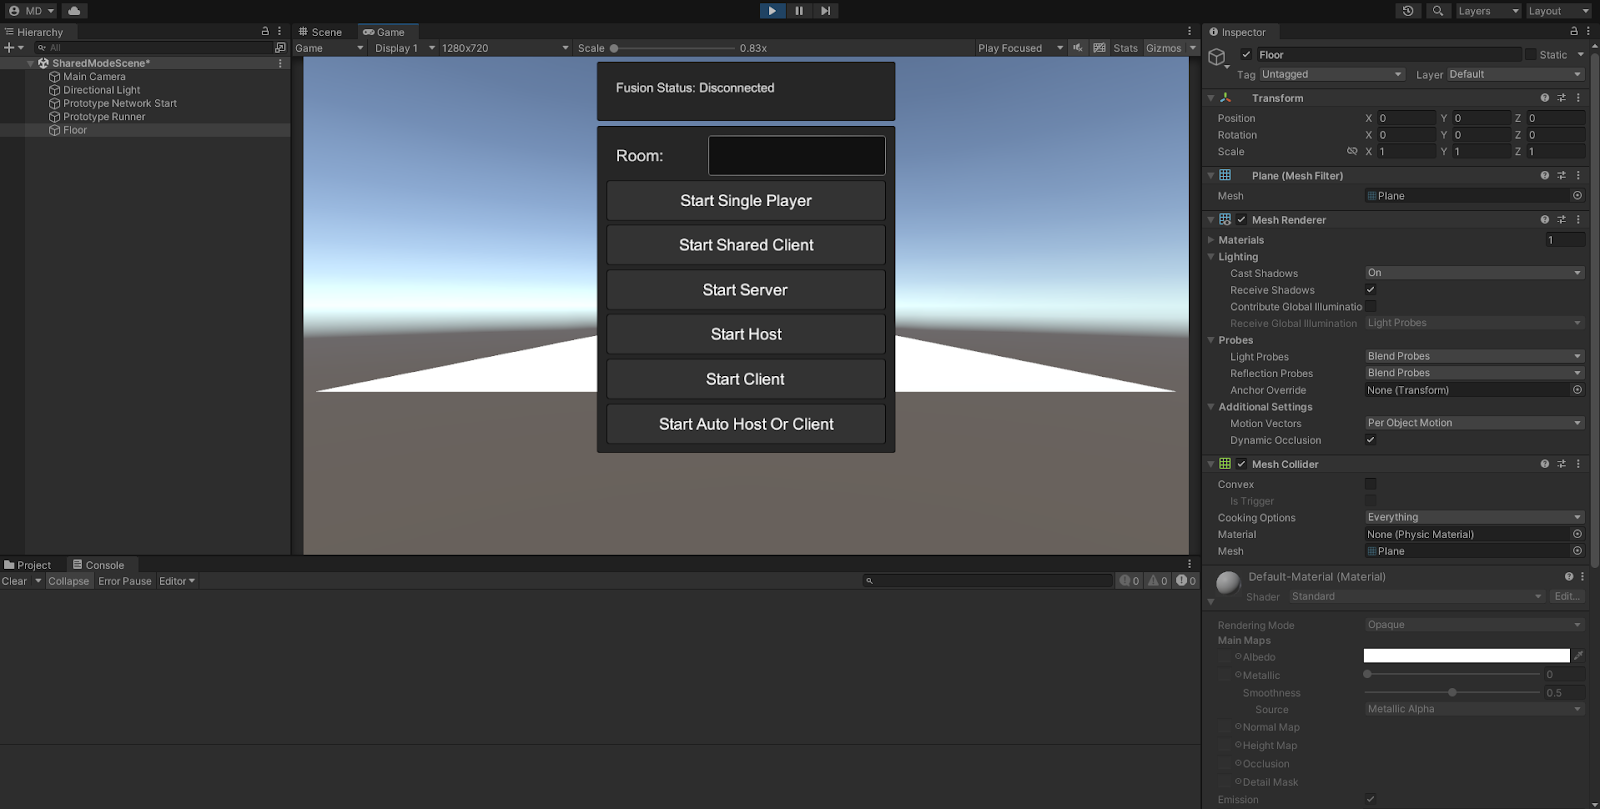
Next, add a floor to the scene, right-click on the Hierarchy tab in Unity and choose 3D Object > Plane. Rename the GameObject to Floor and reset its position to (0, 0, 0).

With that the scene setup is complete.
Creating the Player Prefab
Next create the player object. Right-click on the Hierarchy and select 3d Object > Capsule. Rename the GameObject to PlayerCharacter.
Add a NetworkObject component to it. This component gives the object a network identity so that all peers can reference it.
Add a CharacterController component. This will later be used by movement code to move the player character.
Finally, add a NetworkTransform component to it. NetworkTransform automatically synchronizes the position of the object to other clients.
Drag the PlayerCharacter into the Project window to create a prefab and delete it from the scene. With that the player character is ready to be spawned.
Player Spawning
In a multiplayer game, you will often instantiate a character per player. Unlike in a single player project, instantiation is done with a special Runner.Spawn method which takes care of instantiating the prefab for everyone.
A good moment to spawn the player character is when the client joined into a session. For that a custom script is needed. Create a PlayerSpawner script and open it. Add the following code to it:
C#
using Fusion;
using UnityEngine;

public class PlayerSpawner : SimulationBehaviour, IPlayerJoined
{
    public GameObject PlayerPrefab;

    void IPlayerJoined.PlayerJoined(PlayerRef player)
    {
        if (player == Runner.LocalPlayer)
        {
            Runner.Spawn(PlayerPrefab, new Vector3(0, 1, 0), Quaternion.identity);
        }
    }
}
The spawn code is very simple. Extending a SimulationBehaviour provides access to the NetworkRunner which contains all information about the current session including the player ID of the local player.
The IPlayerJoined interface has a PlayerJoined function which gets called whenever a player joins the session if the behaviour is on the same GameObject as the runner. This happens for our own player but also for any other player joining from a different device.
When an object gets spawned with Runner.Spawn it gets automatically replicated to all other clients, so it should only be called when PlayerJoined is called for the local player's join.
Add the PlayerSpawner component to the Prototype Runner GameObject and assign the PlayerCharacter prefab to it.
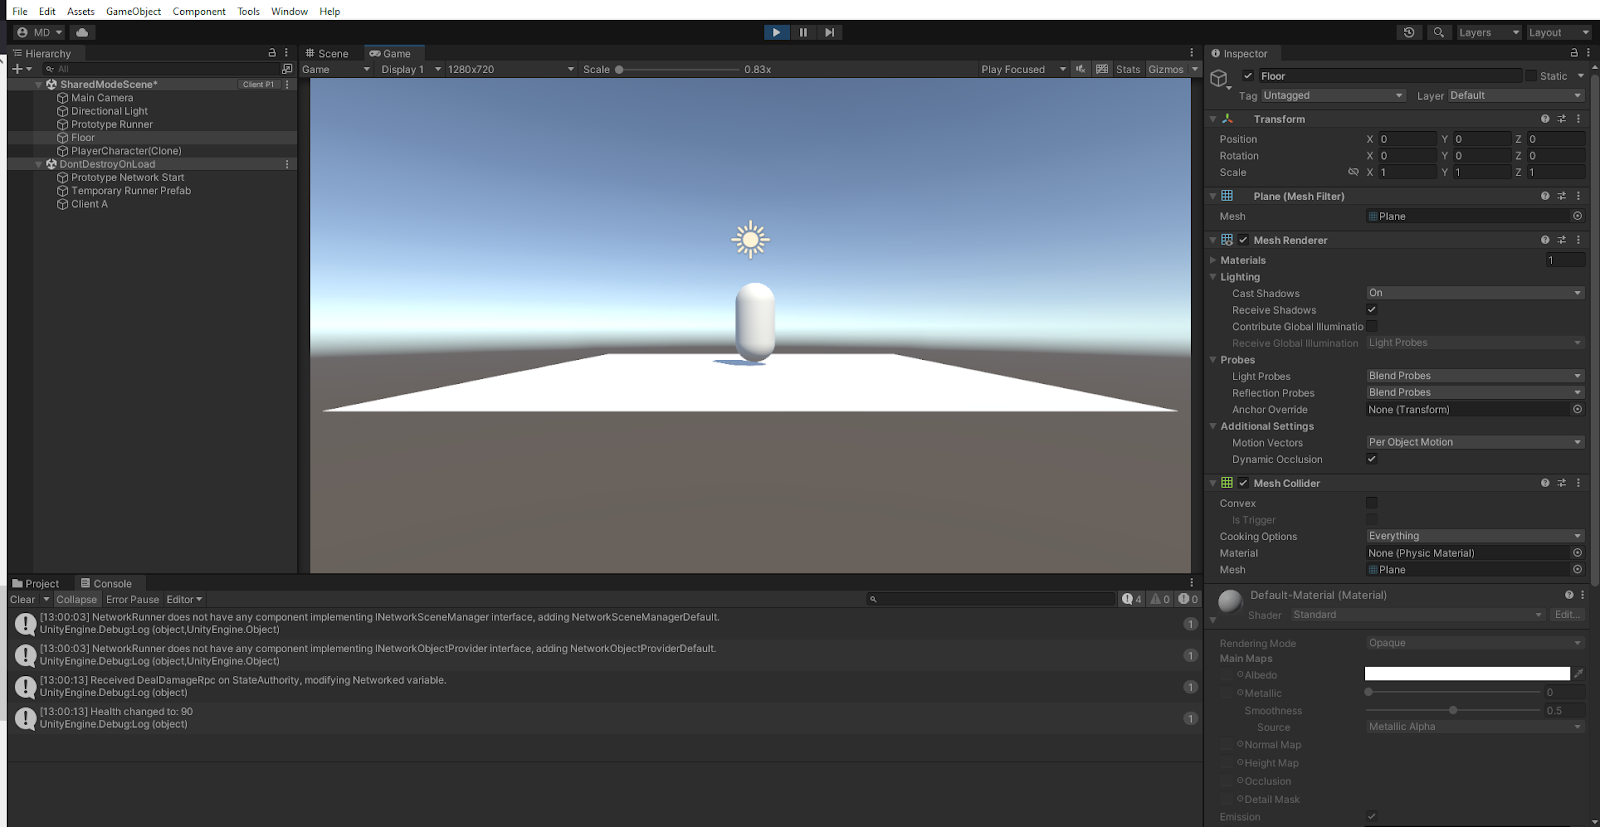
With this, player spawning is fully setup. Enter play mode and press Start Shared Client to start Fusion in Shared mode.
A player capsule will appear in the scene. The player is not able to move or interact with anything yet. In the next chapter we will bring the player to life by implementing player movement.
Next Shared Mode Basics 3 - Movement and Camera
Back to top