Overview
This is an overview tutorial using a more advanced code base that you can run and learn from.
Here, we are building a simple third person shooter game that will allow us to go through most of what Photon Bolt can do.
Art
All of the art we are using in this tutorial has either been produced with, provided by or run through the excellent PolyWorld: Woodland Low Poly Toolkit.
Getting Bolt SDK
Use the latest SDK version of Photon Bolt for this tutorial, and if you want to take a look on the final result of this sample, you can download it from our Samples Repository. This tutorial was last reviewed using Photon Bolt v1.2.9.
Getting The Installation Ready
First of all, make sure that you've followed the Bolt Basics tutorial, as it introduces the fundaments of how Photon Bolt works.
If you've already imported the samples package, you should get a project hierarchy similar to the one shown below, if not, go ahead, open the Wizard window at Bolt/Wizard menu, and install it.
Create a new unity project and import the package, this will leave you with a directory structure like the image below.
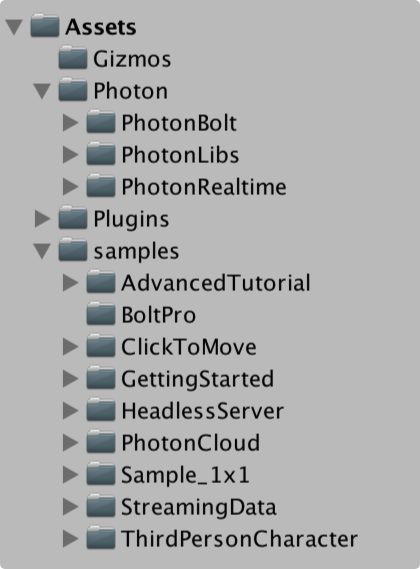
This will setup all dependencies and our Aadvanced Sample project in place, that can be found in Assets/samples/AdvancedTutorial folder.
From here, you can take a look at the contents of this folder:
- art: with all models and materials used in the demo.
- audio: sound effects used by the player.
- prefabs: contains all prefabs of our player, weapon and others.
- scenes: has the two main scenes for this demo. We will discuss they better later on.
- scripts: where we put all code used to make the game happen, including Bolt behaviors and other controllers.
- shaders: simple shaders for visual effects.
- thirdparty: extra content used by the game.
Running The Game
At this stage, you already have all assets to run the game, now we just need to configure our Bolt installation to get knowledge about these.
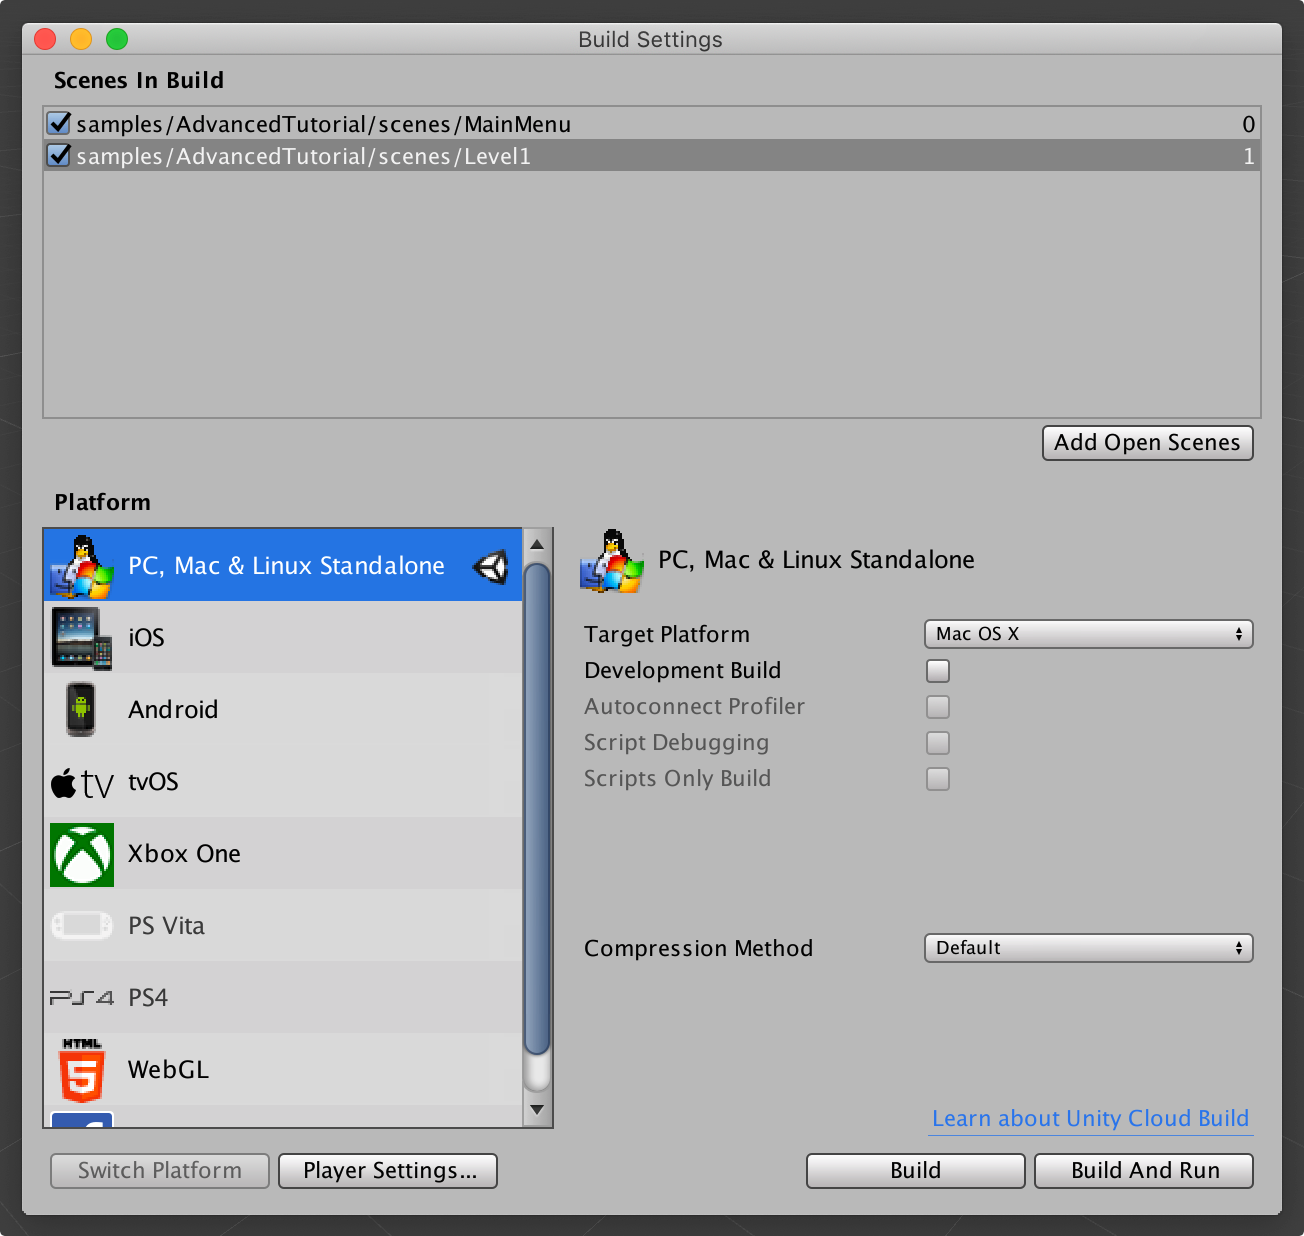
Add All Scenes To The Build Settings
- Open the
Assets/samples/AdvancedTutorial/scenesfolder; - Go to File/Build Settings... menu;
- Drag and drop the
MainMenuandLevel1scenes, in that order.
Be sure that MainMenu has index 0 as shown on the figure below.
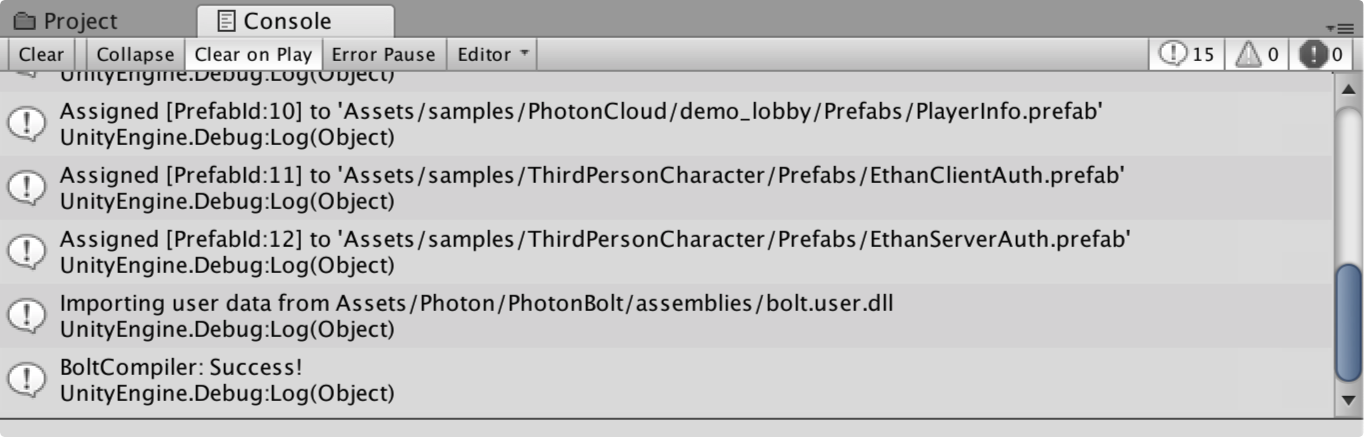
Build Bolt Asset Database
- Go to
Assets/Bolt/Compile Assemblymenu; - This step will build the internal structure utilized by Bolt to find, instantiate and maintain the objects in the scenes.
You should be able to see on the console the output logs.
Running the Advanced Sample
- Go to
File/Build & Runmenu then click onBuildbutton, this will build a standalone version of the game. - Select a folder into your computer to put the binary files.
- Click Save.
- Open the folder were the game was saved and run two instances of the game.
You will be presented with the window below.

- On the first window, select Server, then Level1.
This will start our Server player and enter the game, ready to play. - On the second window, select Client.
Starting as client will make you connect to the Photon Cloud and list for available sessions.
Click on theJoinbutton with the session info.
Now you can walk around and have some fun.

If you want to hide the console inside the game, just press the Tab key.