1 - Project Setup
Starting from this document, we will review all details about the Bolt Advanced Tutorial, how it was build and how you can use this information the create your own game using Photon Bolt.
You will learn about:
- Authoritative movement, shooting and game logic;
- Replication of animation, transforms and game object state.
Basic Settings And Development Features
After completing the instructions on the Overview document, you can build and run the demo.
From now, we will start building your own version of the same game.
Before we get started with the tutorial, open up the Bolt Settings window which you can find at Bolt/Settings in the top menu.
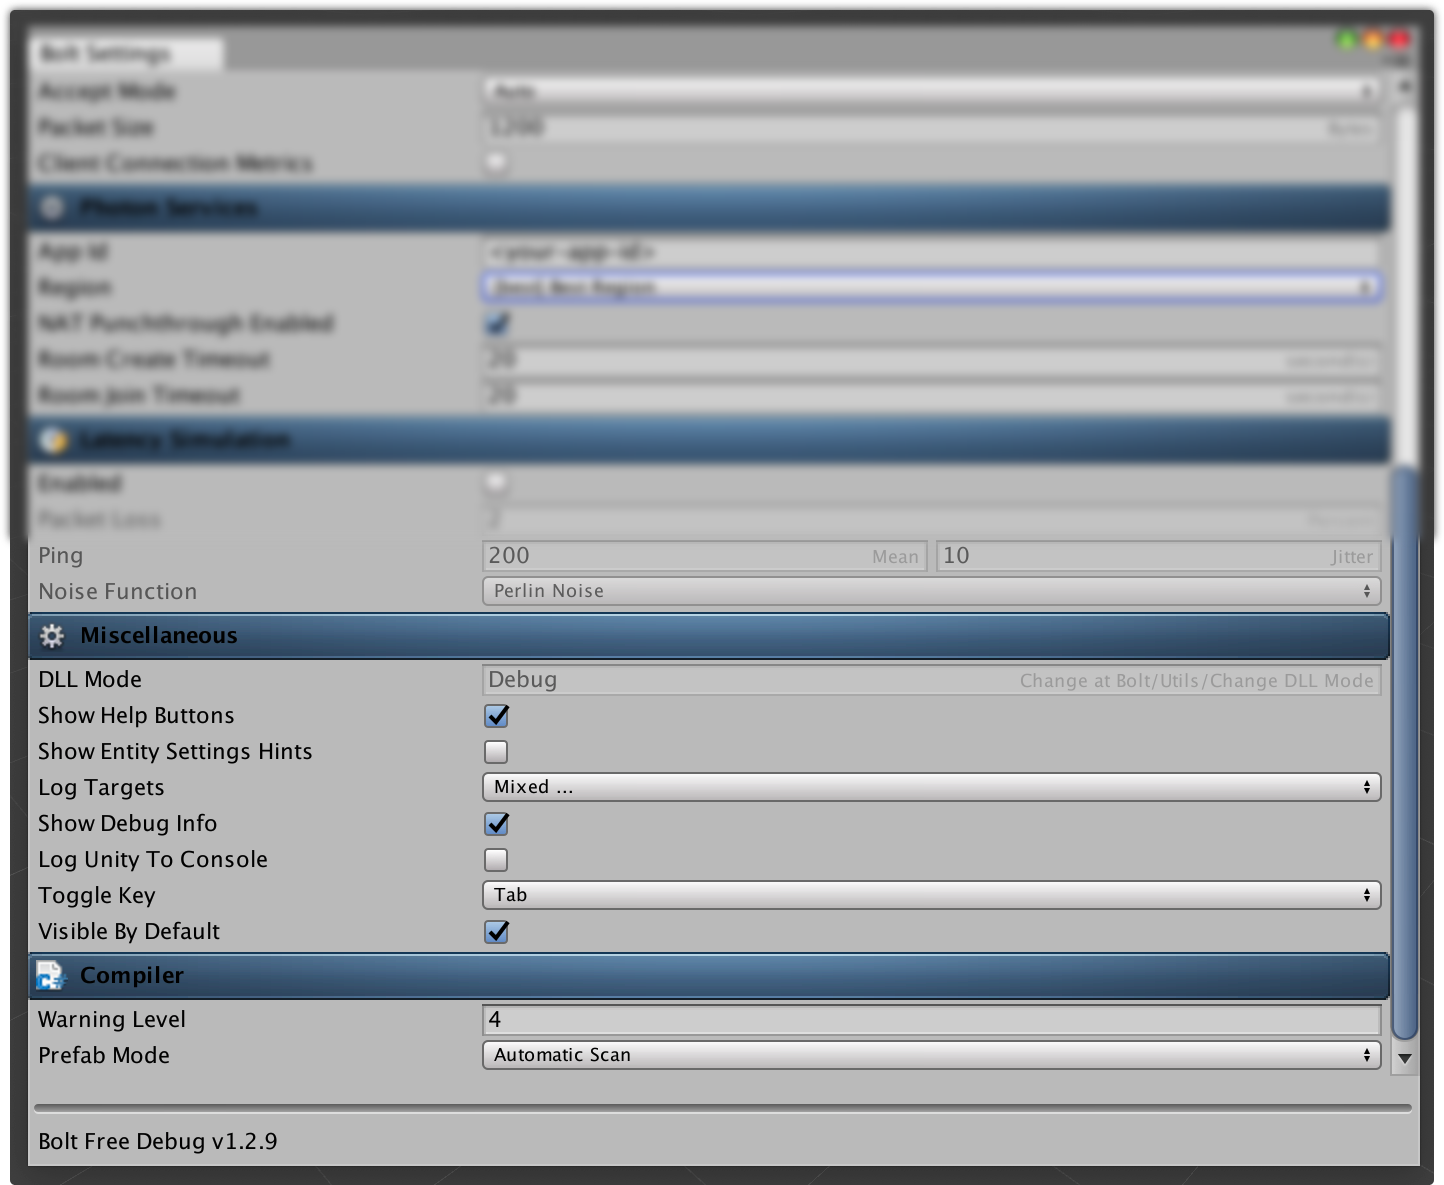
Most of the settings here we can ignore for now, but look at the bottom Miscellaneous settings and make sure that Toggle Key is set to something easily accessible for you and also that Visible By Default is checked.
This tells Bolt to always create an in-game console for you when it starts so that we have an easy way to get information from Bolt.
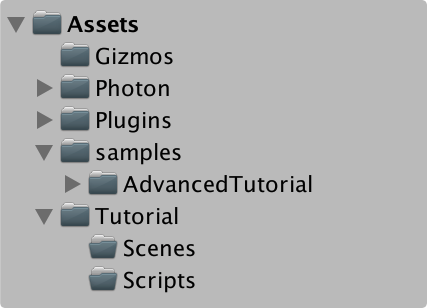
Create a new folder in the root of your project where you will put the game assets.
We will call this folder as Tutorial throughout this tutorial.
Create the following folders inside of your new folder.
- Scripts
- Scenes
Your folder structure should look like this:
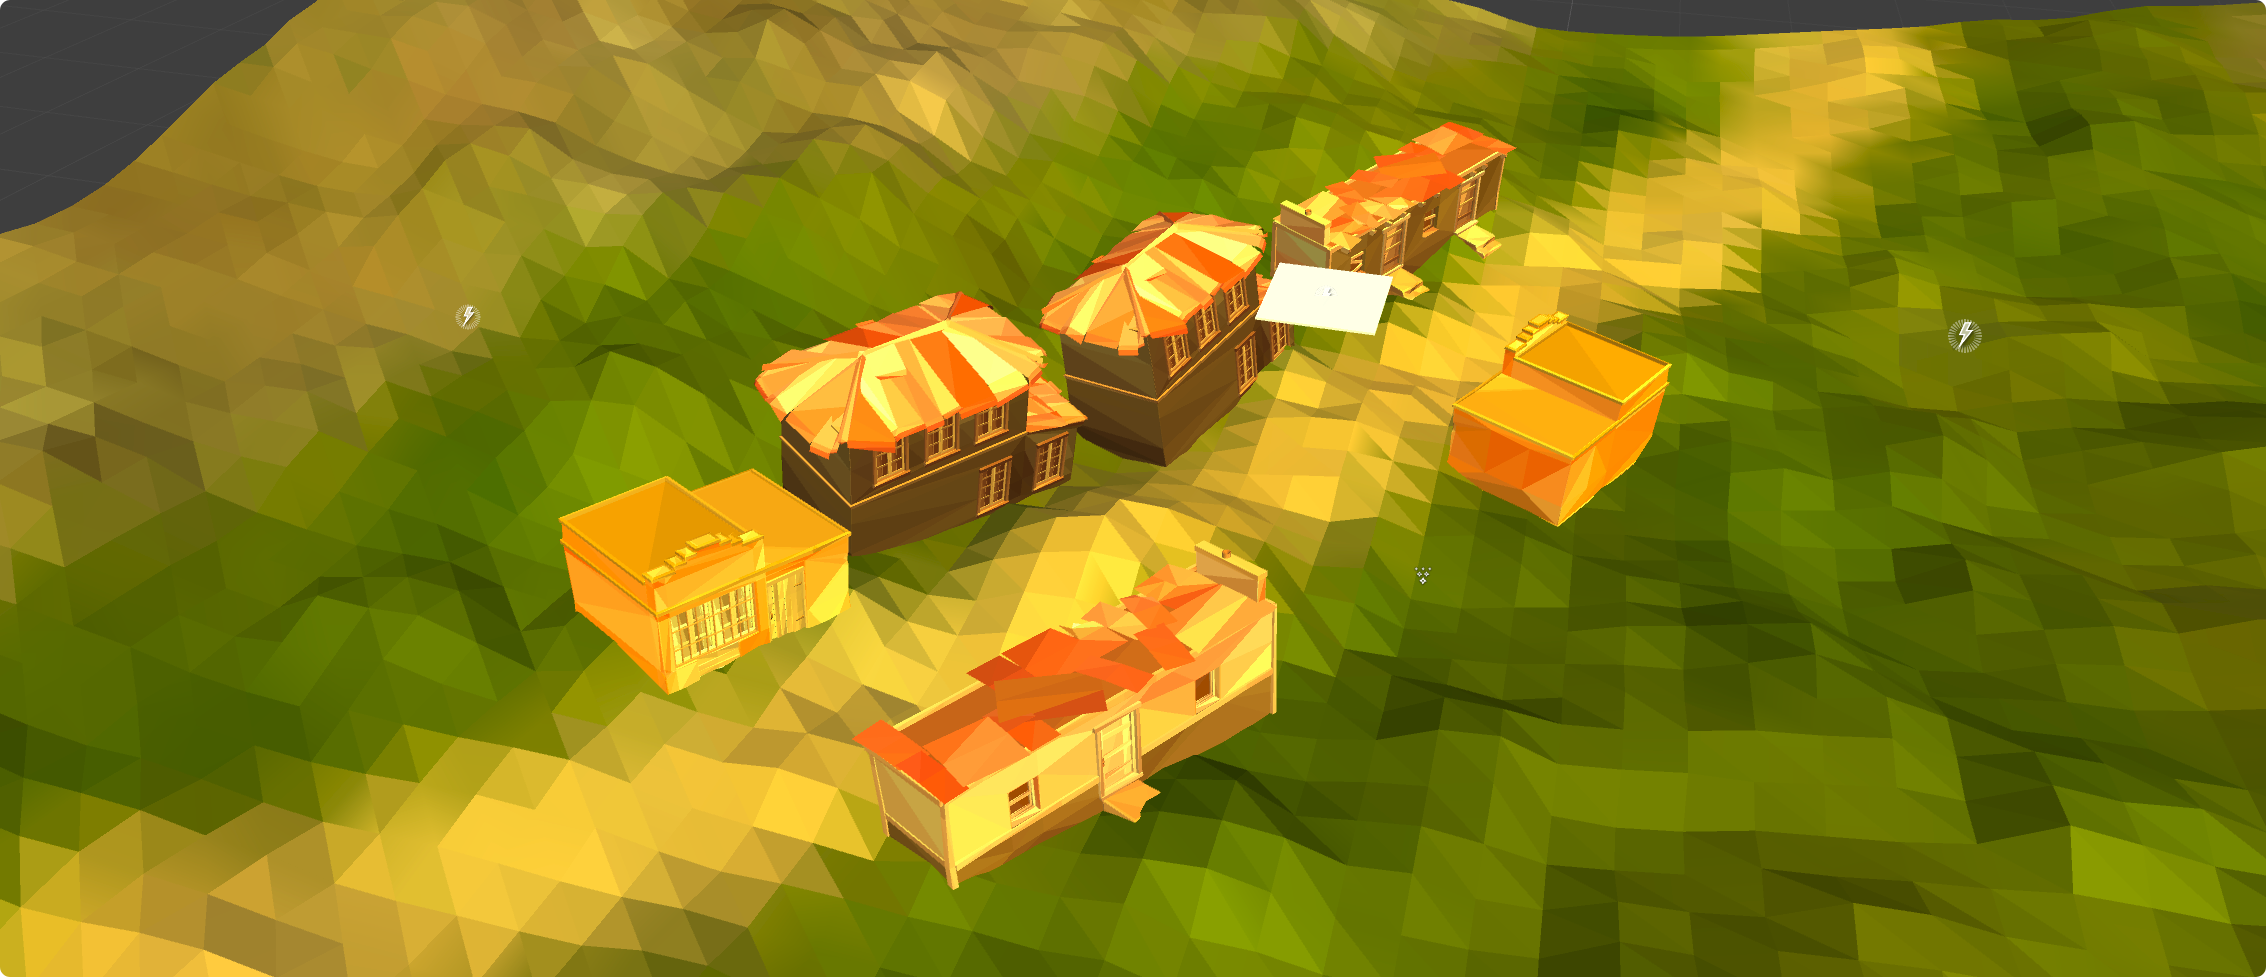
Inside the Assets/samples/AdvancedTutorial/scenes folder there is a preexisting level that we are going to use, you are free to make your own before we continue.
If you chose to use our level, select and duplicate (Edit/Duplicate menu or by pressing the corresponding shortcut) the scene at Assets/samples/AdvancedTutorial/scenes/Level1, this will create a new scene Level2 into the same folder, just move it to your own Tutorial/Scenes folder.
Our level looks like this.
If you've duplicated the Level1 scene, you will also need to include a new Layer on your project.
Open up the Edit/Project Settings/Tags and Layers settings.
Make sure your layer settings match the following ones:

We also need a Menu scene so that we have an easy way of starting our game while developing it.
Bolt comes with a simple script which helps us to do this.
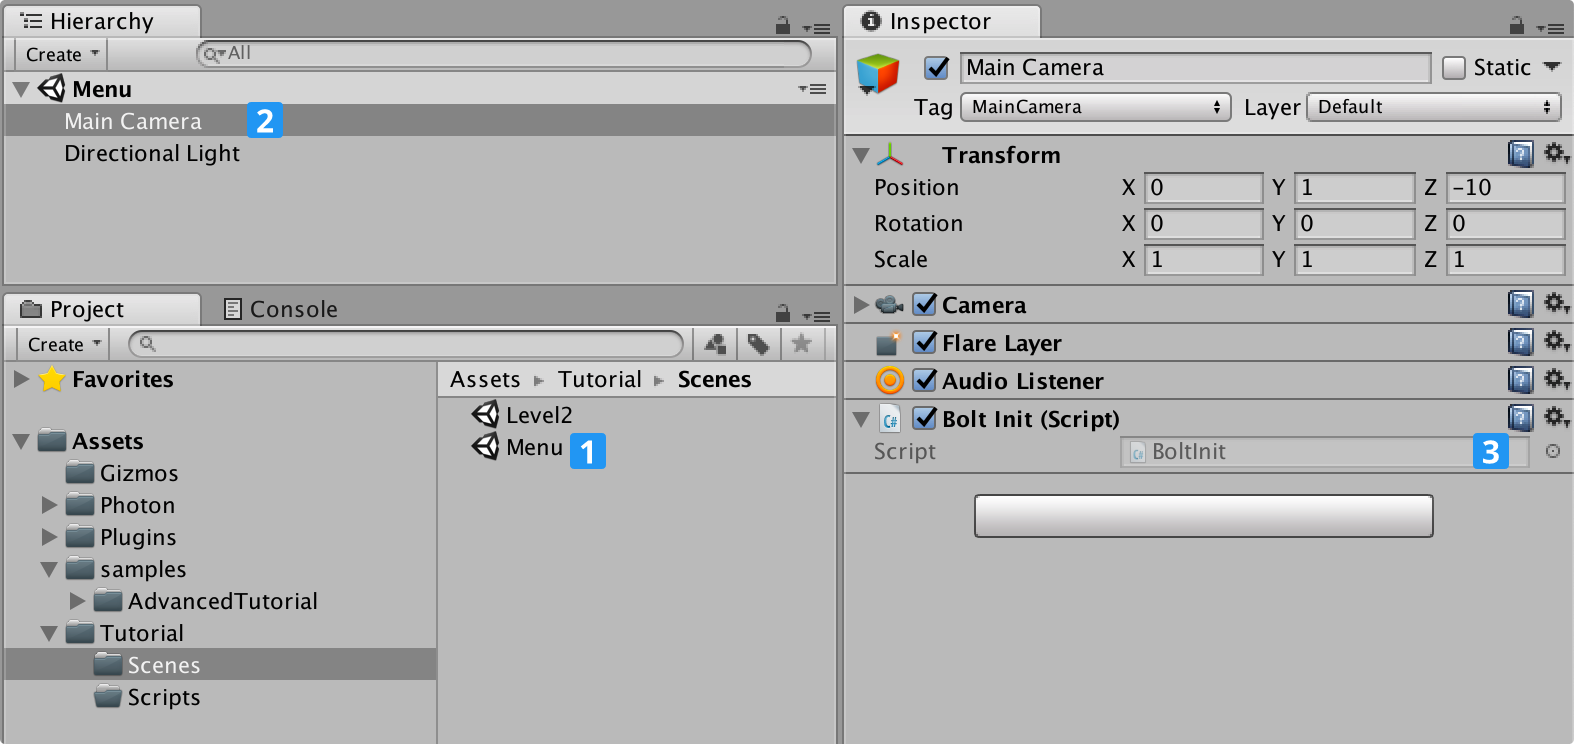
Create a new scene called Menu into your Tutorial/Scenes folder and open it, on the Main Camera game object attach the script found in Assets/sample/BoltInit.cs (you can find the latest version of this scripts on the samples repository), as shown below.
Now that we have the Menu scene and our in-game (Level2) scene, we need to setup these into the Build Settings.
Make sure that Menu comes before Level2.
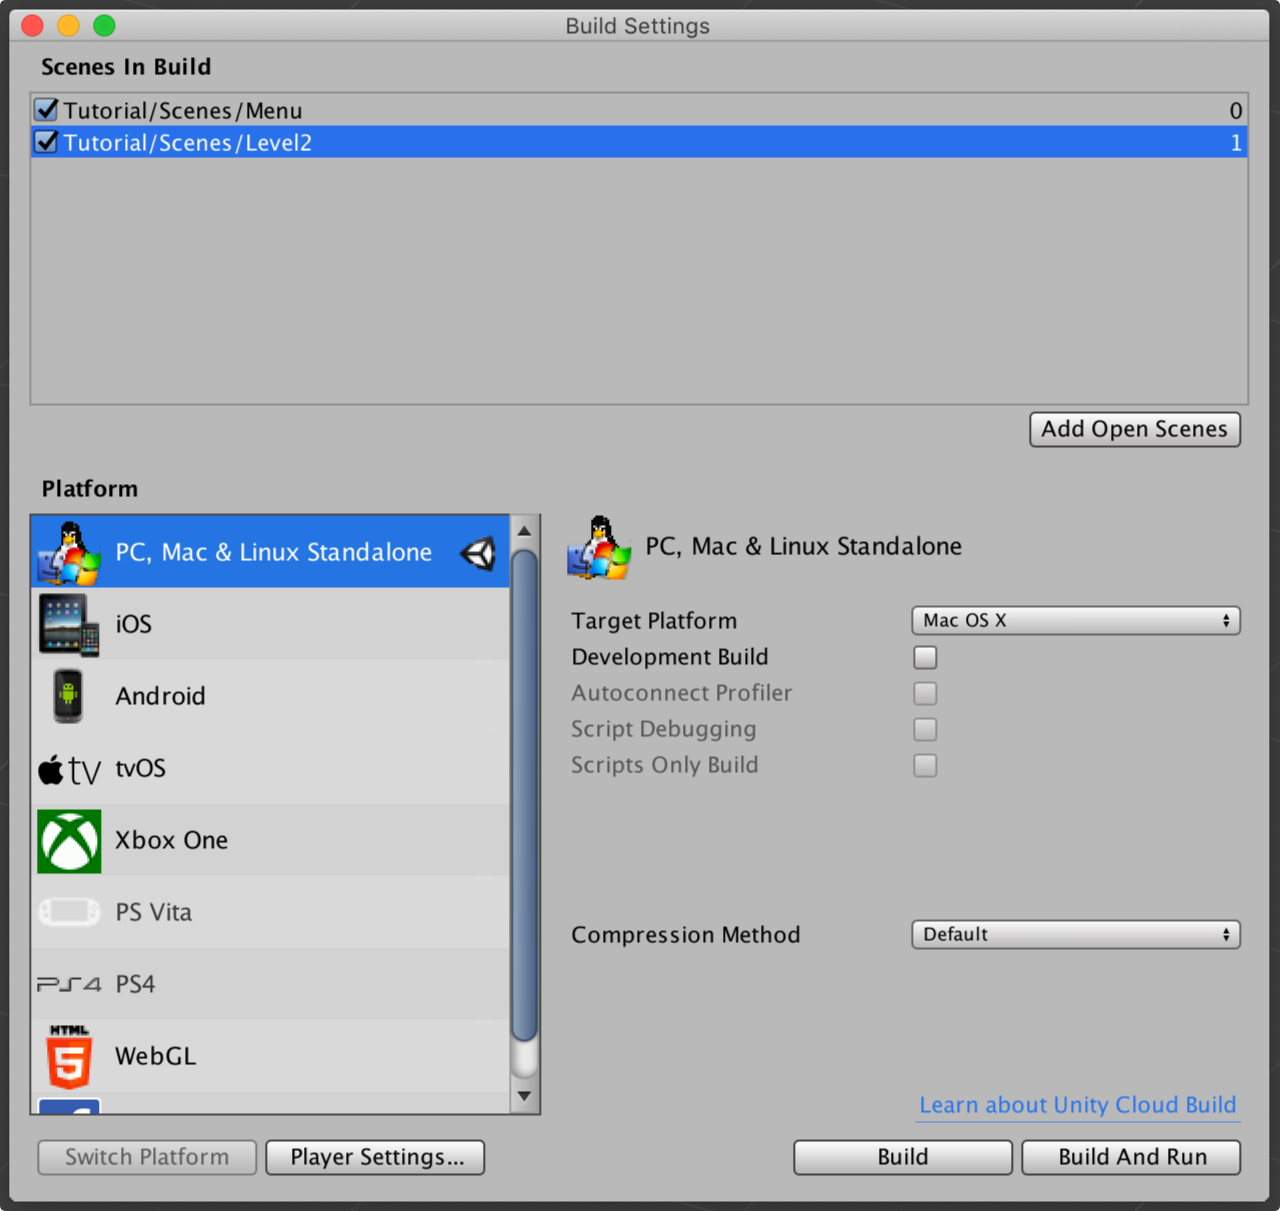
While in the Build Settings window, click the Player Settings... button.
Under Settings for PC, Mac & Linux Standalone verify that you have the following settings correct.
- Default Is Full Screen - DISABLED
- Default Screen Width - 640
- Default Screen Height - 360
- Run In Background - ENABLED
- Display Resolution Dialog - DISABLED
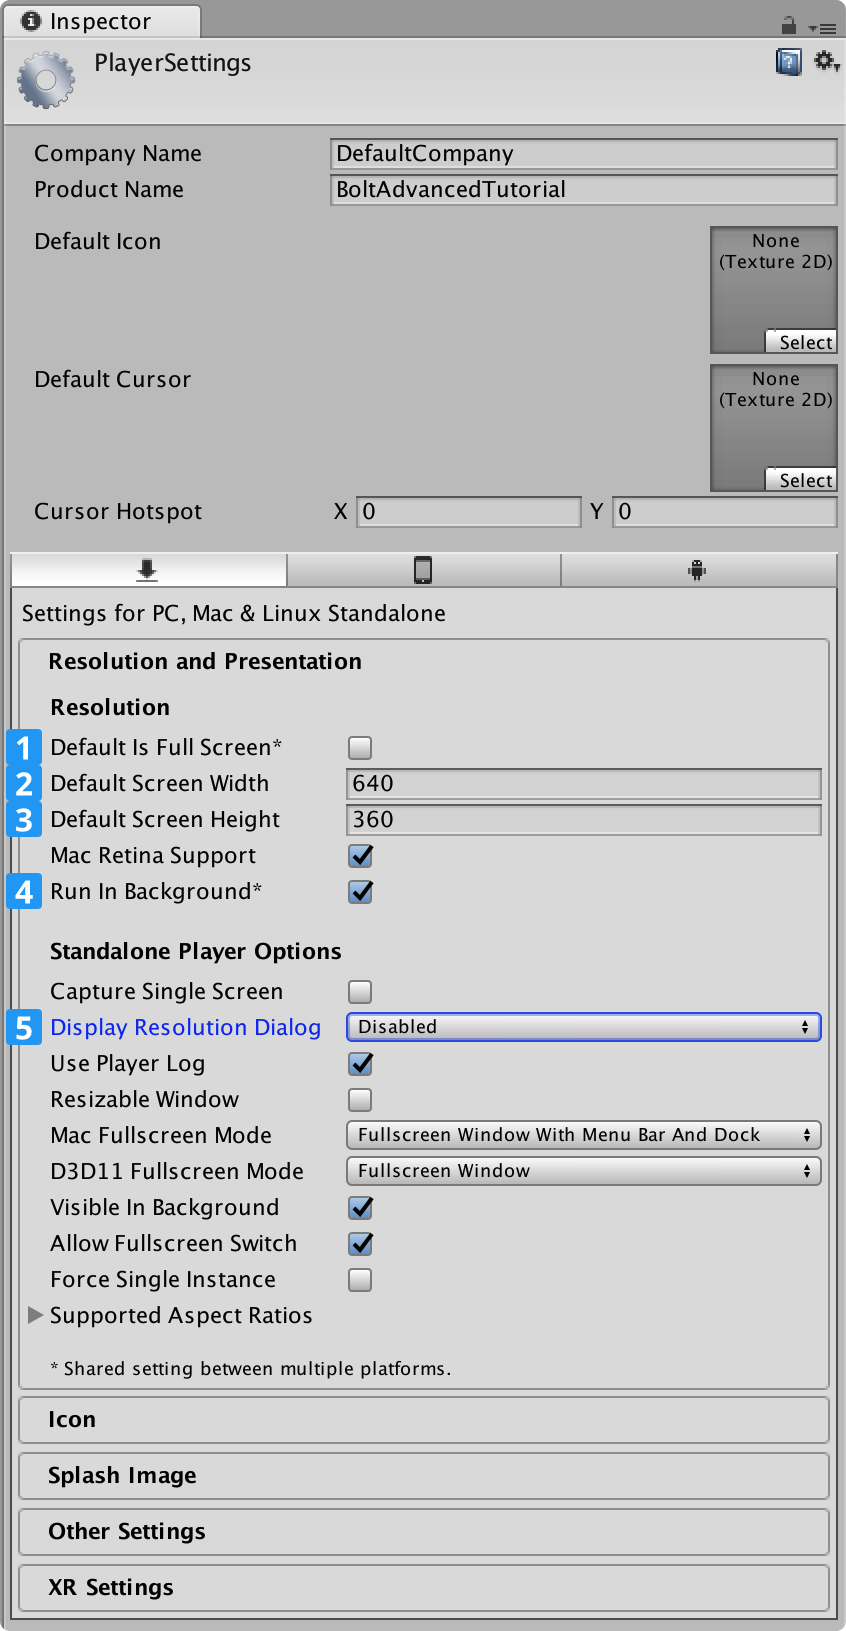
You can obviously pick whatever width/height you want, but to run a couple of clients at the same time, 640:360 is a good resolution.
Before building a standalone, remember to execute the Bolt Compiler running the menu at Bolt/Compile Assembly.
If you build a standalone version of your project and start two copies of it, you will be greeted by the following screen and from there you can run a Server or Client, equal to what you have done on the Overview page.
But you will notice that when you enter the game, no player is spawned, this is an expected behavior as we haven't created any script to handle players yet, since we don't have a camera inside our Level2 scene, all we get is the blue background from the previous scene.
Testing Bolt: The Quick Way
Photon Bolt includes a tool to run several instances of the game at the same time, so you can test with a bunch of clients an get a better feel of your game.
Of course that you could just run by hand new instances of the standalone binary and connect one by one to a server running on your editor, for instance, but this way is much faster.
In order to use the tool, open up the Bolt/Scenes menu, it will show a window that looks something like this.
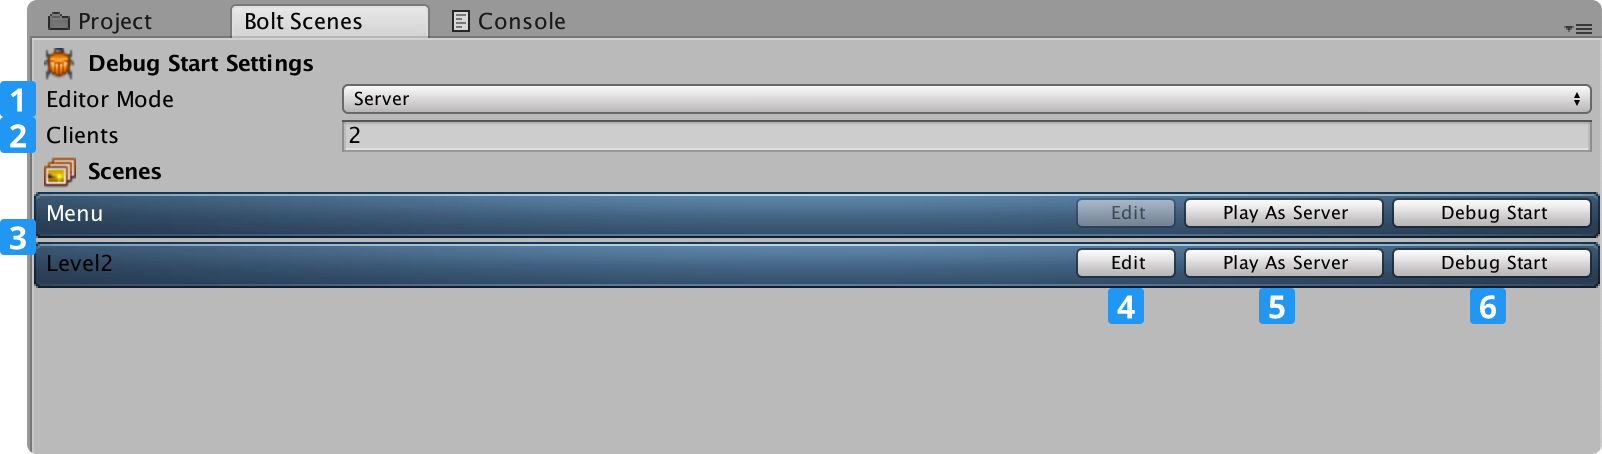
Bolt Scenes window description:
- Type of player to run on the Editor (None, Server, Client);
- Number of clients to run;
- List of available scenes to execute;
Editbutton: loads this scene on Editor;Play As Server: run this scene on the Editor as Server.Debug Start: run the scene on the editor (if Server or Client is selected) and the number of clients as standalone.
Using this window, you can start a server and several clients at once and then have them all connect to each other and load the correct scene, without manually doing anything.
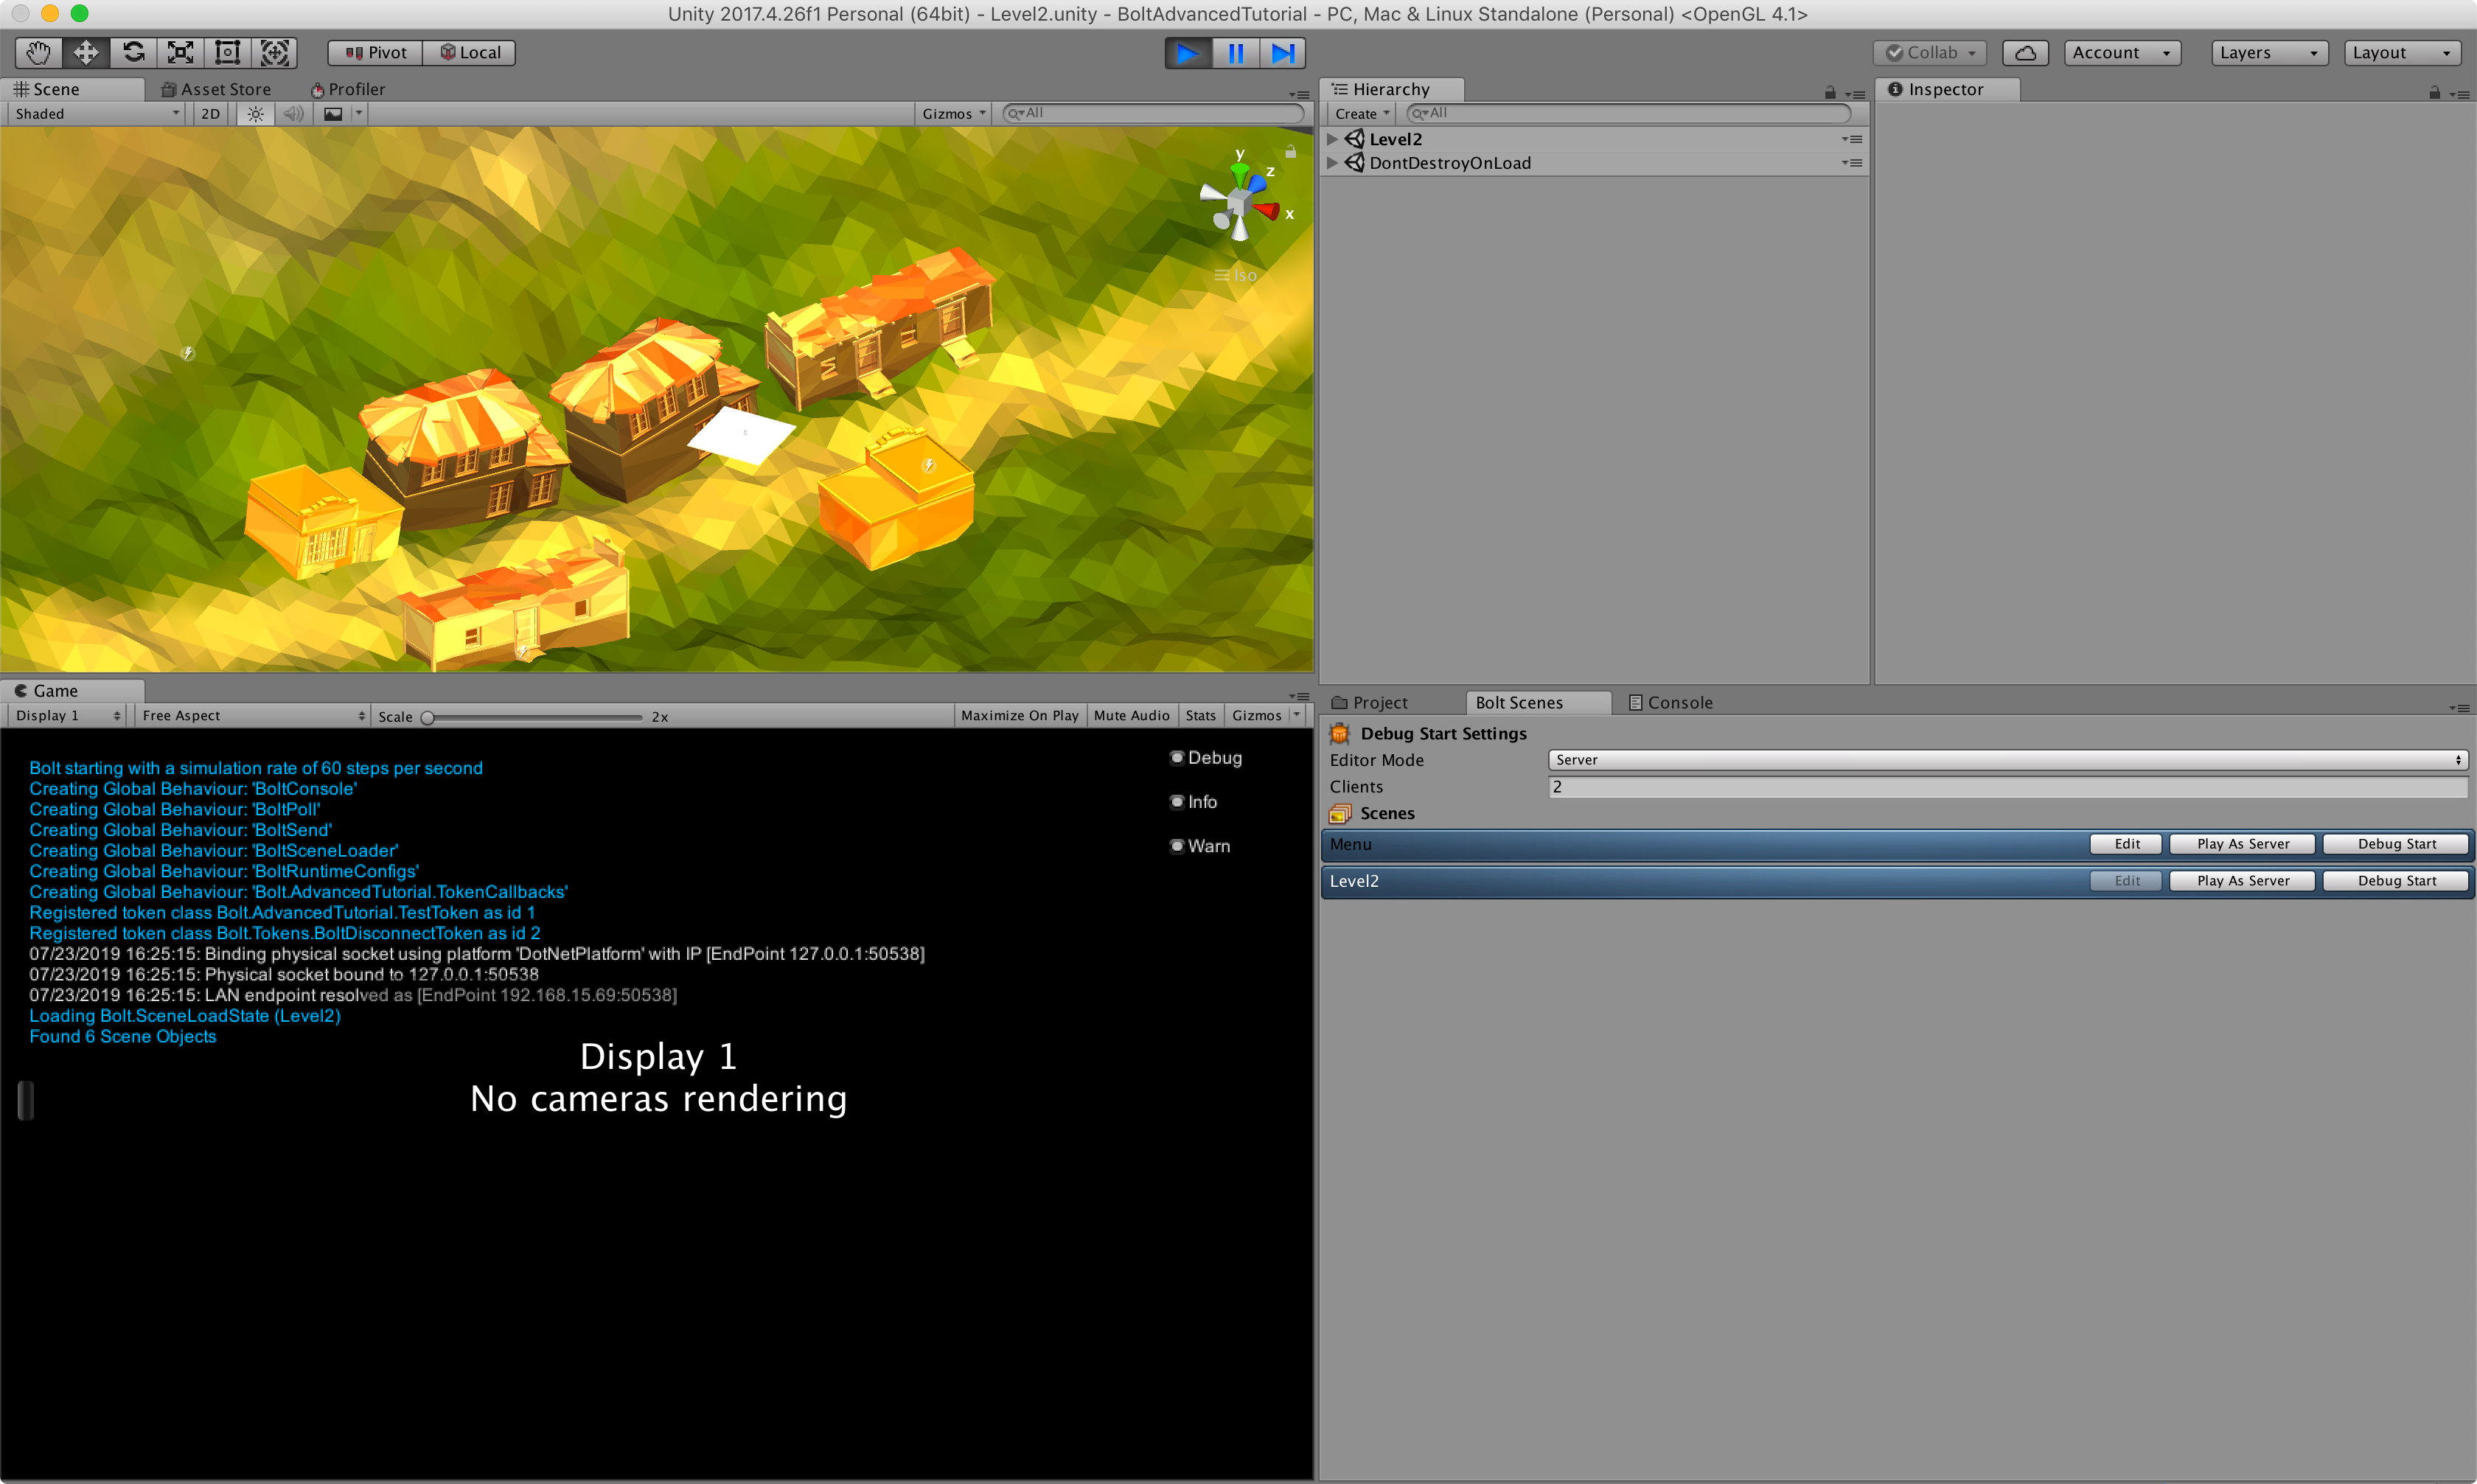
The button Play As Server starts the selected scene as a Bolt server, this gives a quick and easy way of testing features when developing.
Below you can see the server running inside of the editor after pressing Play As Server.
The most useful option on the Bolt Scenes window can be found at the Debug Start button. By pressing it, Bolt will build, run and connect the number of clients signaled on the options, automagically.
This is handy when you want to test your game on a multiplayer scenario but don't want to waste time preparing the clients, as this may need to be executed several time while developing the game.
Below you can see the Debut Start in action:

That was all for this chapter, in the next one we will start developing code for our game.
Back to top