サンプルメニューのカスタマイズ
はじめに
サンプルメニューはSDKにバンドルされていて、独自メニューを作成するための出発点として使用できます。ただし、アップグレード毎に置換されてしまうため、修正が上書きされないようにするためにいくつか注意が必要です。
サンプルメニューは、Samplesフォルダーにあるメニュープレハブを含むシーンです。メニュープレハブには、各画面のプレハブがあります。
新しいシーンの追加
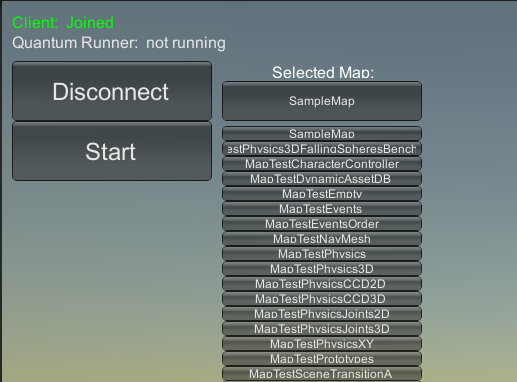
シーン選択画面を機能させるには、利用可能なシーンの情報をメニューに伝える必要があります。
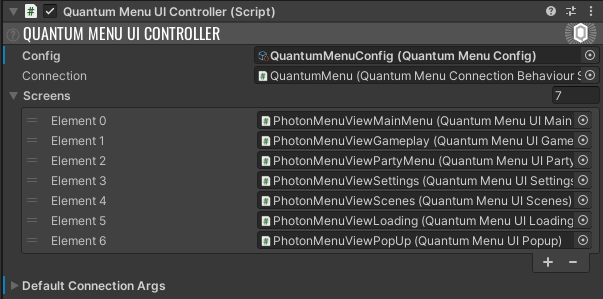
QuantumMenuConfigアセットを作成/選択し、QuantumMenuUIControllerスクリプト(サンプルメニューシーンとQuantumMenuプレハブの一部)に割り当ててください。
メニューで選択できるシーンを追加するための最初のステップは、QuantumGameSceneのようにQuantumマップを持つUnityシーンを用意することです。
そのシーンを使用して、QuantumMenuConfigアセットのAvailableScenesリストに新しい要素を設定します。
シーンをUnityのBuildSettingsに追加することも忘れないようにしてください。
| 名称 | 説明 |
|---|---|
| Name | 表示されるシーン名です。 |
| Preview | シーンのプレビューとして表示されるテクスチャ(例:QuantumMenuSpriteEmpty)をドラッグ&ドロップします。 |
| Map | シーンで使用されるQuantumマップアセットをドラッグ&ドロップします。 |
| SystemsConfig | ゲーム開始時にRuntimConfigに追加されるSystemsConfigアセットをドラッグ&ドロップします。 |

このプロセスを自動化するボタンが2つあります。
AddCurrentSceneToAvailableScenes:現在ロードされているシーンを、利用可能なシーンとして追加を試みます。
InitializeAllBuildSettingsScenes:UnityのBuildSettingsにあるすべてのシーンを、利用可能なシーンとして追加を試みます。
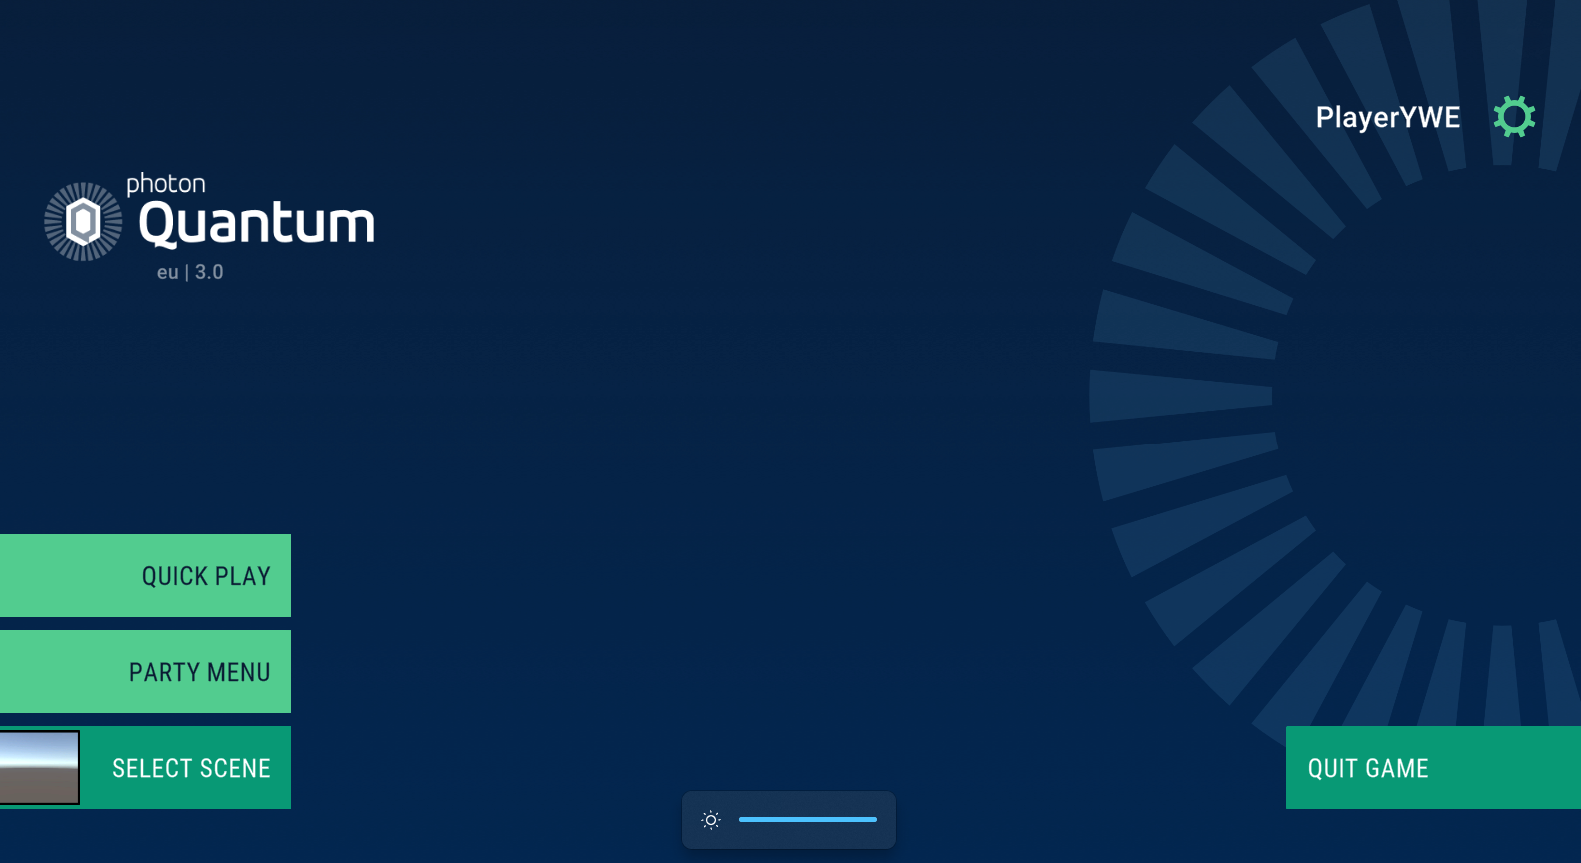
レイアウトの概要
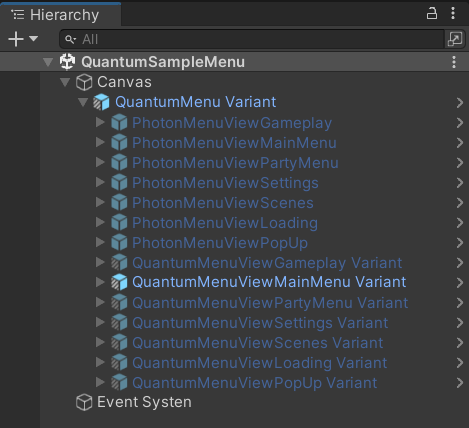
サンプルメニューには、Samplesフォルダーにあるシーンとプレハブが含まれます。このプレハブはすべての画面のプレハブを包含していて、個別画面を参照するメニュー基本クラスで構成されています。各画面はQuantumMenuUIScreenを継承していて、表示/非表示時にアニメーションを組み込む機能などの様々な機能を提供しています。
メニューのカスタマイズ
このセクションでは、メニューを修正する方法をいくつか提案します。各方法には利点と欠点があります。
プロトタイピング
QuantumMenuプレハブを直接変更することが、最も簡単な方法です。ただし、すべての変更はQuantum SDKのアップグレードで失われる可能性があります。このオプションは、実験やプロトタイピングにのみ使用することを推奨します。
プレハブバリアント
カスタマイズ性とアップグレード可能性との間の良い着地点として、QuantumMenuのプレハブバリアントを作成することを推奨します。また、クラスに新しいメンバーを追加する必要がある場合(例:QuantumMenuUIMain)には、部分クラスを作成するのも実用的な選択です。
プレハブの作成
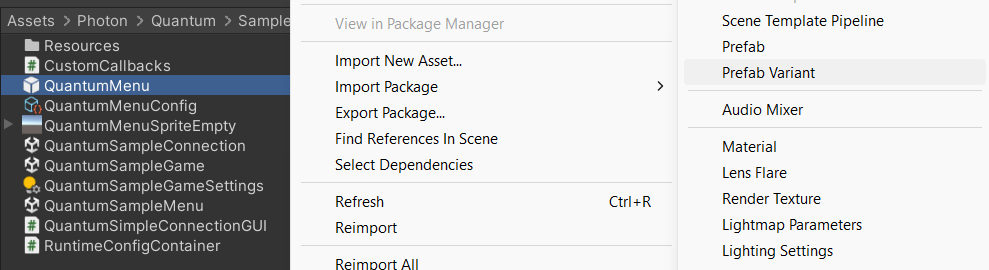
プレハブバリアントを作成するために、Assets/Photon/Quantum/Samplesフォルダーから対象のプレハブを探します。それを右クリックして、Create > Prefab Variantを選択します。
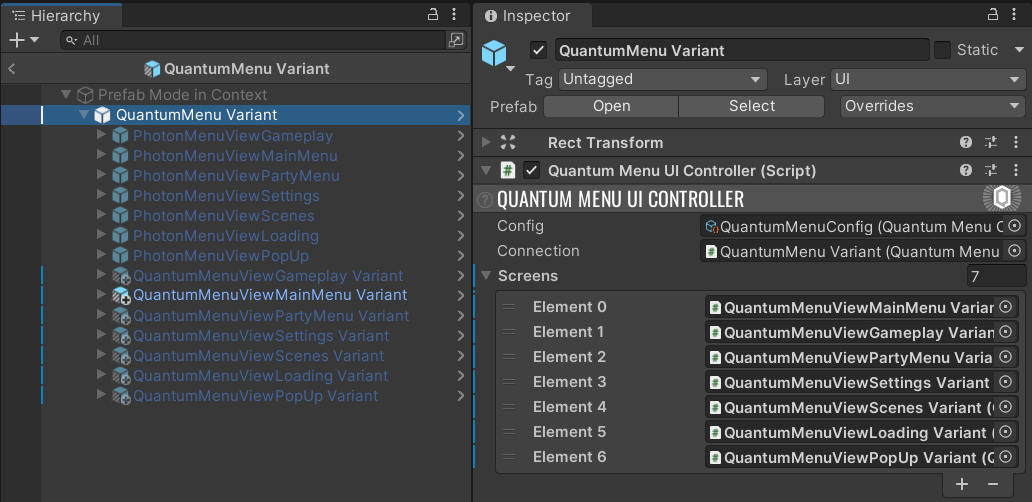
プレハブは入れ子になっているため、QuantumMenu Variant内の各画面のバリアントを作成する必要があります。その後、QuantumMenuUiControllerの画面の参照を変更します。
QuantumMenuScene(またはメニューとして使用される他のシーン)で、元のQuantumMenuプレハブをバリアントに置き換えます。正しく動作させるためには、Canvas内に配置することが重要です。
プレハブの複製
Quantumのアップグレードで変更が失われないようにメニューをカスタマイズするには、QuantumMenuプレハブを複製するのが最も簡単です。ただし、カスタムメニューとサンプル間の繋がりが無くなるため、将来のアップデートは組み込まれなくなります。
画面の構築
QuantumMenuUIScreenを継承すると、カスタム画面からいくつかの便利な情報にアクセスできるようになります。これにはIQuantumMenuConfig・IQuantumMenuConnection・IQuantumMenuConnectArgs・IQuantumMenuUIControllerなどが含まれます。さらに、デフォルトのShow/Hideメソッドも継承します。サンプルメニューのフレームワークを使用した画面構築に関する情報については、Sample Menu APIドキュメントをご覧ください。
スクリーンプラグイン
プラグインのように画面にウィジェットを追加することが可能で、ベース画面にコードを追加することなく、他の画面で同じウィジェットを使用できます。QuantumMenuScreenPluginを継承すると、以下のコードスニペットに示されるように、プラグインがShow()/Hide()の呼び出しを受け取るようになります。PhotonMenuViewGameplay画面で実装されているQuantumMenuScreenPluginPingが使用例です。
C#
public class QuantumMenuScreenPluginFoo : QuantumMenuScreenPlugin {

    public override void Show(QuantumMenuUIScreen screen) {
      base.Show(screen);
    }

    public override void Hide(QuantumMenuUIScreen screen) {
      base.Hide(screen);
    }
}
シンプルな接続
完全に独自のメニューを構築したい場合は、セッションを開始するために必要な手順を理解するための参考に、シンプルなシーンであるQuantumSampleConnectionが使用できます。QuantumSimpleConnectionGUIでは、接続の確立・マップの選択・セッションを開始するために必要な基本手順を確認できます。
RuntimePlayerデータの拡張
デフォルトでRuntimePlayerクラスには、プロトタイピングプロセスを促進する便利な共通フィールドとして、メニューで設定したプレイヤー名を格納するPlayerNicknameと、特定のプレイヤーキャラクターを表すエンティティプロトタイプの参照PlayerAvatarが含まれます。これらは、シミュレーション開始時に、任意のシステム上でエンティティを作成するために使用できます。
ニックネームは実行時にメニューUIから設定されます。プレイヤーアバターは、コードから設定するか、QuantumMenuゲームオブジェクトのQuantumMenuUIControllerコンポーネントのConnectArgs/RuntimePlayers配列に直接設定します。
プレイヤー固有データを追加して、カスタムメニューのロジックから適切にデータを設定するには、以下の手順に従ってください。
RuntimePlayer.User.csファイルに関連するフィールドを追加します。
C#
namespace Quantum
{
  using Photon.Deterministic;

  public partial class RuntimePlayer
  {
    public int TeamId;
  }
}
QuantumMenuConnectionBehaviourSDKを継承した新しいクラスを作成し、ConnectAsyncInternal()メソッドをオーバーライドして、次のように関連データを追加します。
C#
namespace Quantum
{
  using Quantum.Menu;
  using System.Threading.Tasks;

  public class CustomQuantumConnectionBehaviour : QuantumMenuConnectionBehaviourSDK
  {
    protected override Task<ConnectResult> ConnectAsyncInternal(QuantumMenuConnectArgs connectArgs)
    {
      connectArgs.RuntimePlayers[0].TeamId = 1; // ここにチームIDを設定するゲーム固有ロジックを追加する
      return base.ConnectAsyncInternal(connectArgs);
    }
  }
}
- メニューシーンで、
QuantumMenuオブジェクトのQuantumMenuConnectionBehaviourSDKをCustomQuantumConnectionBehaviourに置き換えます。前のスクリプトと同じOnProgressコールバックを忘れずに追加し直してください。 - 同オブジェクトの
QuantumMenuUIControllerのConnectionフィールドに、新しく追加されたコンポーネントの参照を設定します。