Bolt 101 - Wizard Window
Welcome to the Getting Started of Bolt. Here we will go through the first steps to get your project up and running Bolt in no time. Please download/import the package.
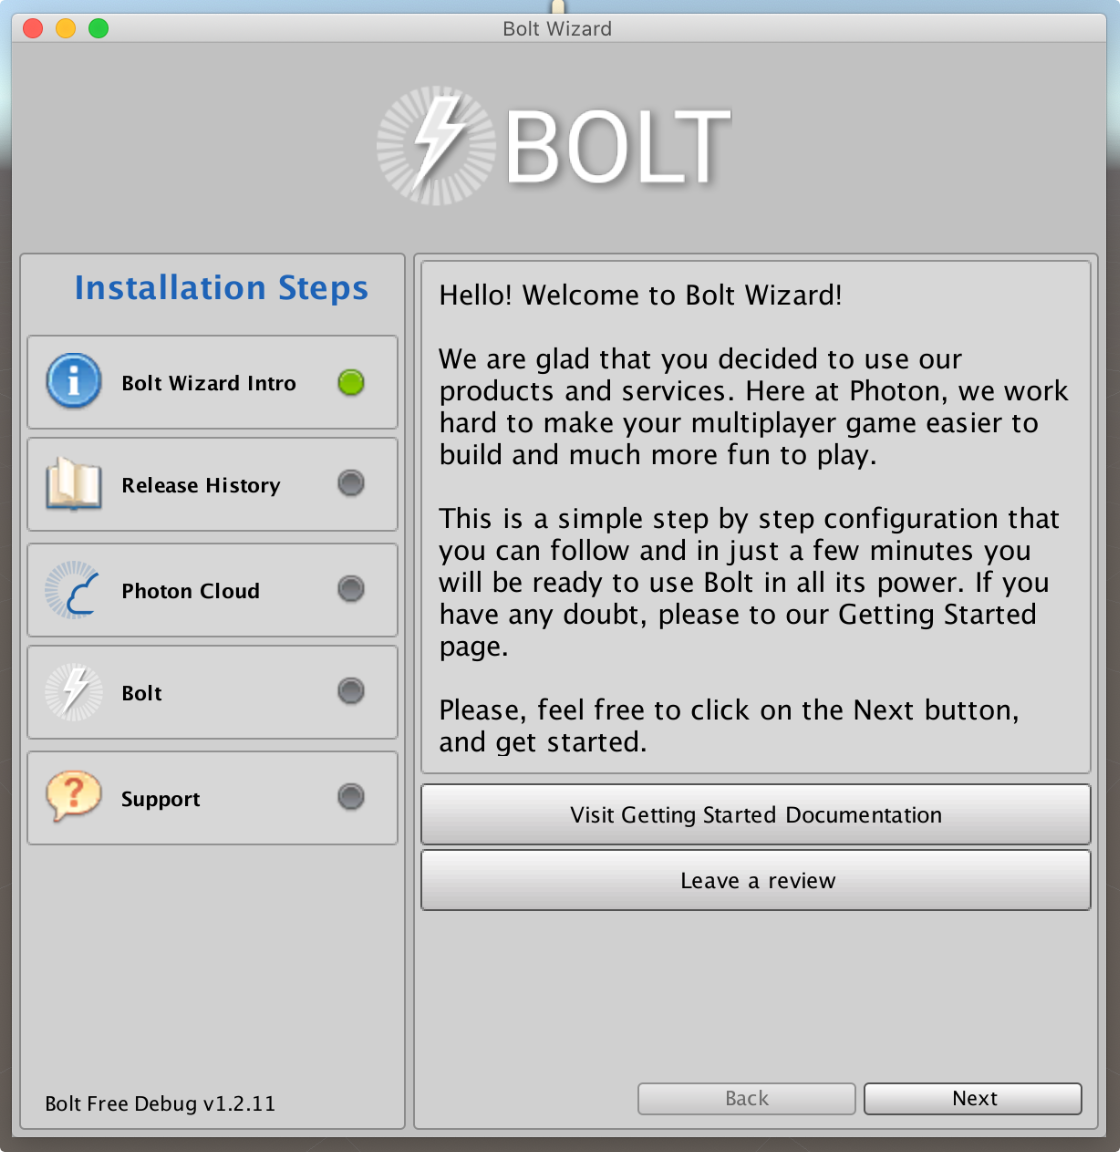
After the import is completed, you will be greeted by the Bolt Wizard window, as shown below. This first screen is just a warm welcome from the Bolt Team, explaining that we will go through some steps to get Bolt properly configured. If the Wizard window did not show up, please go to Bolt/Wizard.
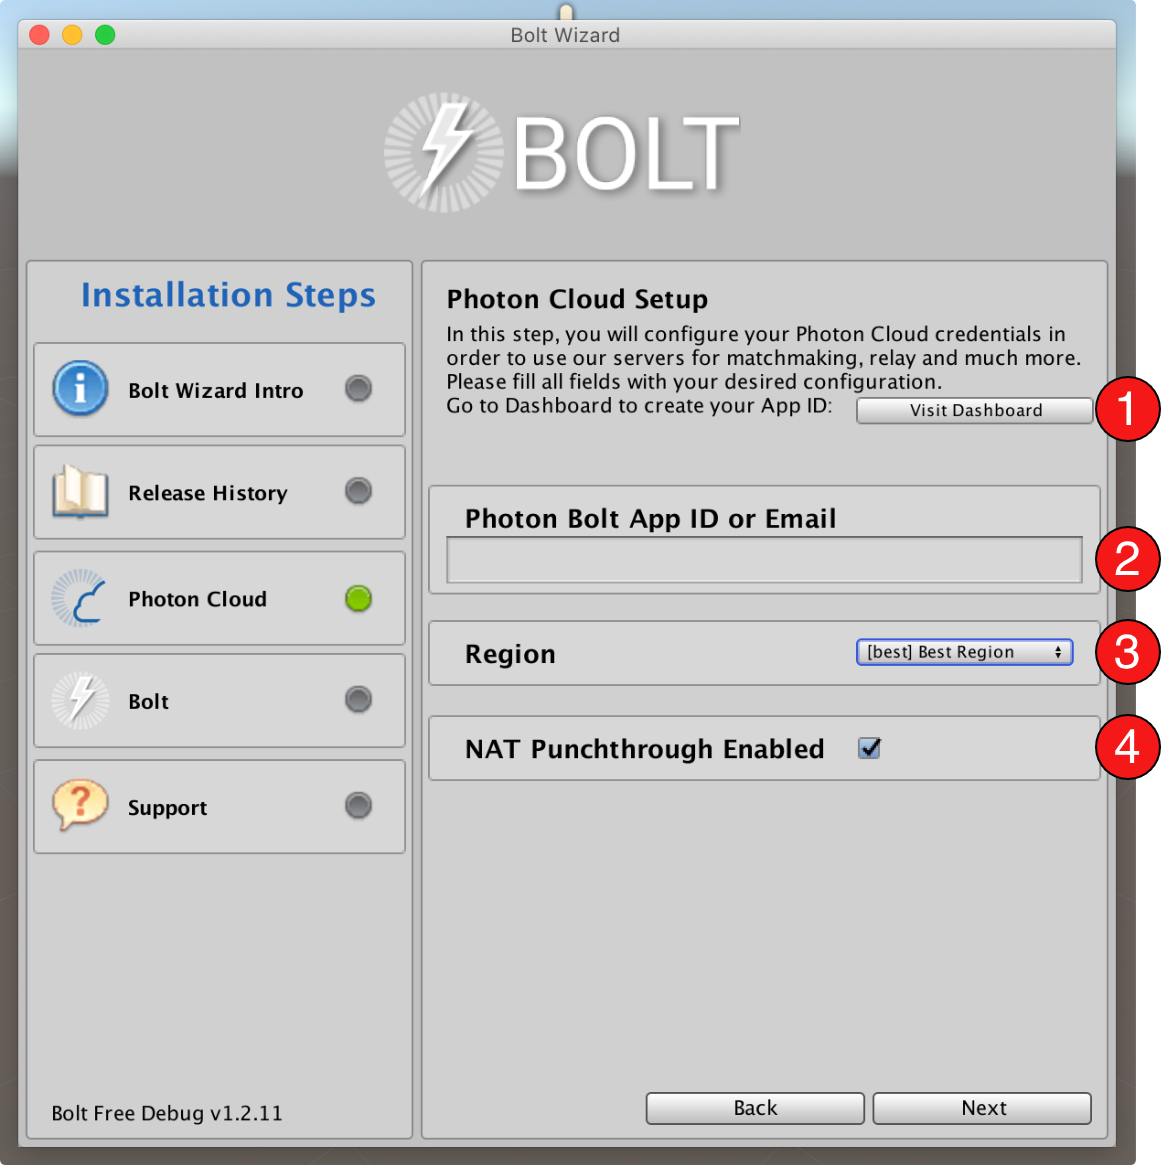
In the next step, we need to configure your Photon Cloud credentials in order to connect with Photon Servers and use Bolt properly. First, you will need a valid Application ID (AppID), that can created using our Dashboard page. Just fill all fields with your desired configuration, and you should be good to continue:
- Shortcut to
Dashboardpage; - The field for your
Application ID; - Select your desired
Region; - Select if you want the
NAT punchthroughbehavior enabled.
One really important aspect that you need to consider is the Region that your game will be using.
By default, Bolt is configured to connect to the Best Region, so when you run your Game Server, it will connect to the nearest region of where it is deployed, this can be a local machine or a cloud computer.
This behavior is expected as it grants as lower delay as possible among the peers, but this also determines where your game session will be published.
If your game session is published on a certain region A, and your player connects to region B, it will never receive any information about the running game.
So, for testing purposes, you can choose a Region directly on the Wizard window or later, you can go to the Bolt Settings window (Bolt/Settings menu), and choose a fixed region on the Photon Services section at the Region field.
You can choose any arbitrary region (read more about the Photon Regions here) but we suggest to be one near the region you server will be running.
This way, both your game server and your player will connect to the same region, making sure they can connect properly.
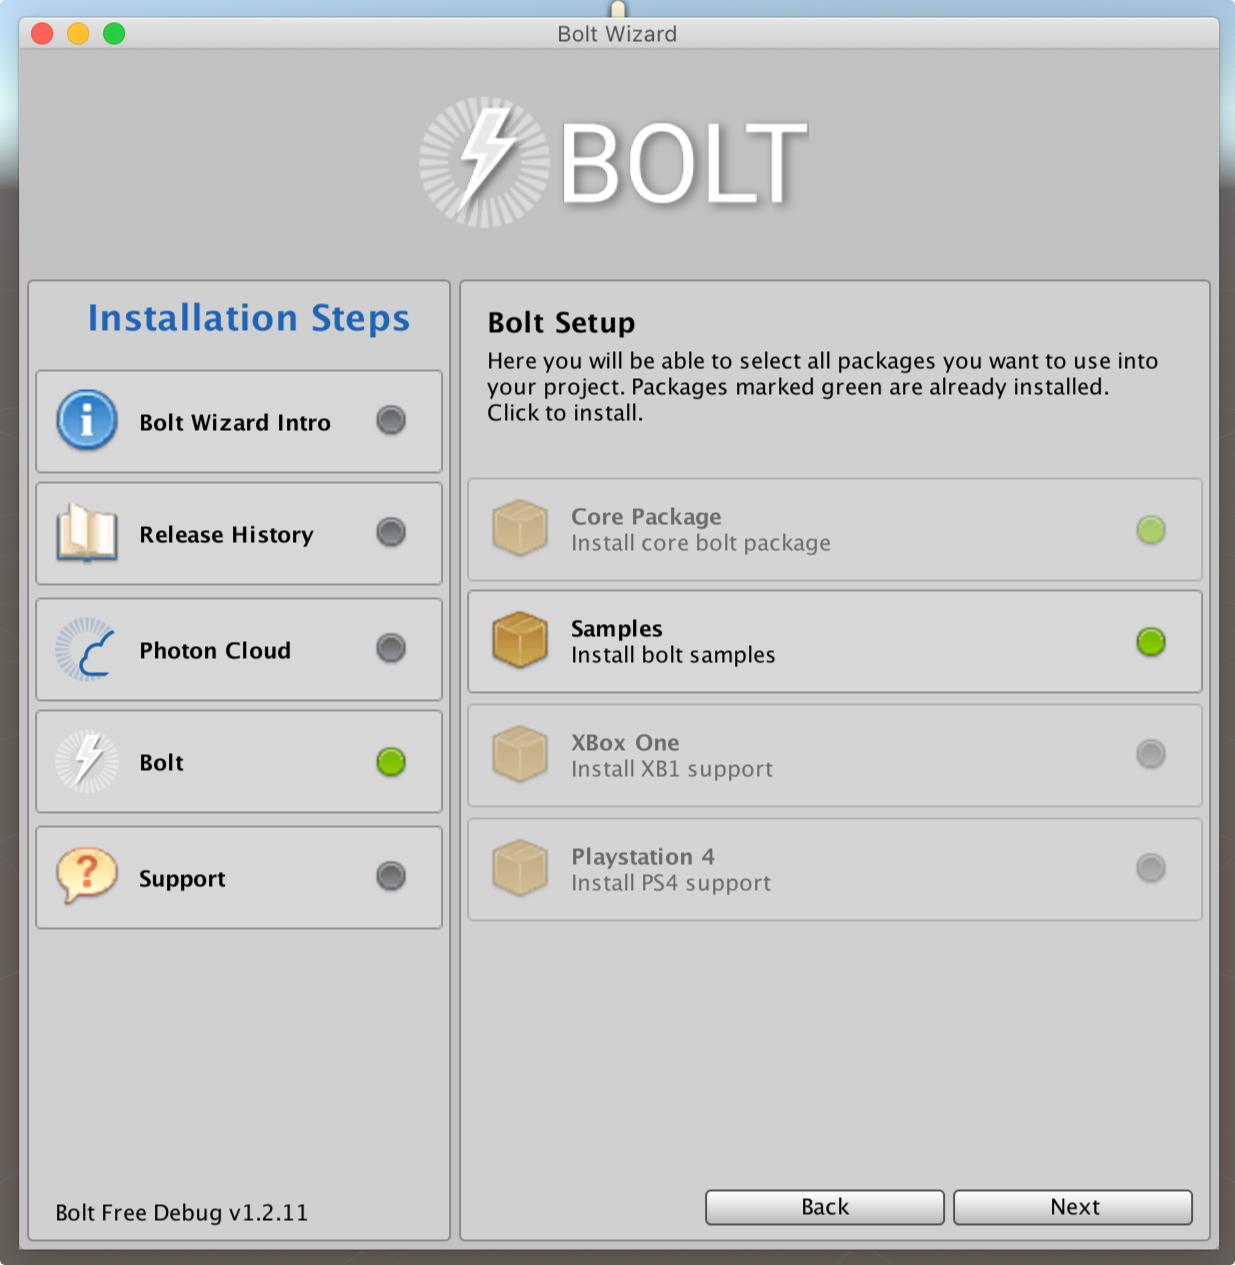
Next, we will install all necessary packages to make your installation ready to use.
Bolt comes with some example packages, so you can headstart without writing any code.
The packages are:
- Core: main
Boltpackage, this is the only required bundle to run the library. On the latest version, this package is already imported by default. - Samples:: contain examples with different scenarios showing some features of
Bolt;
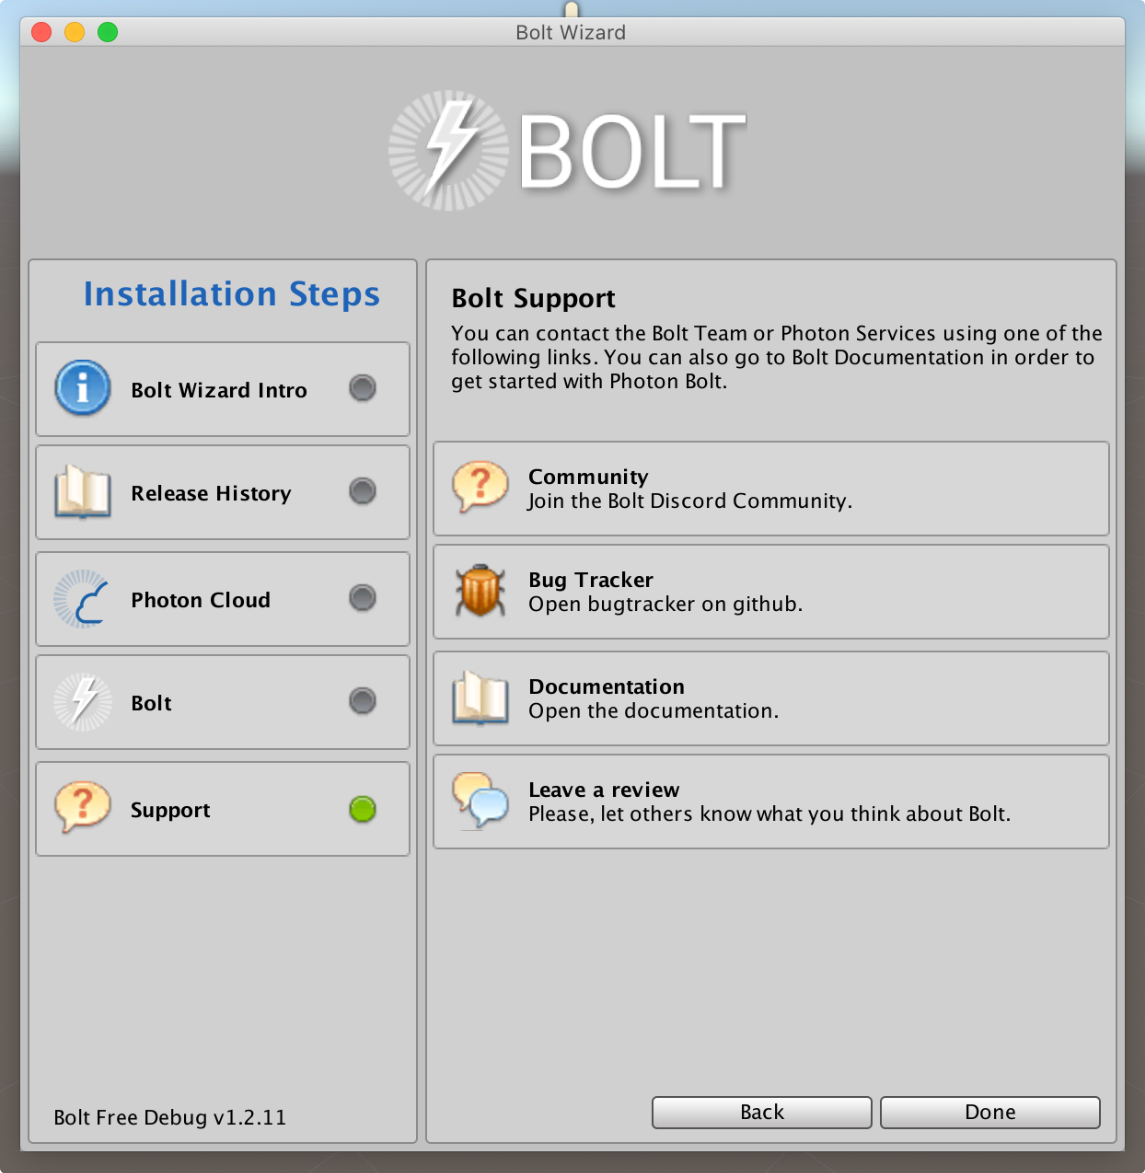
Great! Now you are ready to use Bolt on all its functionalities. Welcome to the family! On the latest step, you will find links to our Community, Bug Tracker, and this documentation.
In the next chapter, we will start using Bolt and create a simple networked game.
Last updated on
Back to top