Quantum 105 - Multiplayer
Overview
At this point the game is playable in single player mode by entering play mode in the QuantumGameScene scene. Turning gameplay like this into a high quality multiplayer game is usually quite the challenge. But as you can see this is already the last section of this tutorial. So how will we go about adding multiplayer?
The answer is that multiplayer support has already been there all along! With Quantum you simply focus on writing gameplay code and the Quantum engine turns it into a multiplayer game! All that is left is to hook up a menu scene quickly that allows players to join the game online.
Menu Scene
Quantum comes with a built-in sample menu for prototyping. This menu can be extracted by double-clicking the Quantum-Menu Unity package in the Photon/QuantumMenu folder. Extract the package into the project.
Open the QuantumSampleMenu scene in the Photon/QuantumMenu folder. The menu scene is a sample scene that comes with all functionality needed to run a Quantum game online including a lobby system. As you open the scene a popup will appear asking to import TMP Essentials. Press the button to import TMP essentials into your project.
Once the import is finished go to File > Save As and save the scene as Menu in the QuantumUser/Scenes folder to create a copy.
In this example we will only use the Quick Play functionality of the menu.
Configuring the Menu
The menu can be configured in the Canvas/QuantumMenu GameObject.
Start by expanding the Default Connection Args field and adding a player to Runtime Players and drag in the prototype into the Player Avatar field again. This is needed again because the configuration before, inside the game scene, is only used when running the game in an offline session.
The Server Settings and SessionConfig are currently not populated. The default values in Assets/QuantumUser/Resources are used. When creating copies of the config files at a different location they need to be manually linked.
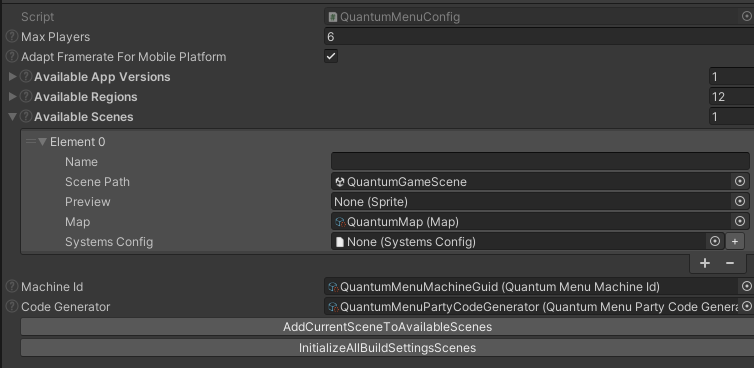
Next, navigate to the QuantumMenuConfig asset (linked in the Quantum Menu GameObject inspector).
Add a new entry to the Available Scene list and link the QuantumGameScene and the QuantumMap asset that belongs to the scene (QuantumUser/Resources/QuantumMap)
`
You can also configure available regions and app versions in the menu config.
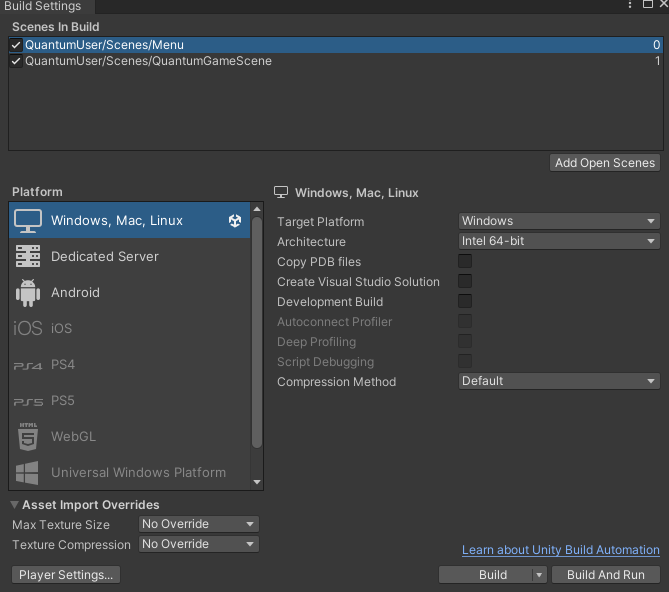
The Quantum Menu loads the game scene using Unity's scene management. For that it needs to be registered in the build settings.Open the Build Settings and add the Menu scene to the Scenes In Build list. Move it on top of the list in front of the QuantumSampleGame scene.
Online Play
Next, create a game build to test the game online.
First, go to Edit > ProjectSettings > Player > Resolution and Presentation and change Fullscreen Mode to Windowed. Then go to File > Build Settings and create a build.
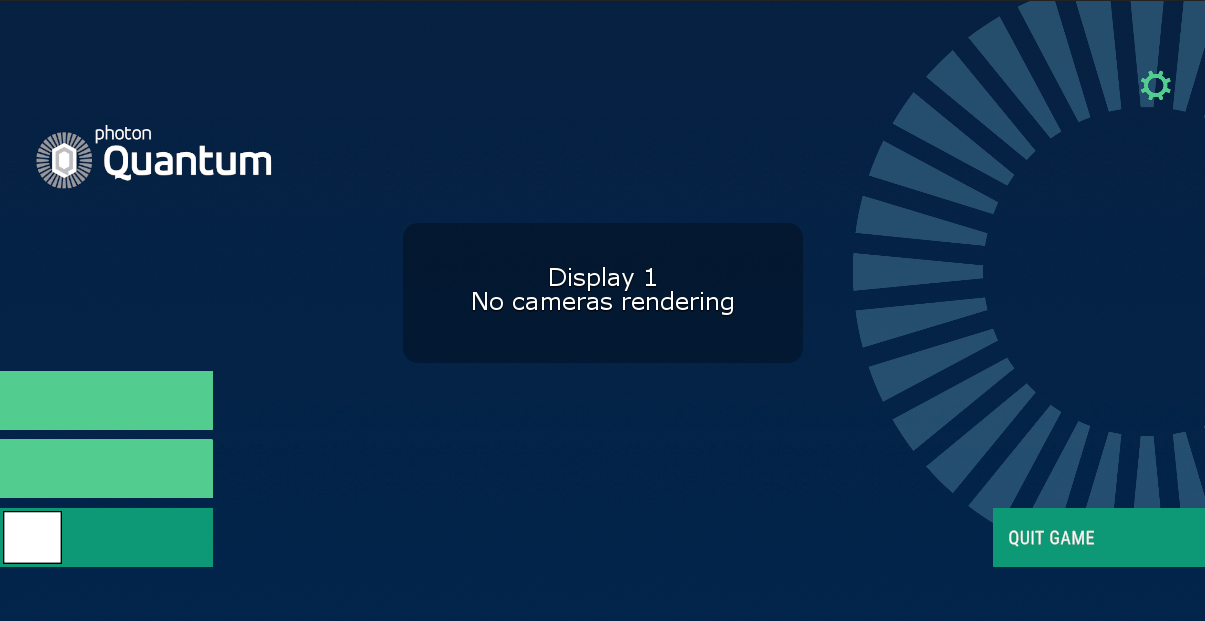
Start the built application and enter play mode in the editor to start 2 instances of the game. Press Quick Play. Each client joins the game scene and is in control of their respective avatars/entities.
Note: Even though the clients are connected to a region far away (from Germany to USA East in the gif) the gameplay still feels perfectly responsive and there is no indication of lag visible on the clients. This is made possible through the deterministic rollback network architecture of Quantum.
Back to top