Quantum 101 - Getting Started
Overview
Quantum 101 explains the initial steps required to setup a Quantum project.
Step 0 - Create an Account
Before starting anything else, create a Photon account HERE.
Step 1 - Download SDK
To start using Quantum, download the latest SDK from the SDK & Release Notes page.
The requirements to run the SDK are:
- Minimum Unity version: 2021.3
- Visual Studio 2022 or JetBrains Rider
- Microsoft Windows 10 or Mac OS X
- C# 7.3 and .Net Standard 2.0 or 2.1
NOTE: Only final (f) versions and the latest nightly release candidates (RCxN) are available to download.
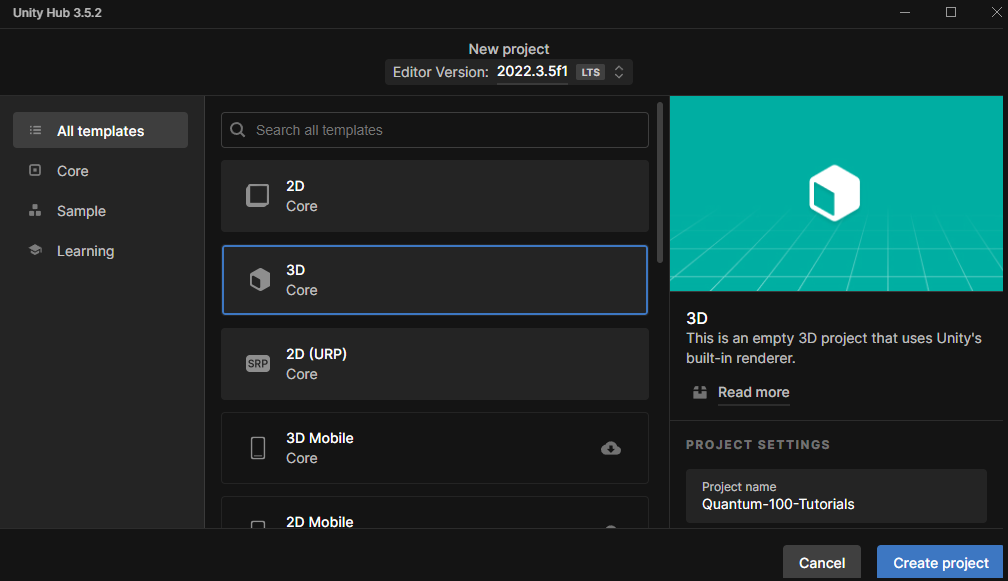
Step 2 - Create an Empty Project
Create an empty project.
N.B.: Quantum is agnostic to the Rendering Pipeline chosen; it works with any of them.
Step 3 - Importing the Quantum SDK
The SDK is provided as a .unitypackage file and can be imported with the Assets > Import Package > Custom Package tool. Simply navigate to the location where the SDK was downloaded and trigger the import.
Step 4 - Quantum Hub
After importing the Quantum SDK, the Quantum Hub window opens. If the window does not open automatically it can be manually opened in the Unity menu under Quantum > Quantum Hub.
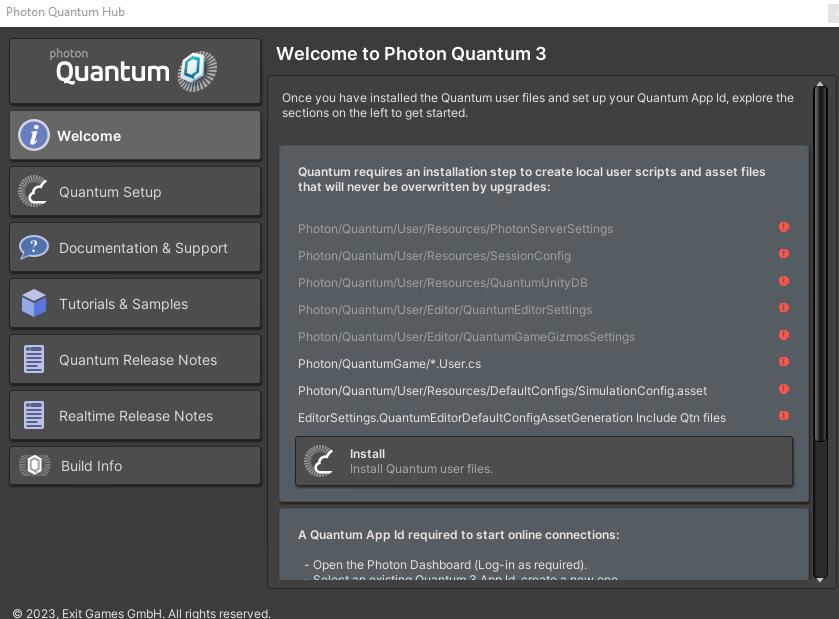
On the first page press the Install Quantum User Files button. This generates default files for the configuration and settings files Quantum uses.
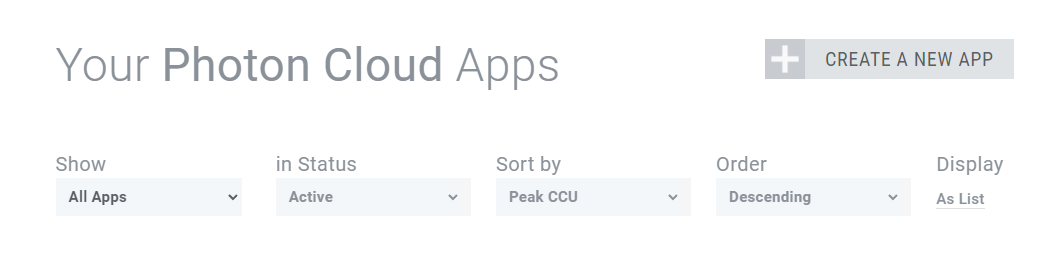
Step 5 Create and Link a Quantum AppID
To be able to run your Quantum application online and not just for local offline development, you need to link it to an App running with a Quantum Plugin. For this you simply go to your Dashboard and hit the Create a New App button in the top right corner.
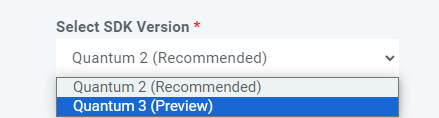
In the creation menu, select Quantum in the drop-down menu called Select Photon SDK.
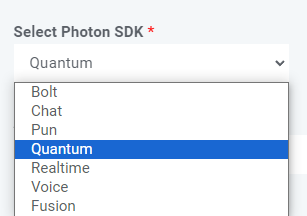
Select Quantum 3 on the Select SDK Version dropdown that appeared and fill out the rest of the form and click on Create.
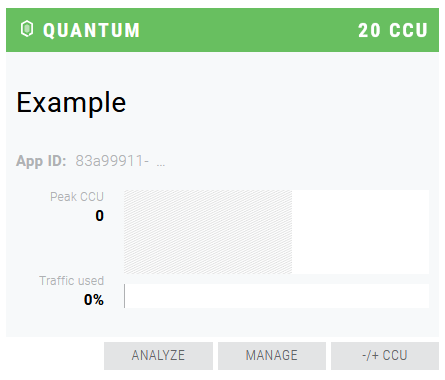
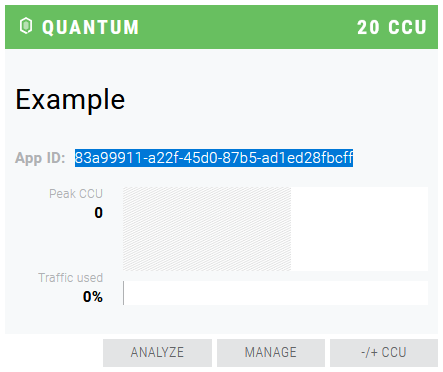
The new Quantum App will now appear in your dashboard. In order to connect your application, you will need to copy the App ID of the App. Clicking on the field will reveal your unique App ID and allow you to copy it.
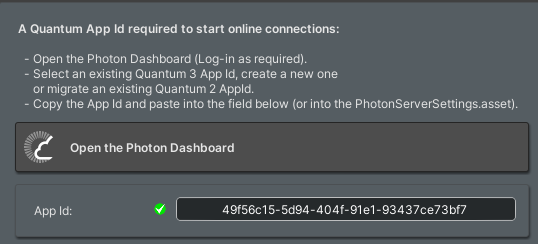
Return to the Quantum Hub and paste your APP ID into the App Id field. With that done, the project is now ready for development!
Step 6 - Navigating the Quantum Project
Before starting the development let's have a quick look at the files we imported.
Quantum is a game engine and thus more intertwined that most SDKs. All files are imported into the Photon and QuantumUser folder and follow a strict folder structure. It is advised to not change the folder structure or move any Quantum files to a different place.
Find HERE more information on the folders contains in the Quantum SDK.
Back to top